October 1, 2021 || By: Hope F
Autumn, the time of the year when you love to imagine living in a house in a forest, with fog rolling in, and you’re sitting watching the sunrise, drinking a cup of tea, and your bread – your oh so delicious smelling bread – is in the oven! We all love when fall comes around so that we can make these recipes and really embrace the “sweater weather” time of year. To start off this autumn, I made Apple Spice Muffins (recipe to come), so now I am making a pumpkin chai bread – twist on regular pumpkin bread 🙂 This recipe is adapted from BowlofDelicious.


Recipe: Prep Time: 20 Minutes, Cook Time: 1 hour – 1 hour and 10 minutes
Ingredients:
- 1/2 cup Canola Oil (makes the loaf extra moist!)
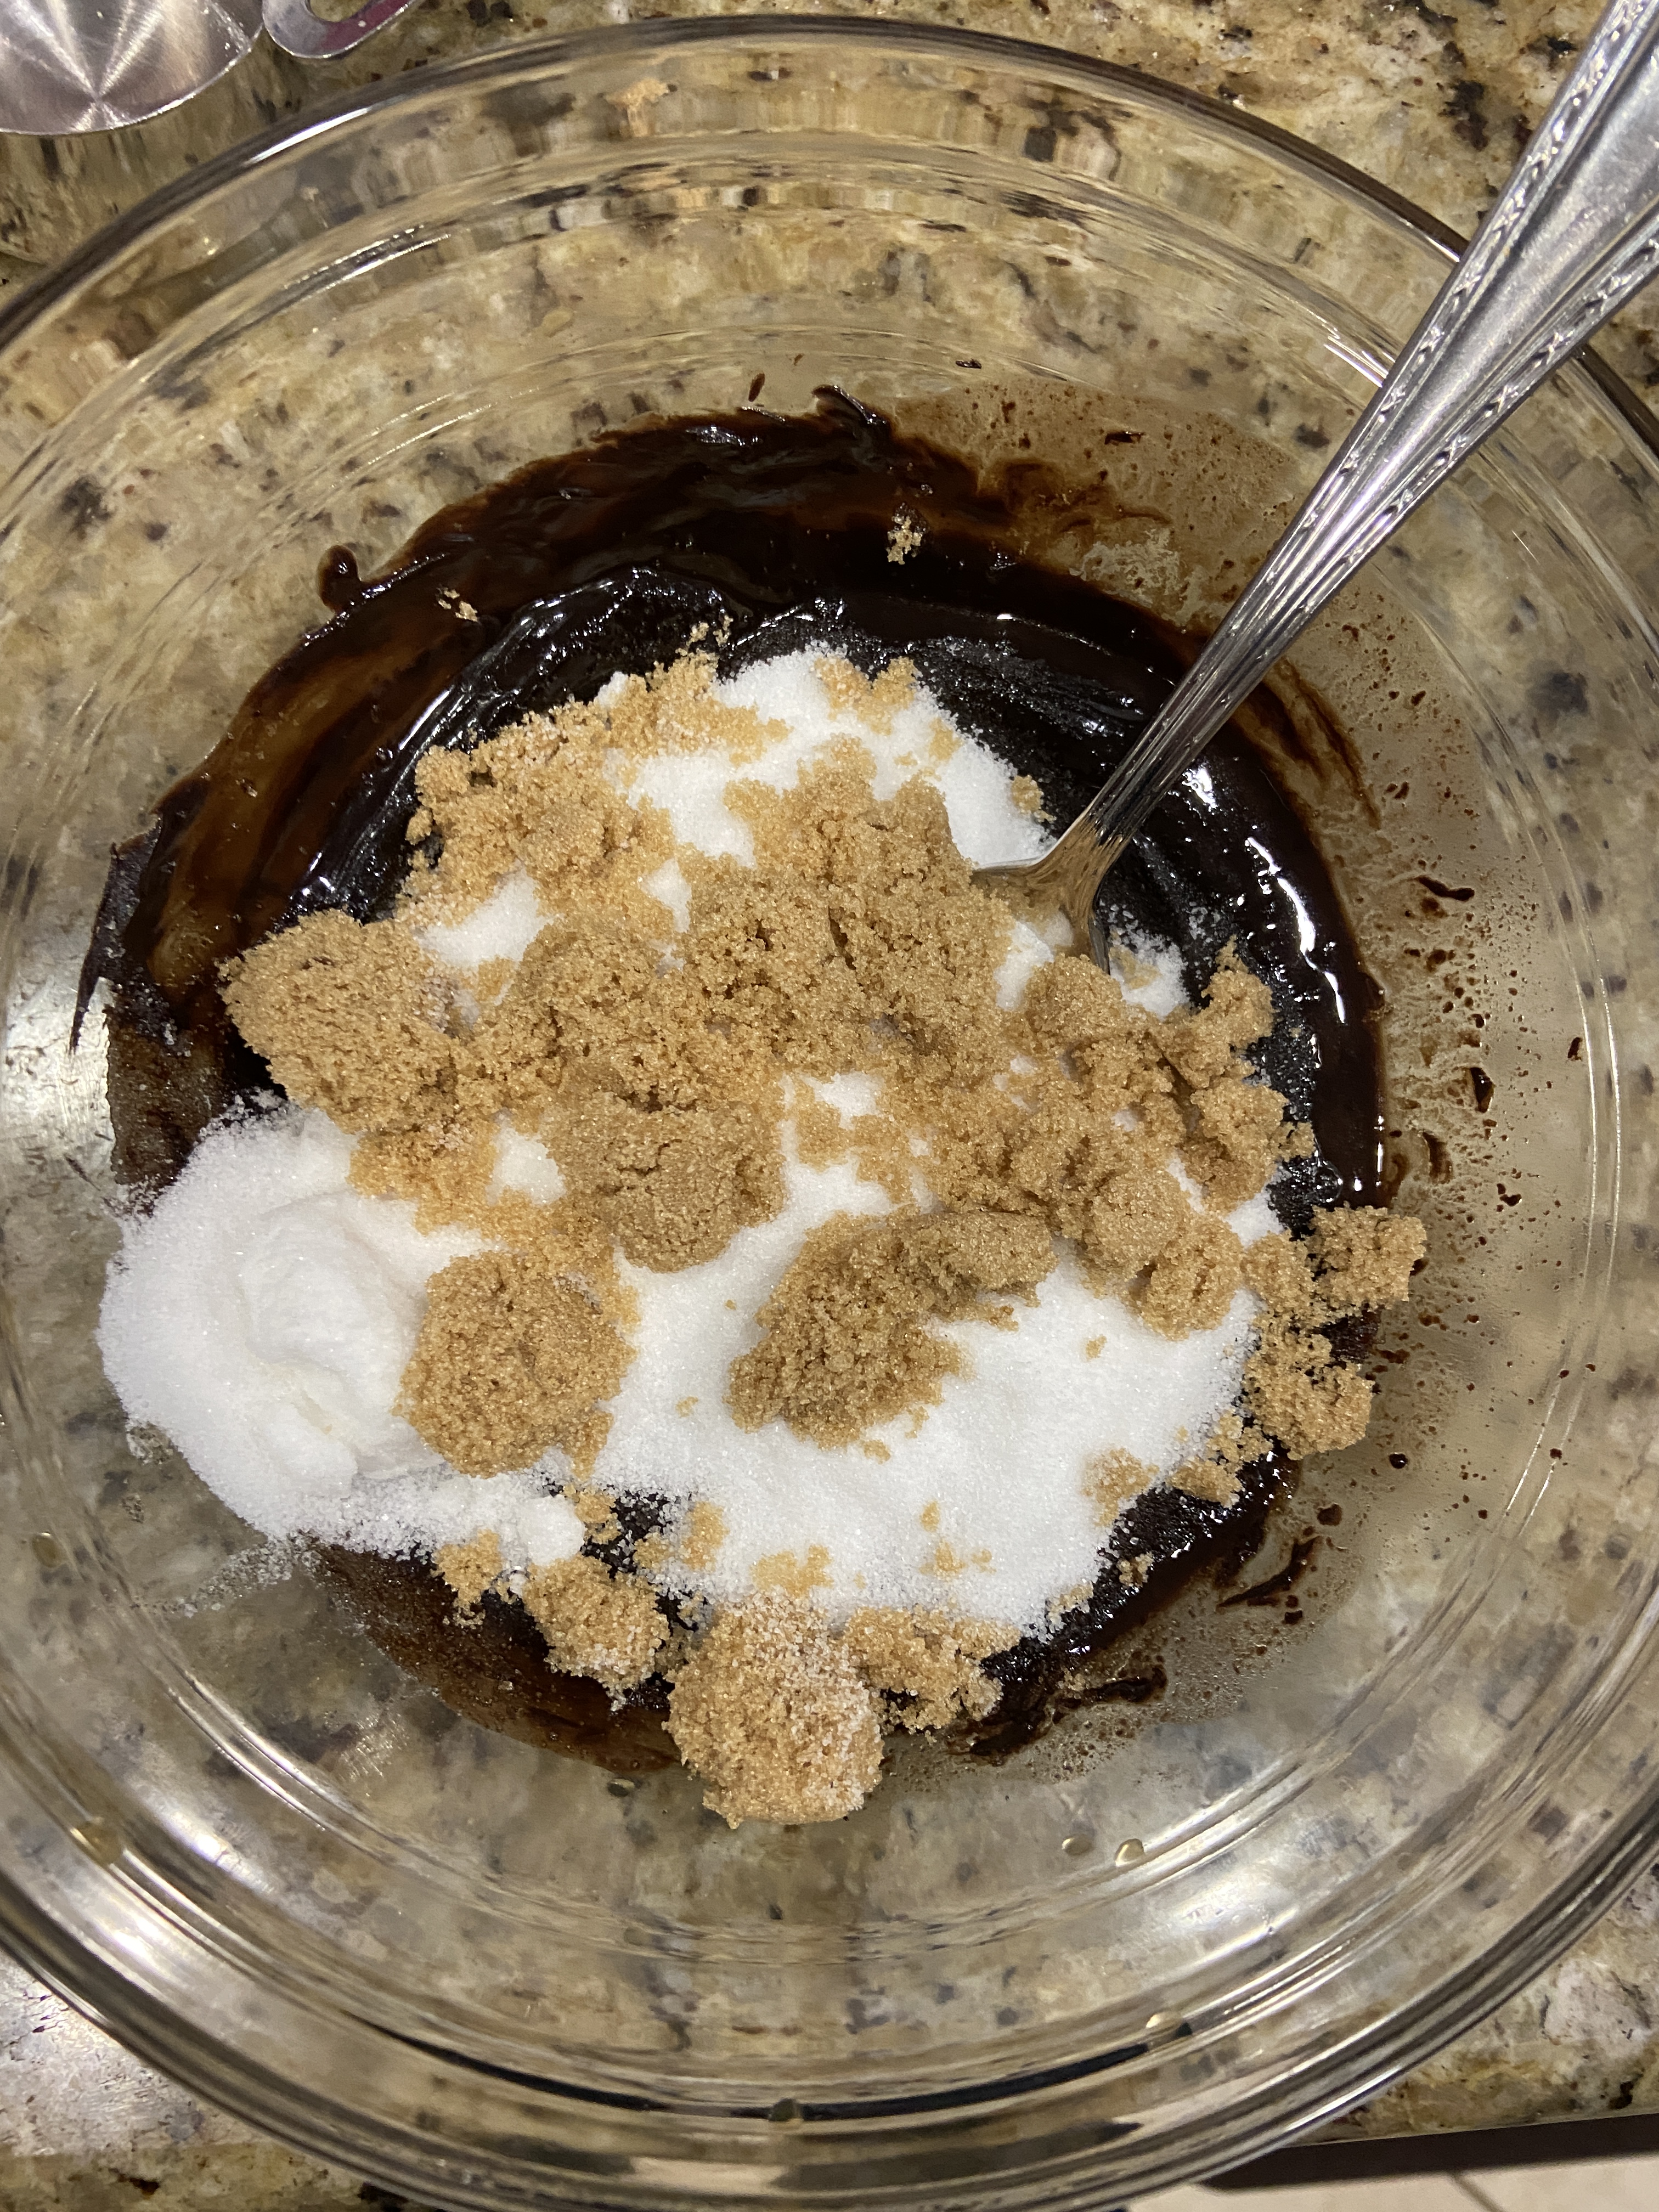
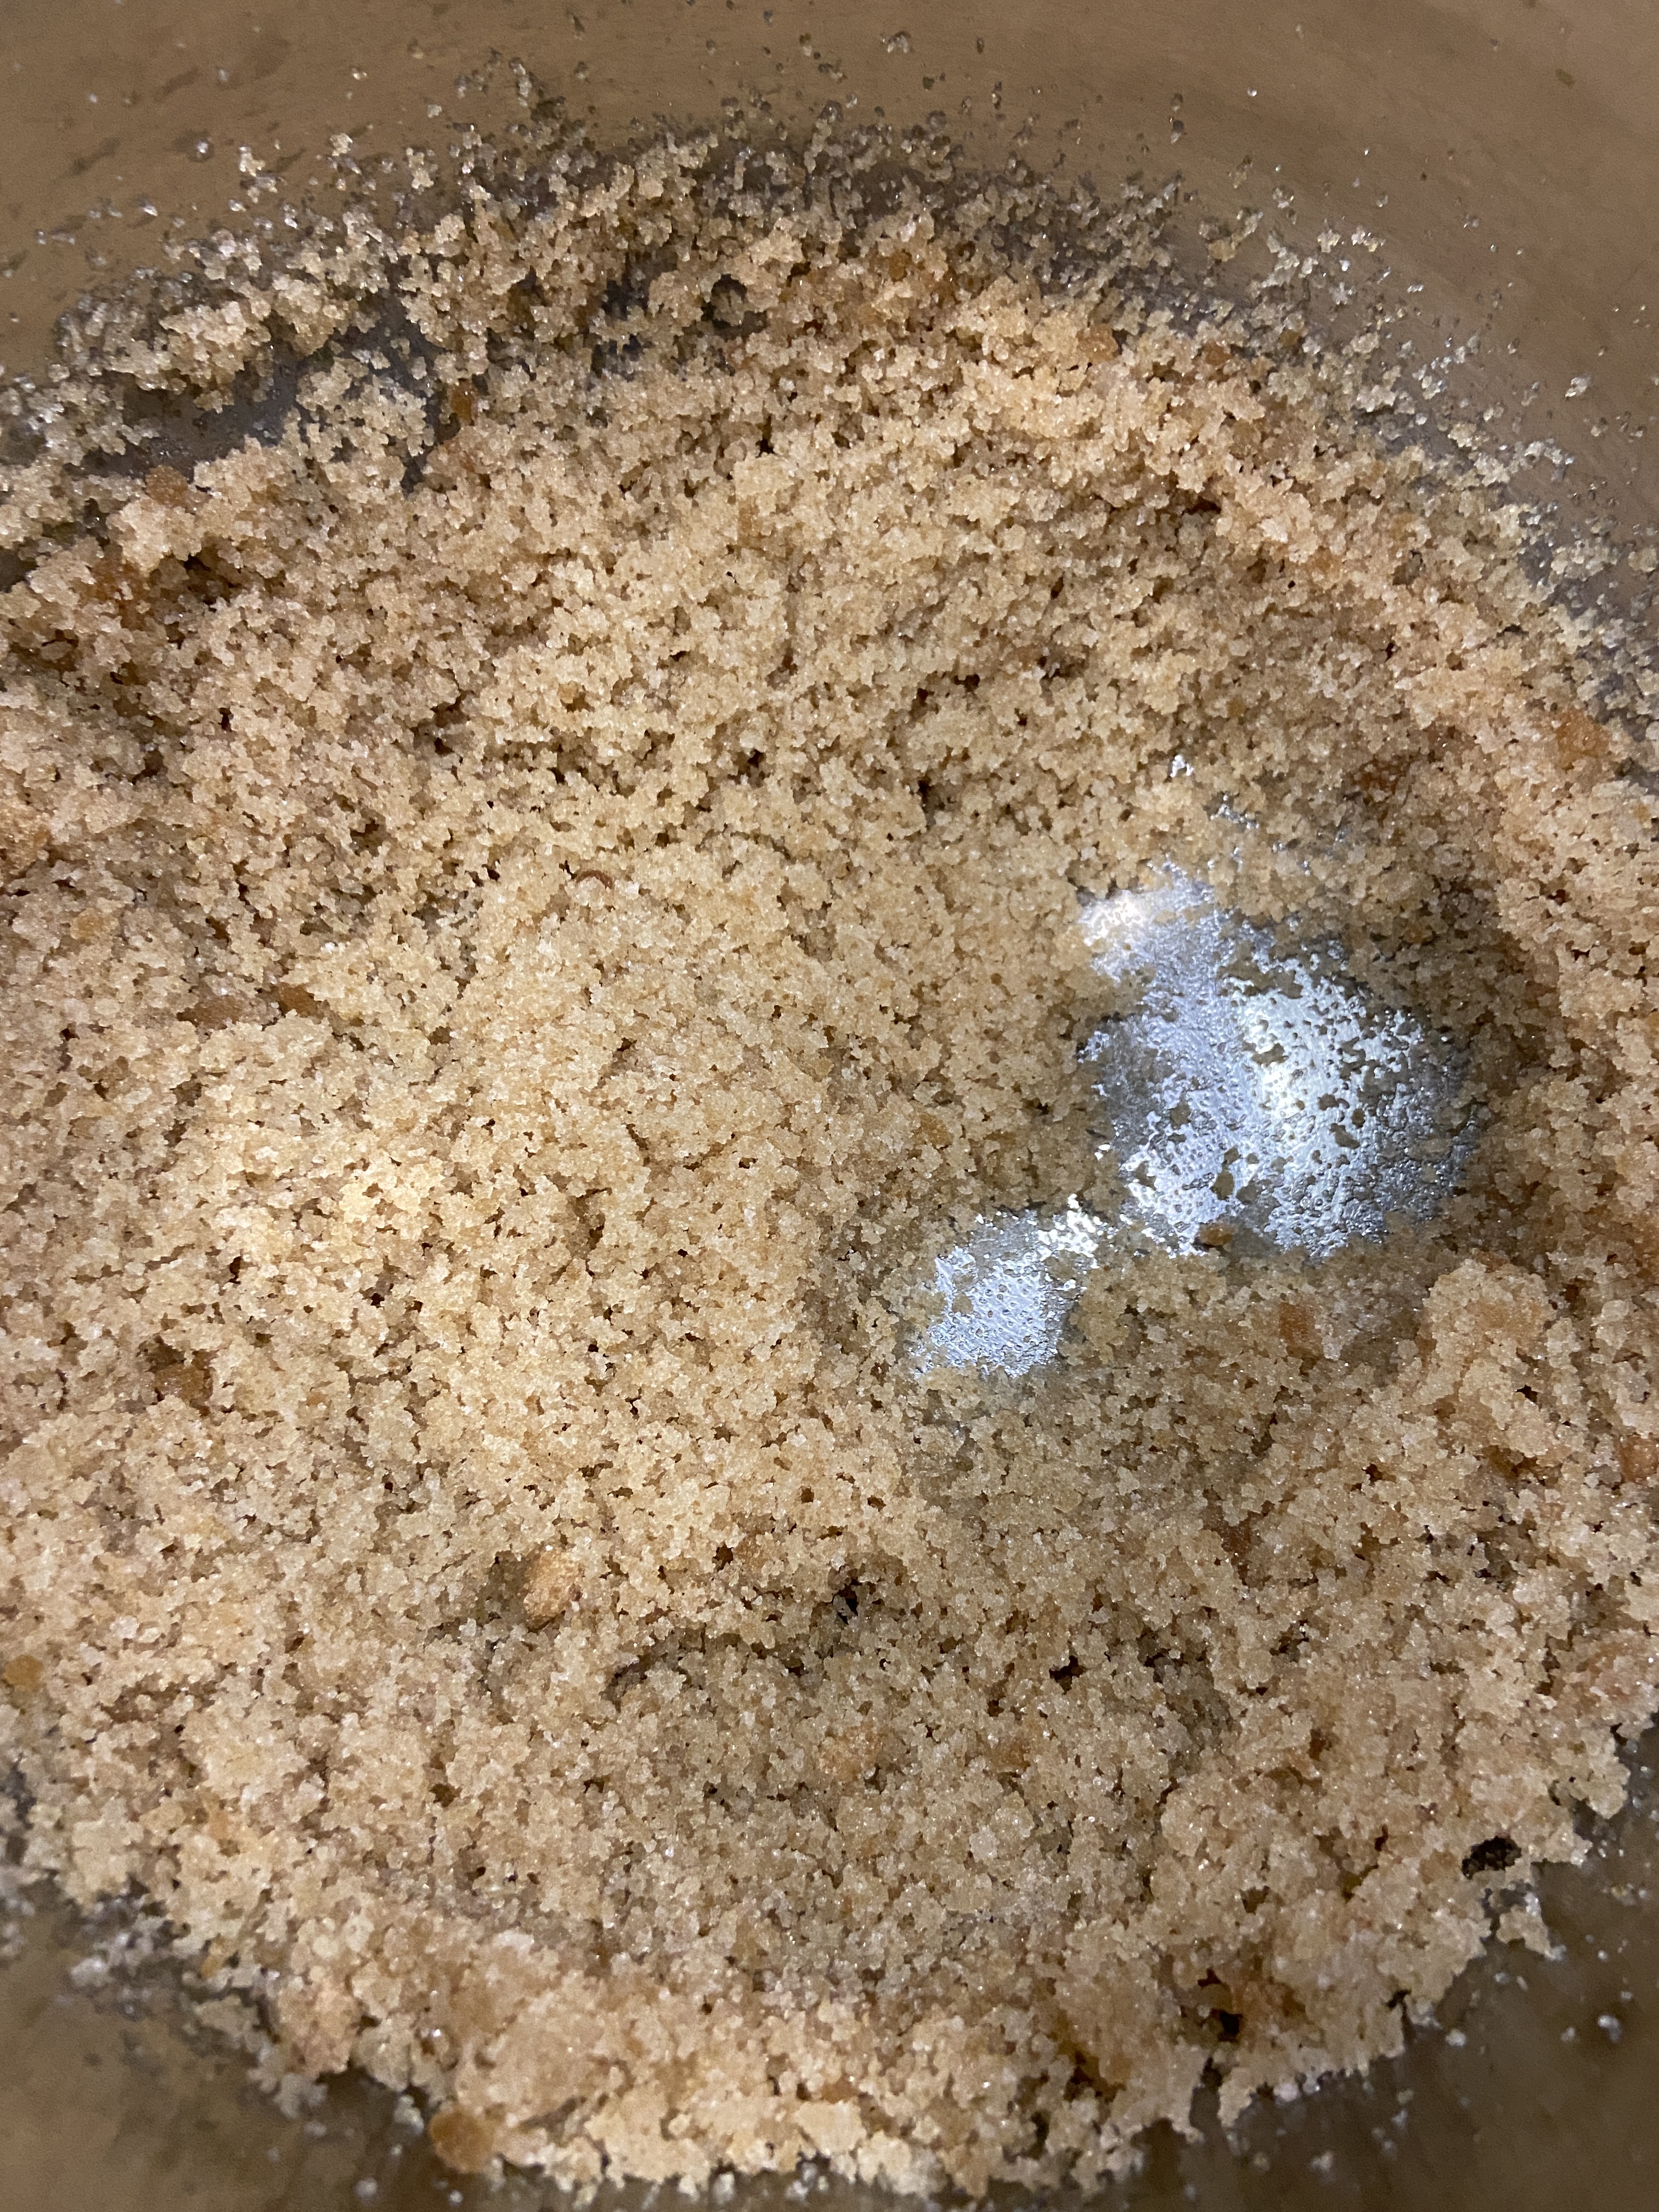
- 3/4 cup Granulated Sugar
- 3/4 cup Brown Sugar
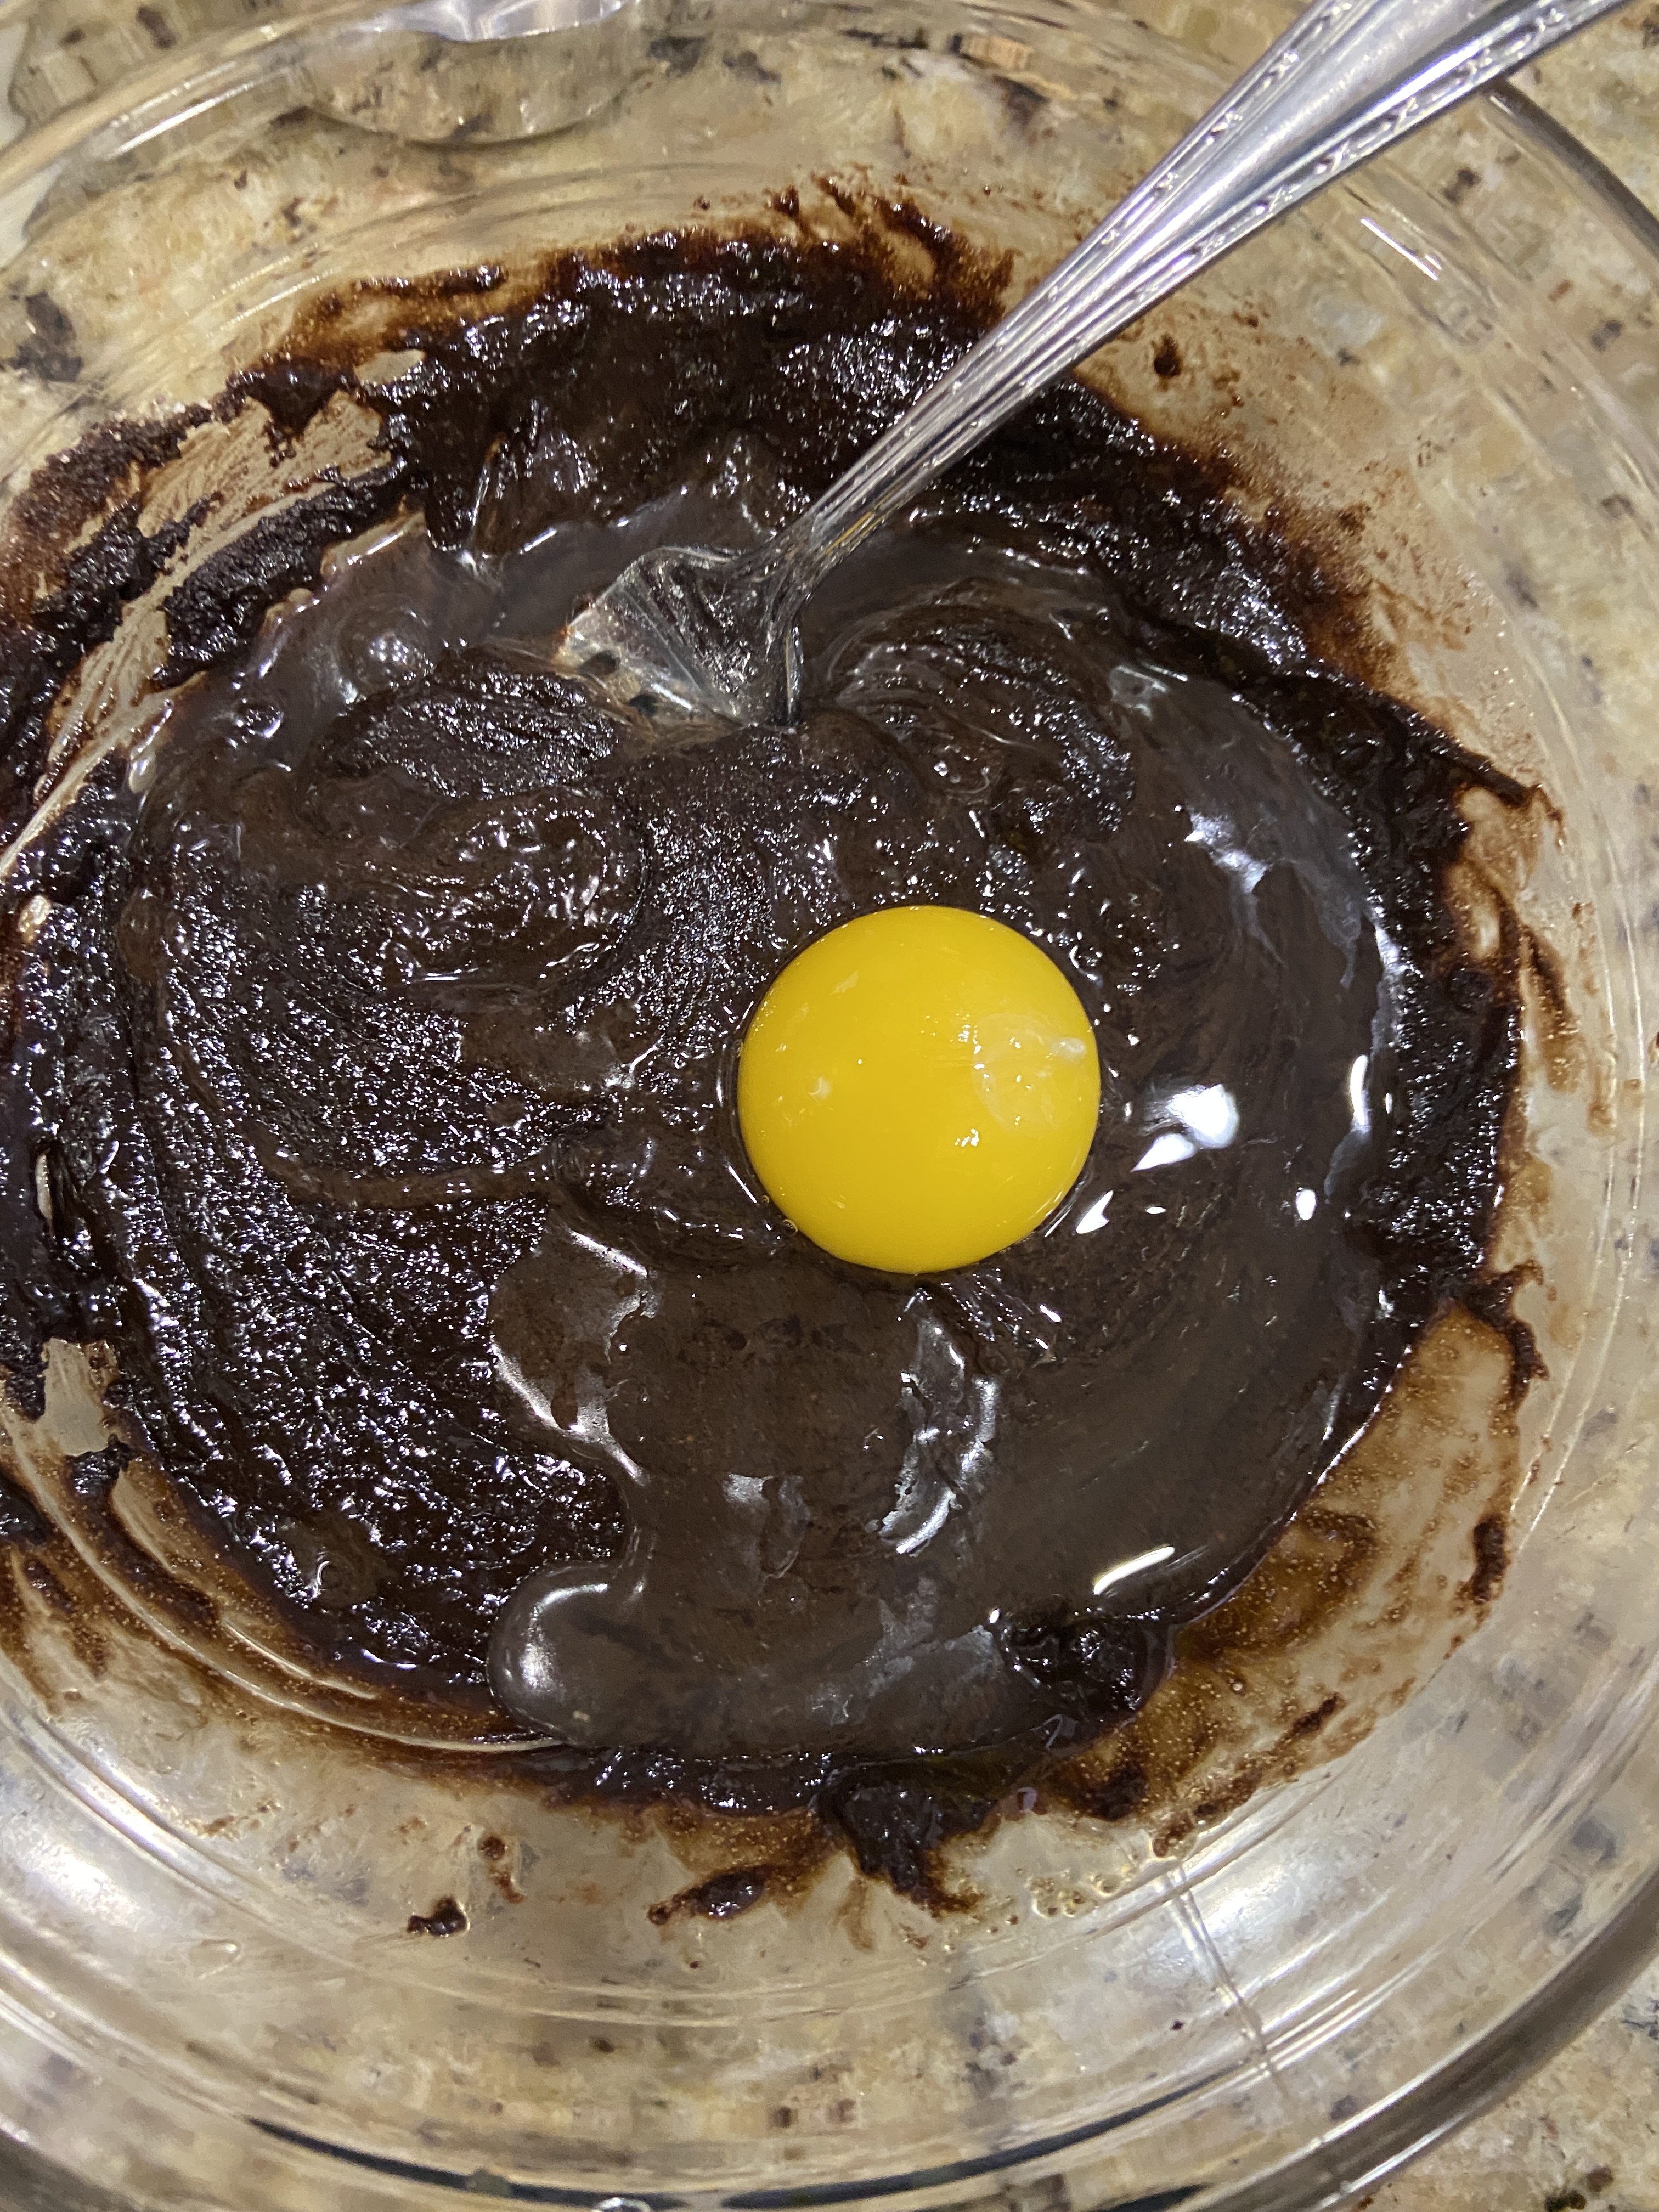
- 2 large Eggs
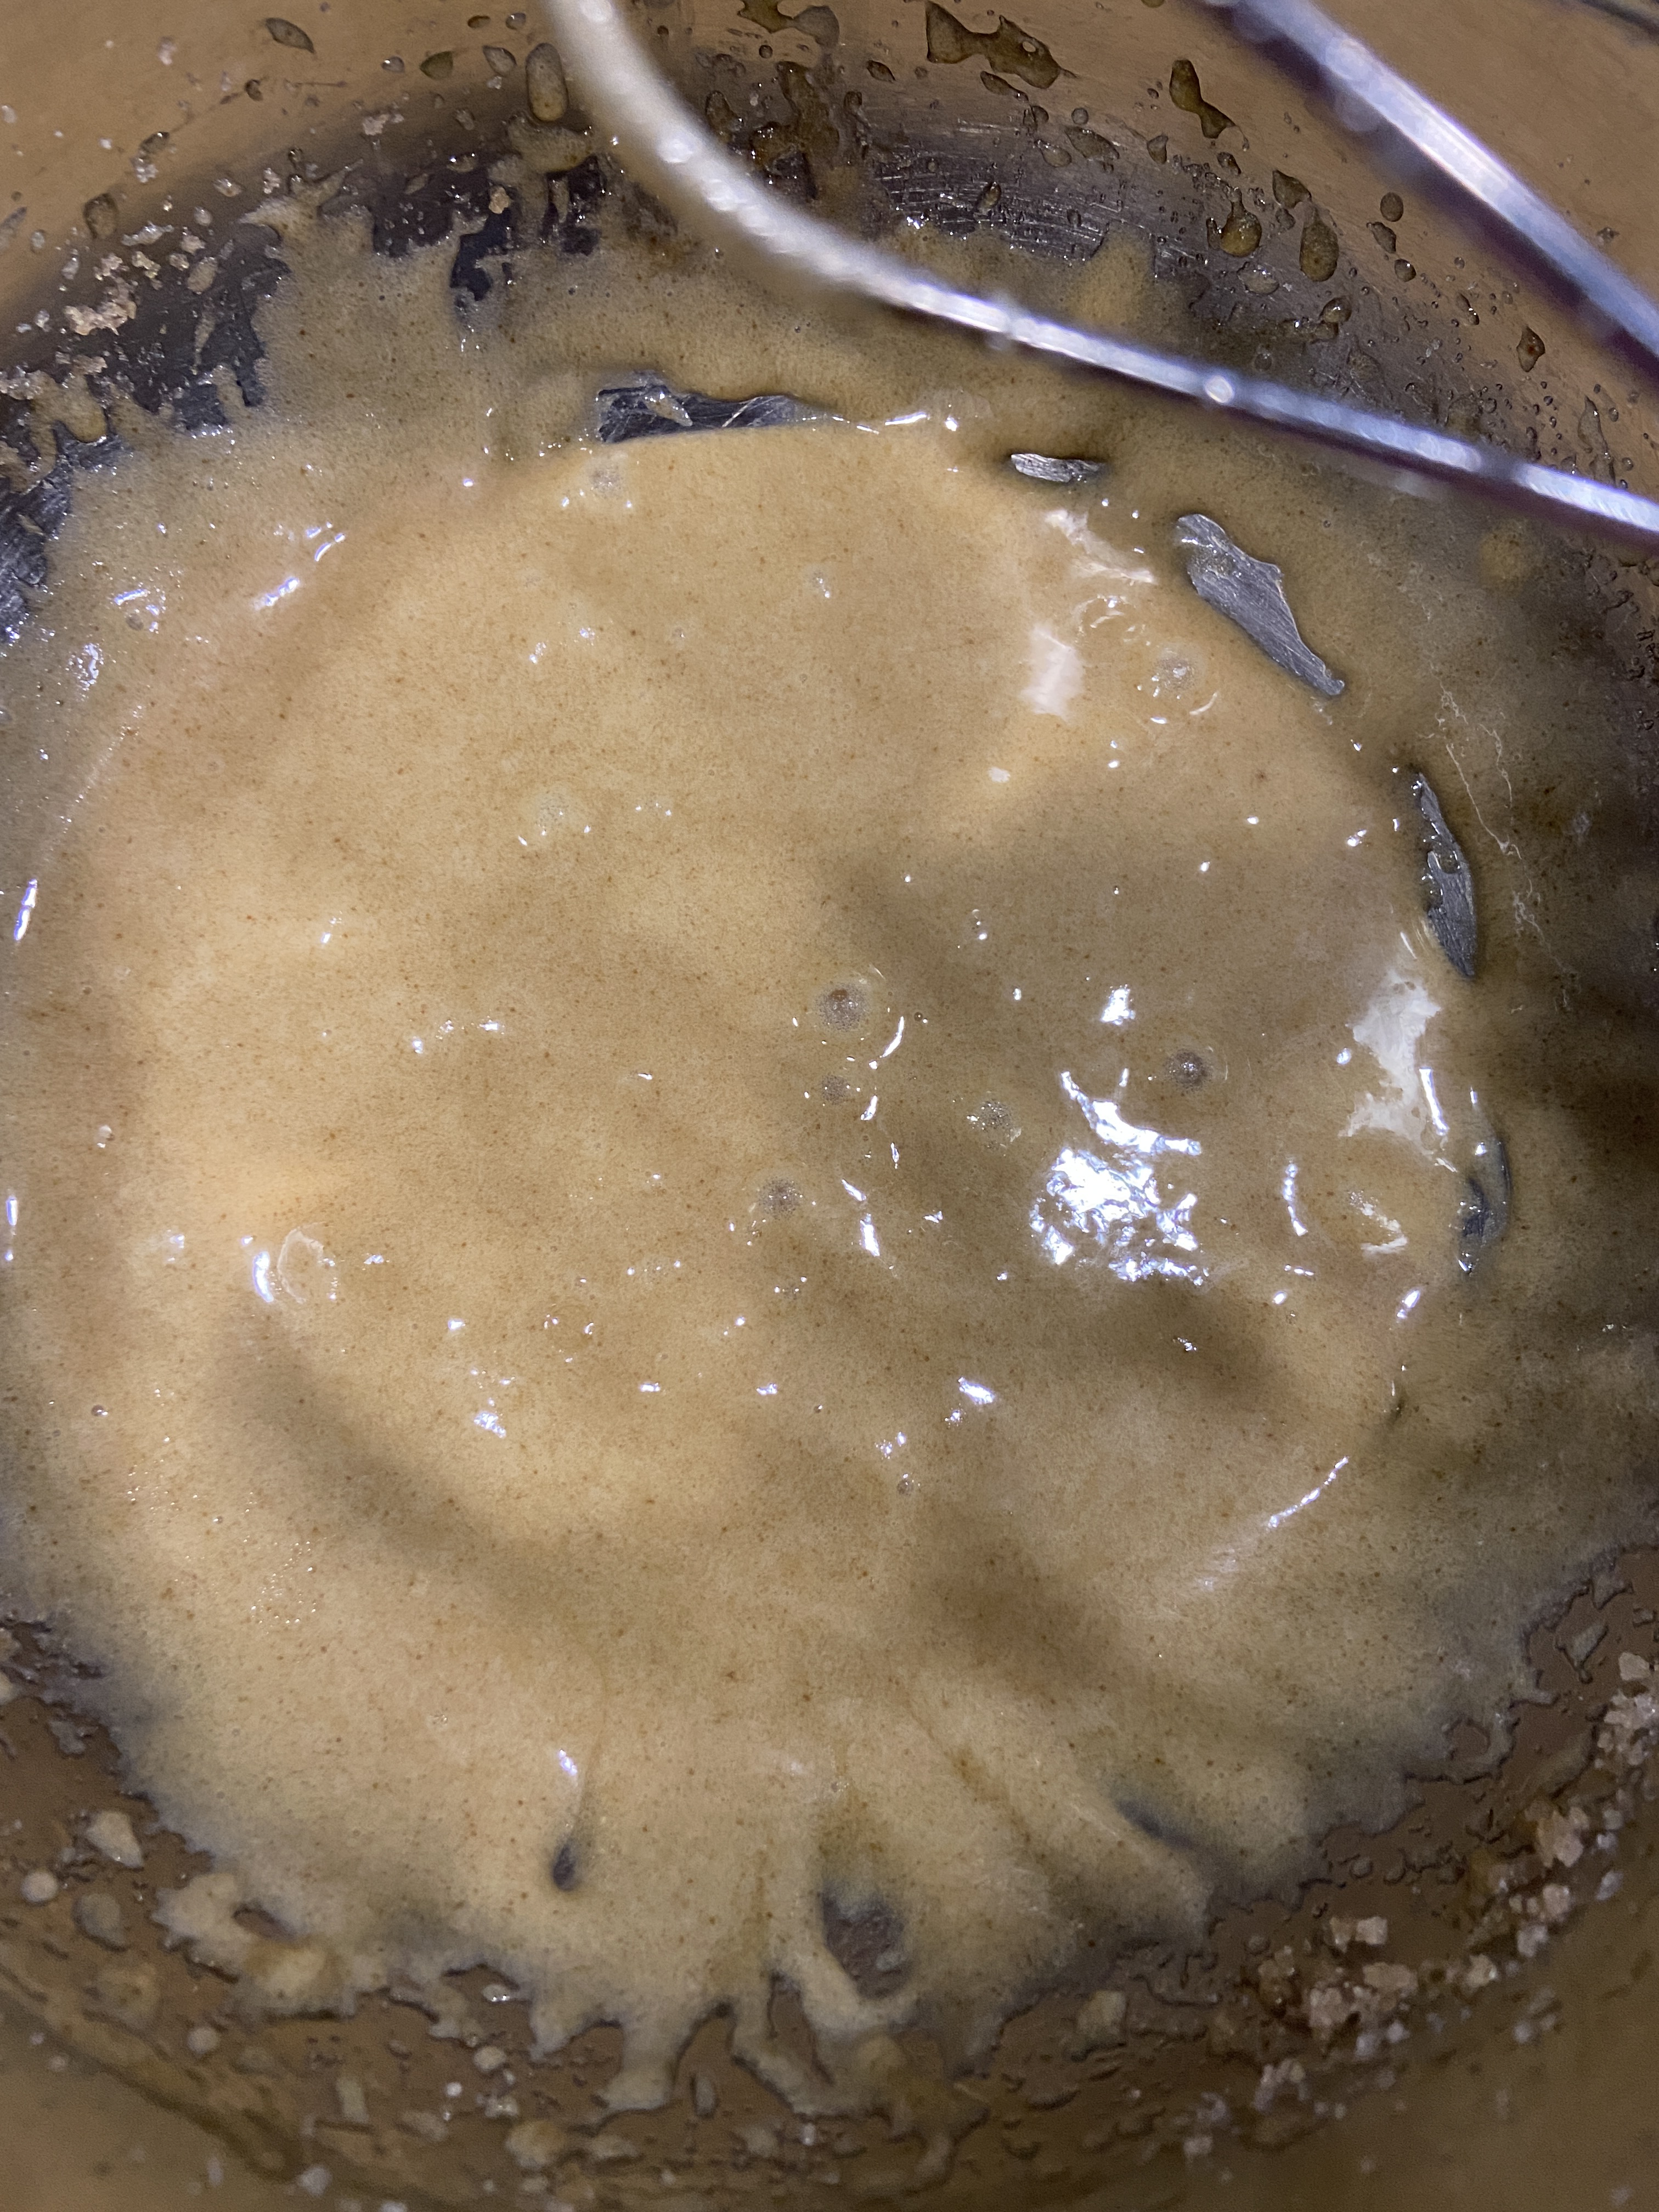
- 1 cup Canned Pumpkin Puree (NOT Pumpkin Pie filling!)
- 1/2 cup Chai Concentrate (I used Trader Joe’s) w/ a splash of Almond Milk
- 2 teaspoons Vanilla Extract
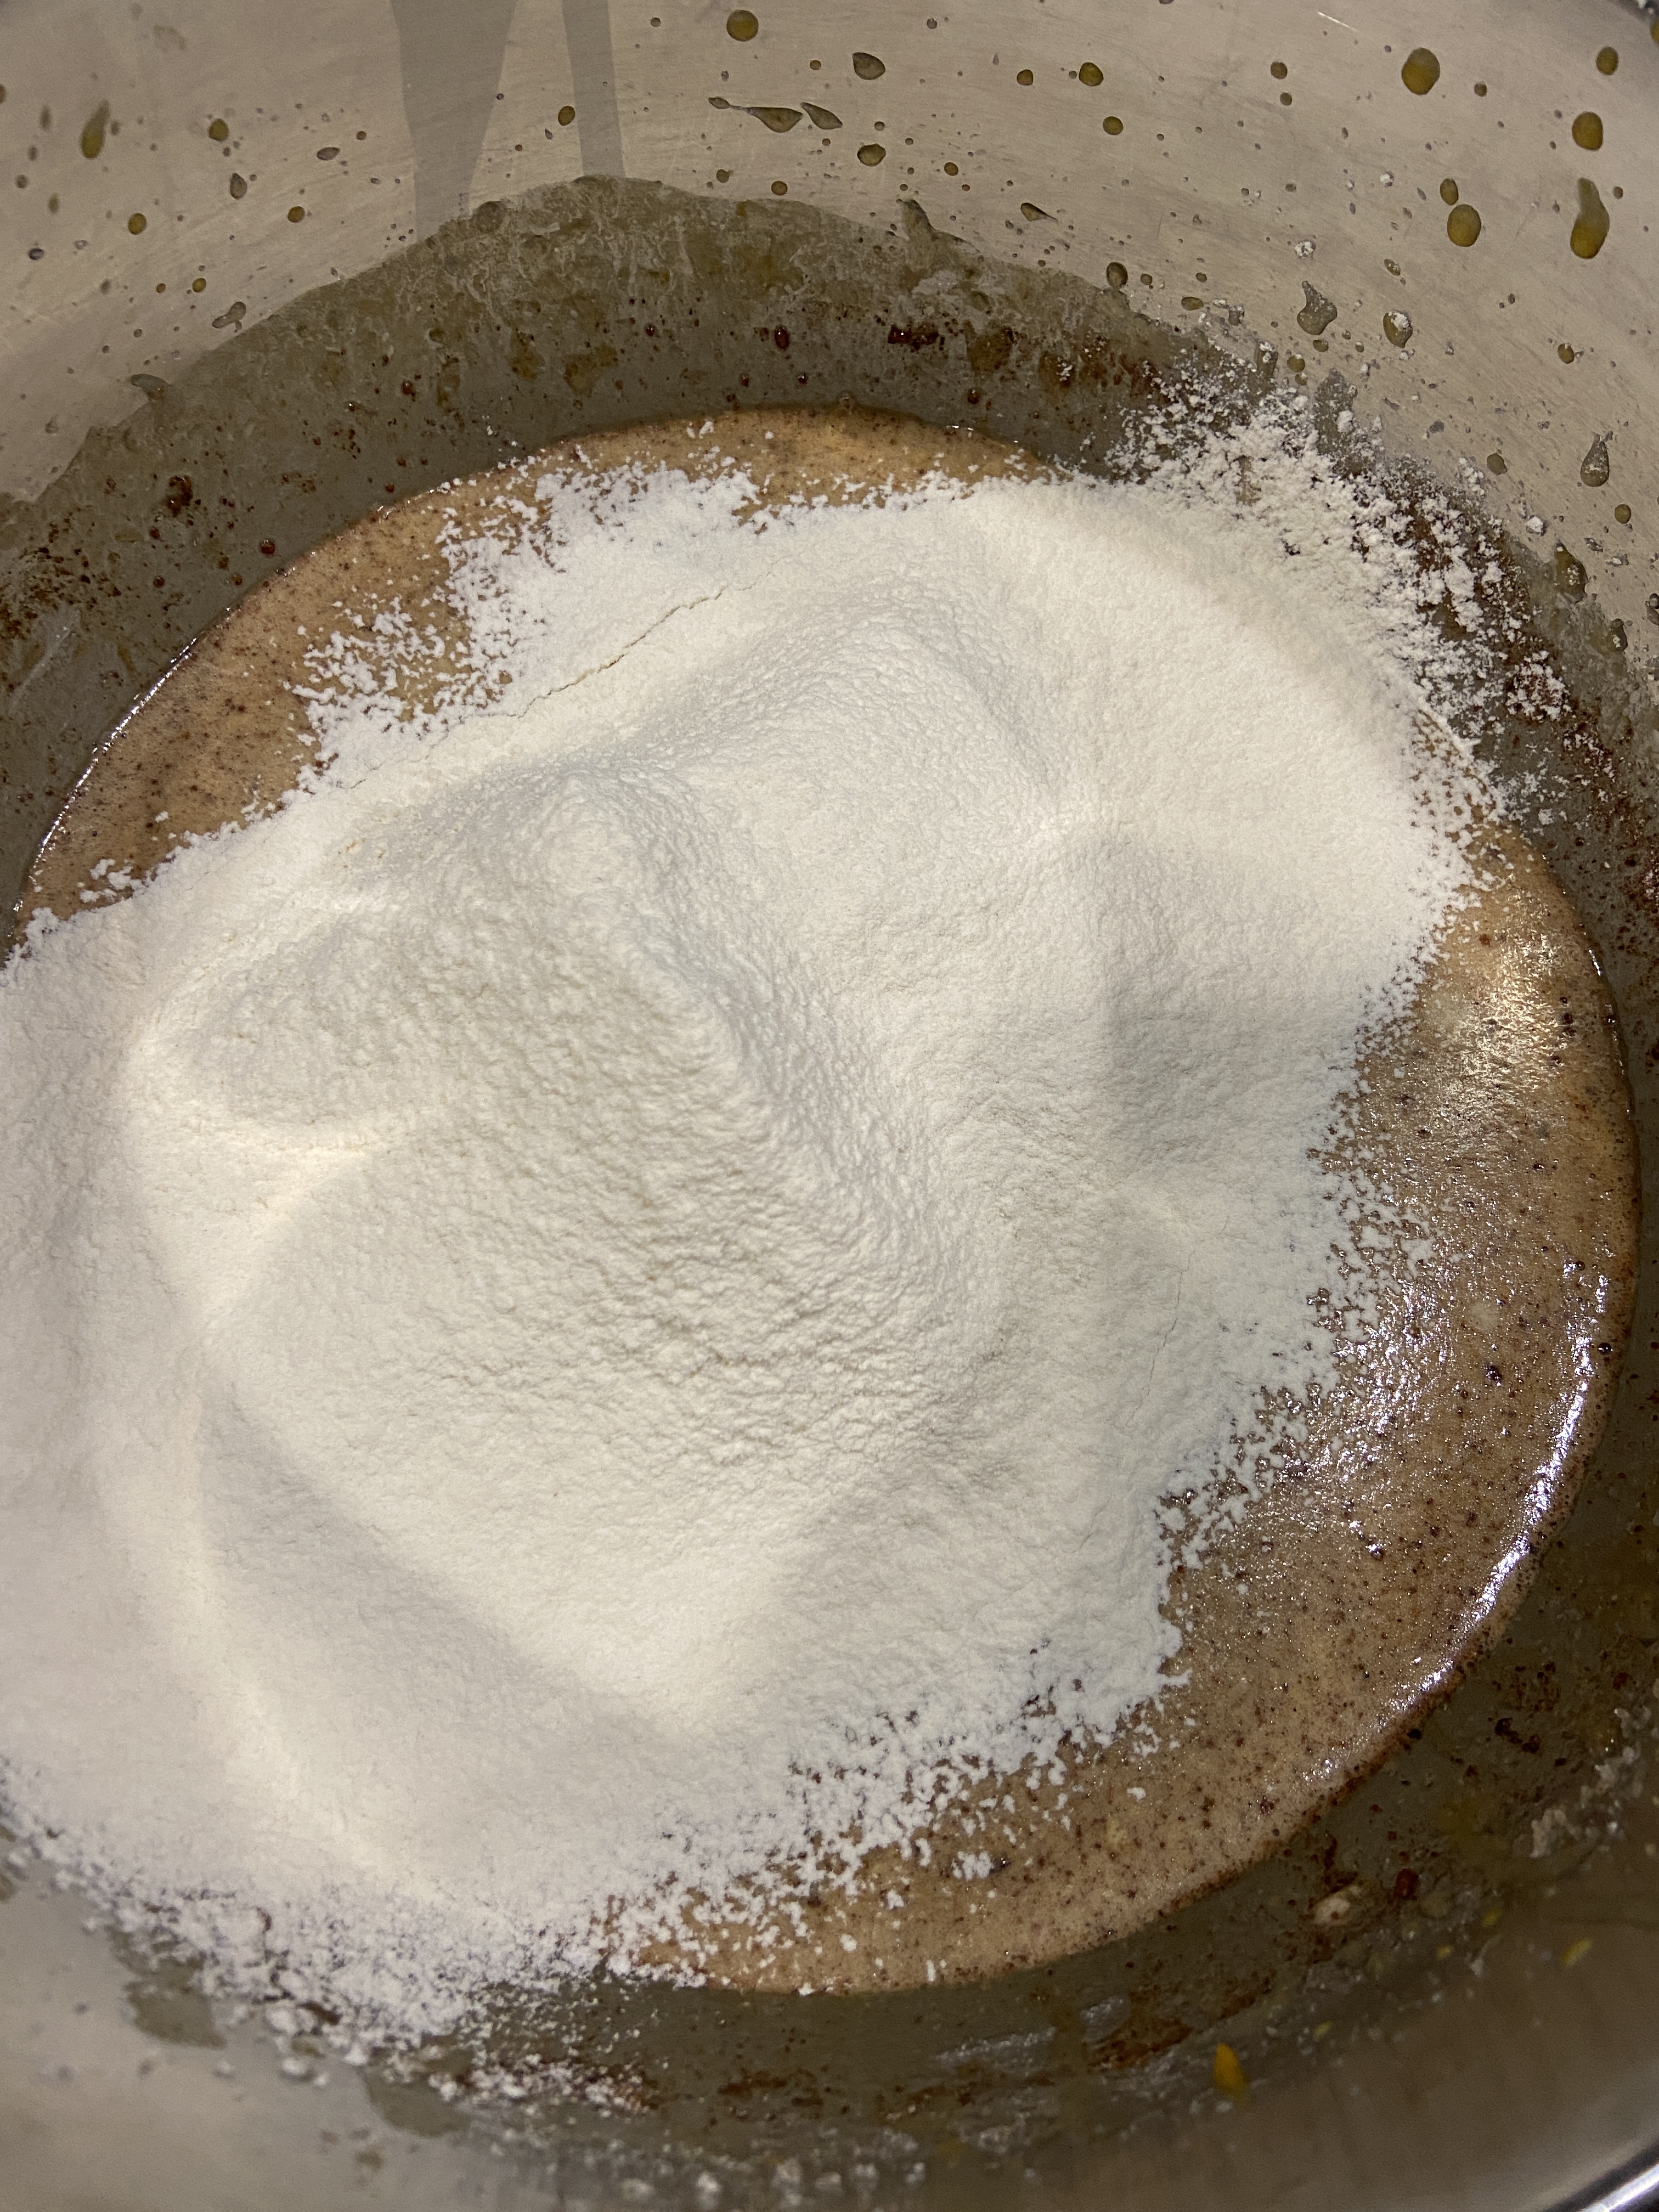
- 1 teaspoon Baking Soda
- 1/2 teaspoon Baking Powder
- 1 teaspoon Ground Cinnamon
- 1 teaspoon Nutmeg
- 1 teaspoon Ground Cloves
- 1 teaspoon Kosher Salt
- 1 and 2/3 cup All-Purpose Flour
- A sprinkling of Turbinado Sugar (for topping)
How to Make:
- Preheat the oven to 350° F and line a 9×5 baking/loaf pan with parchment paper.
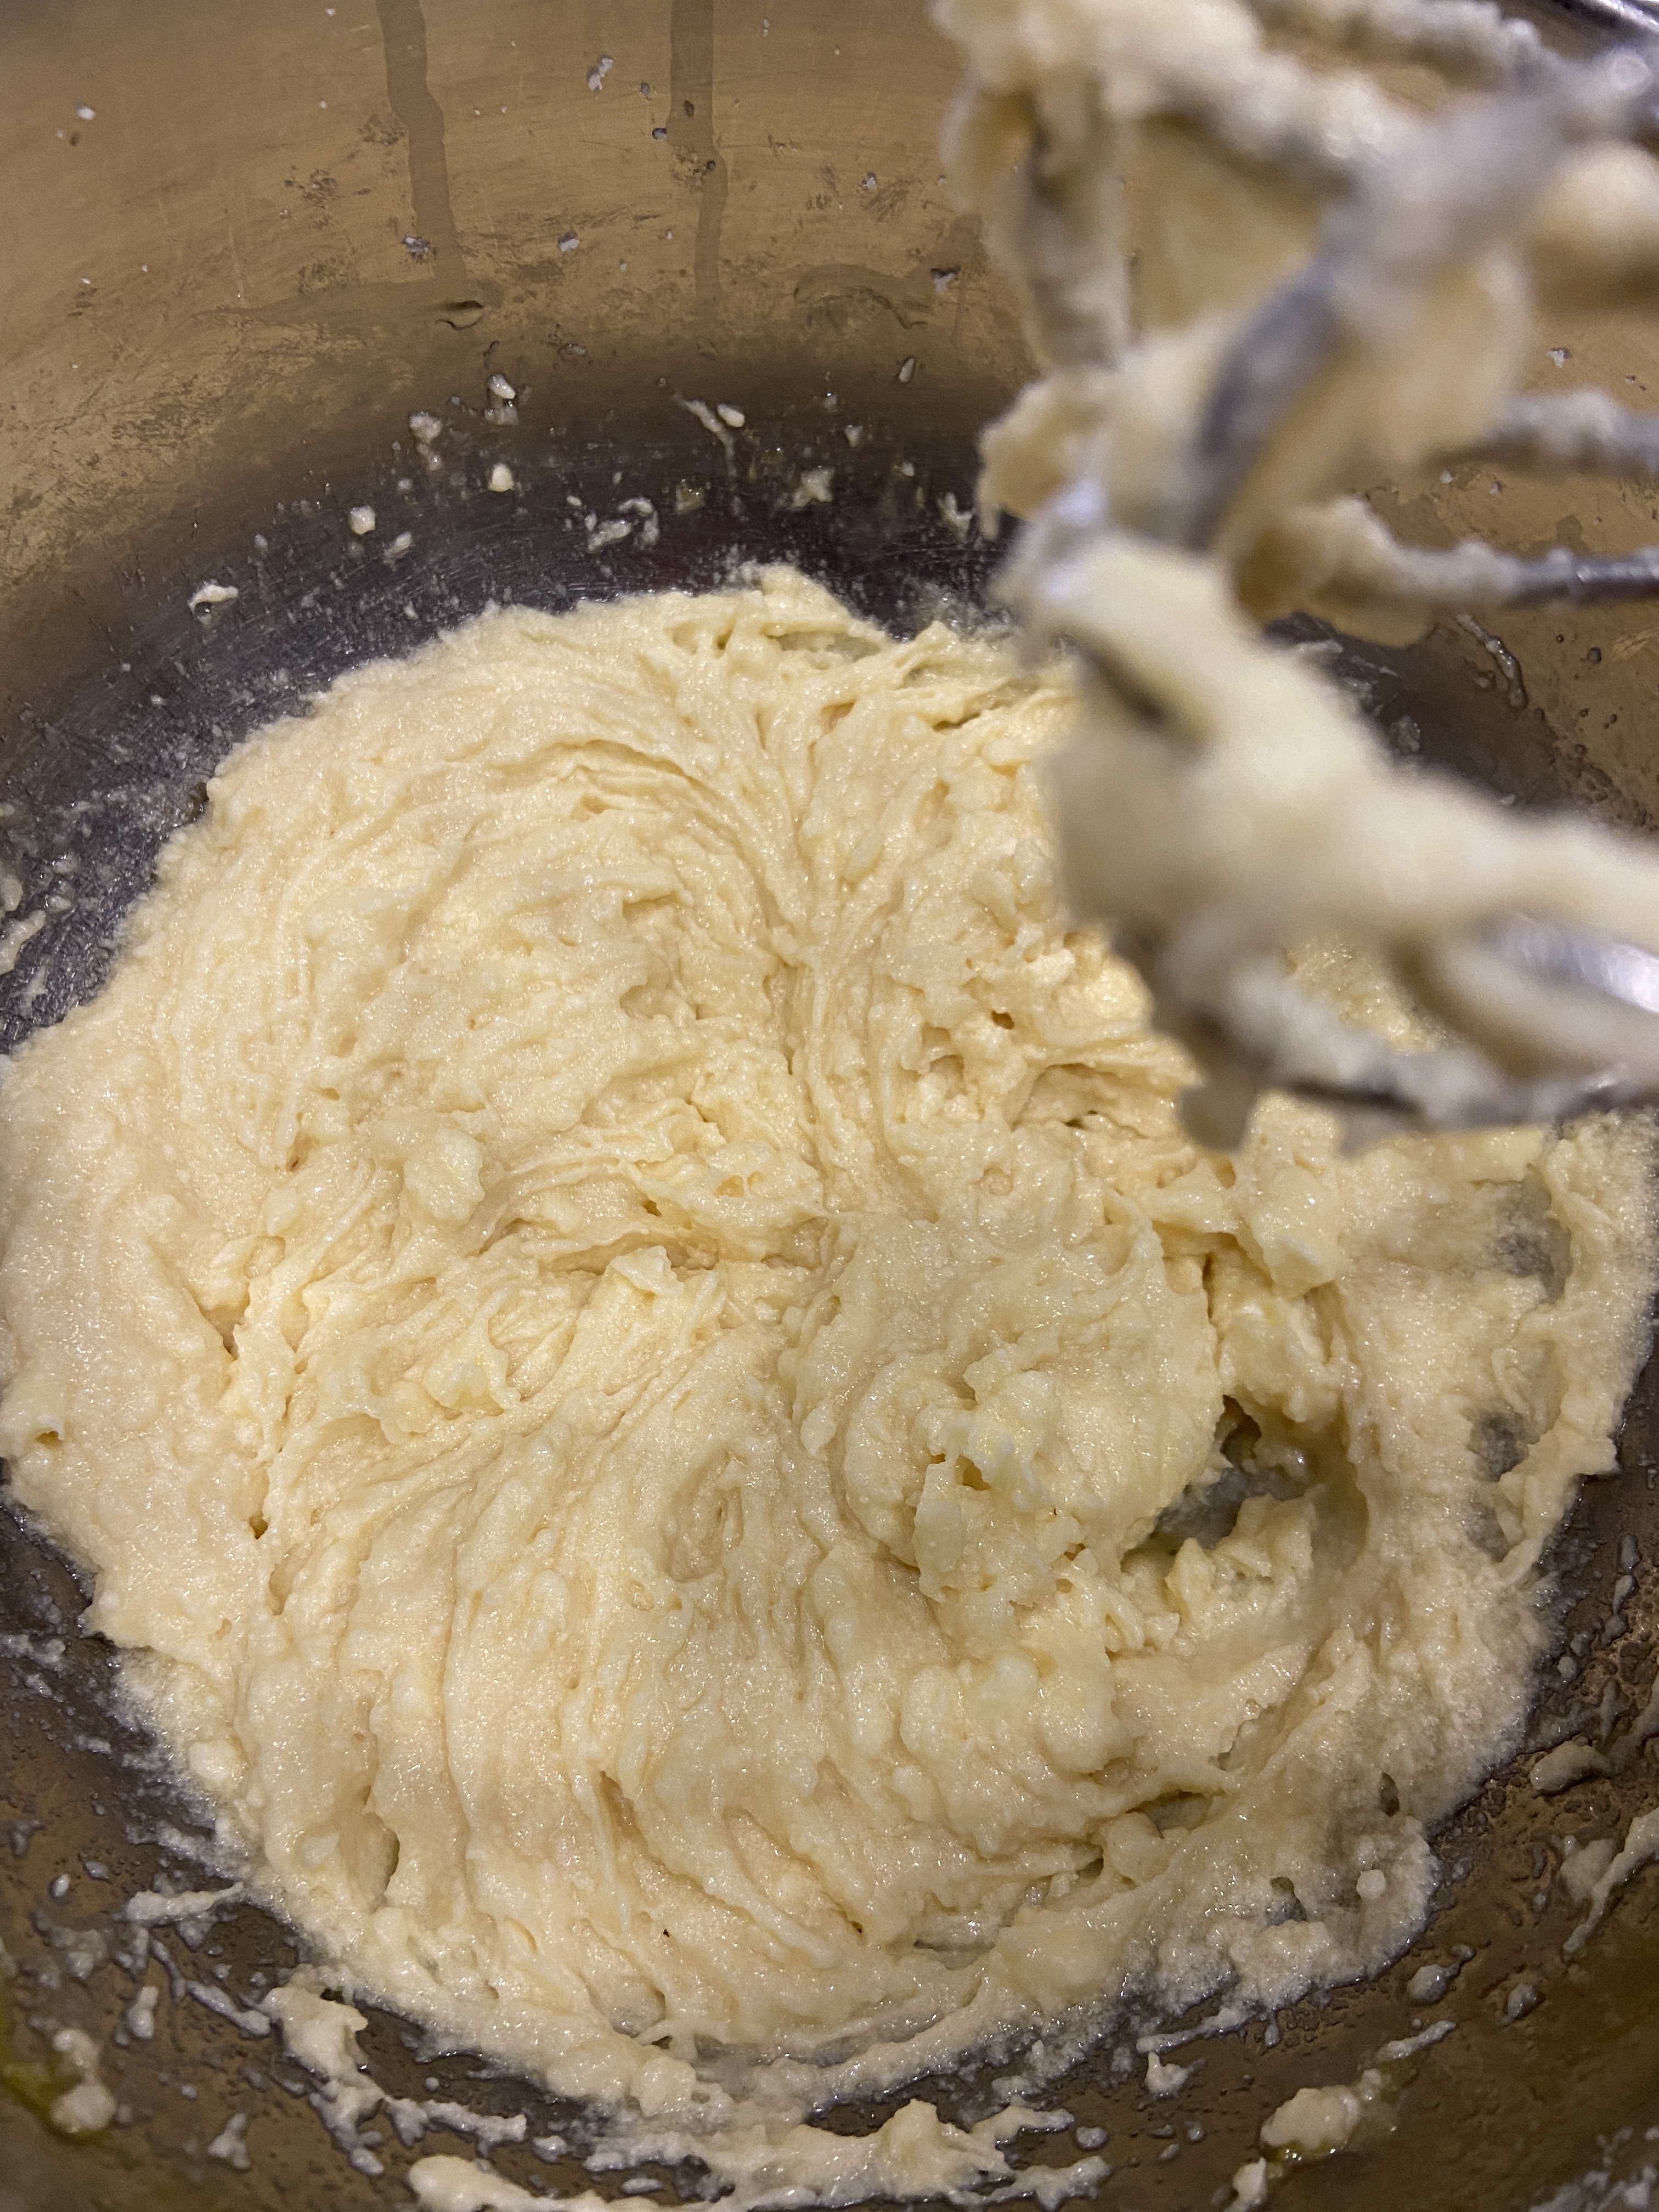
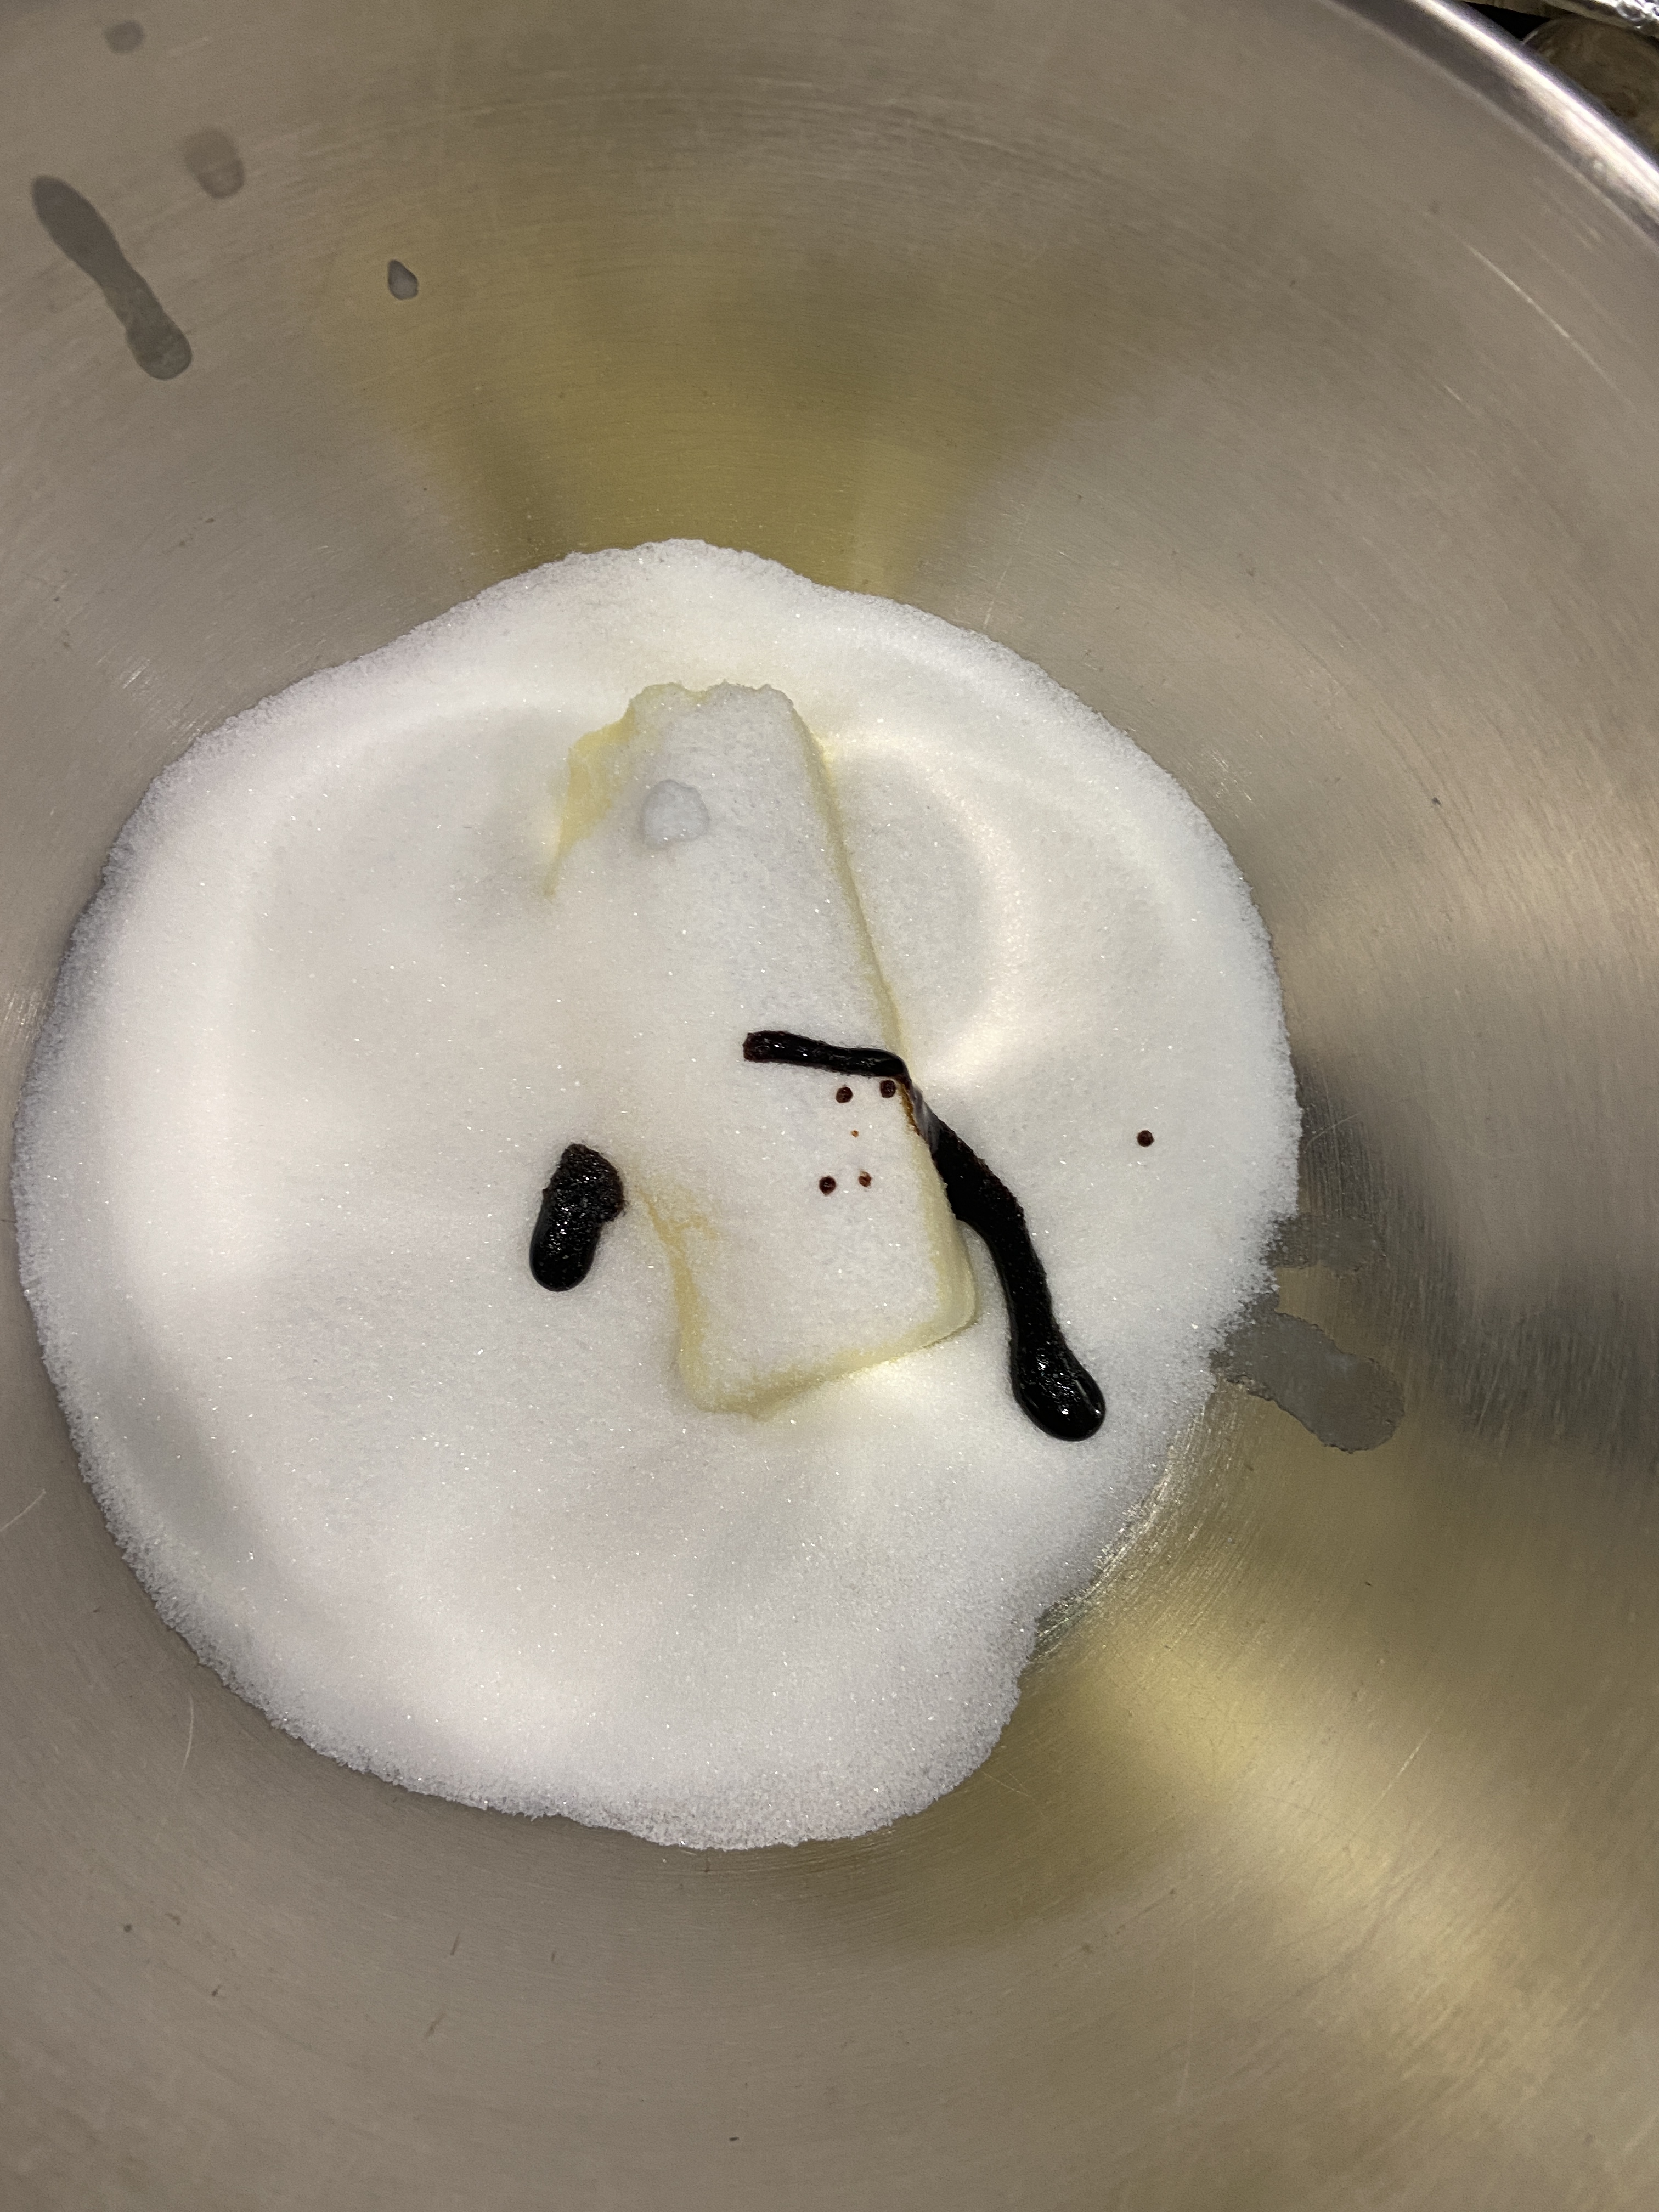
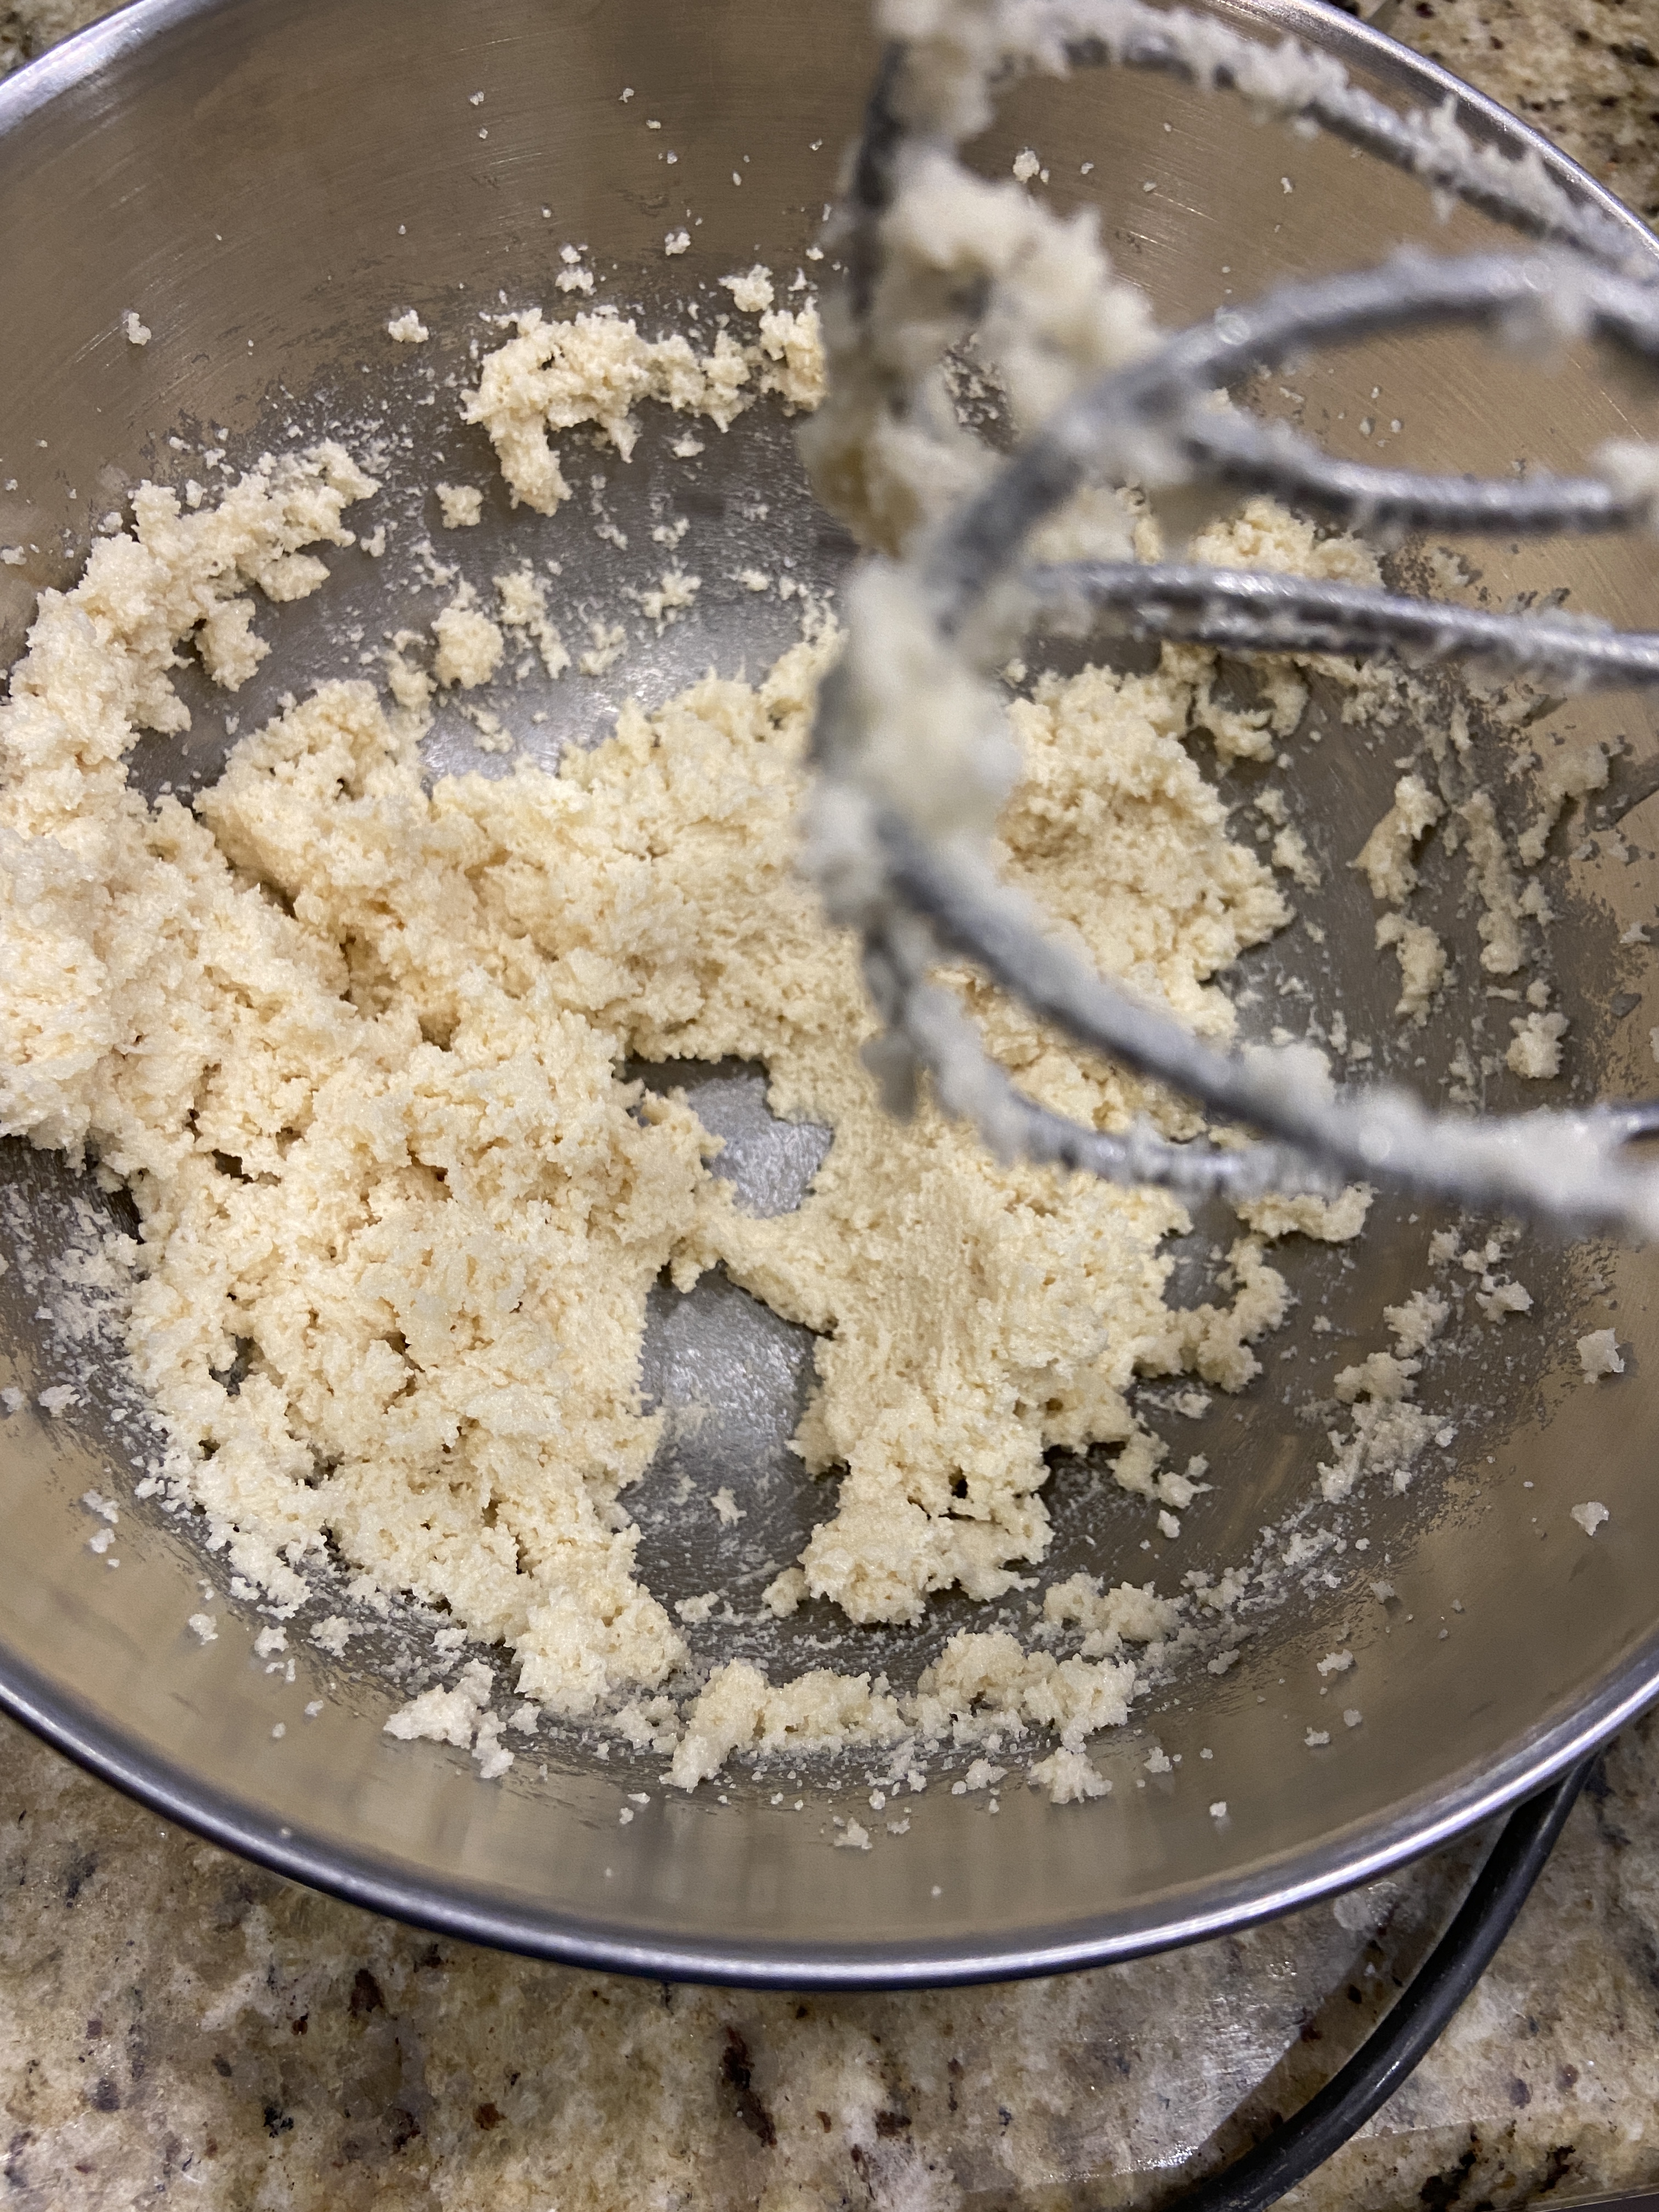
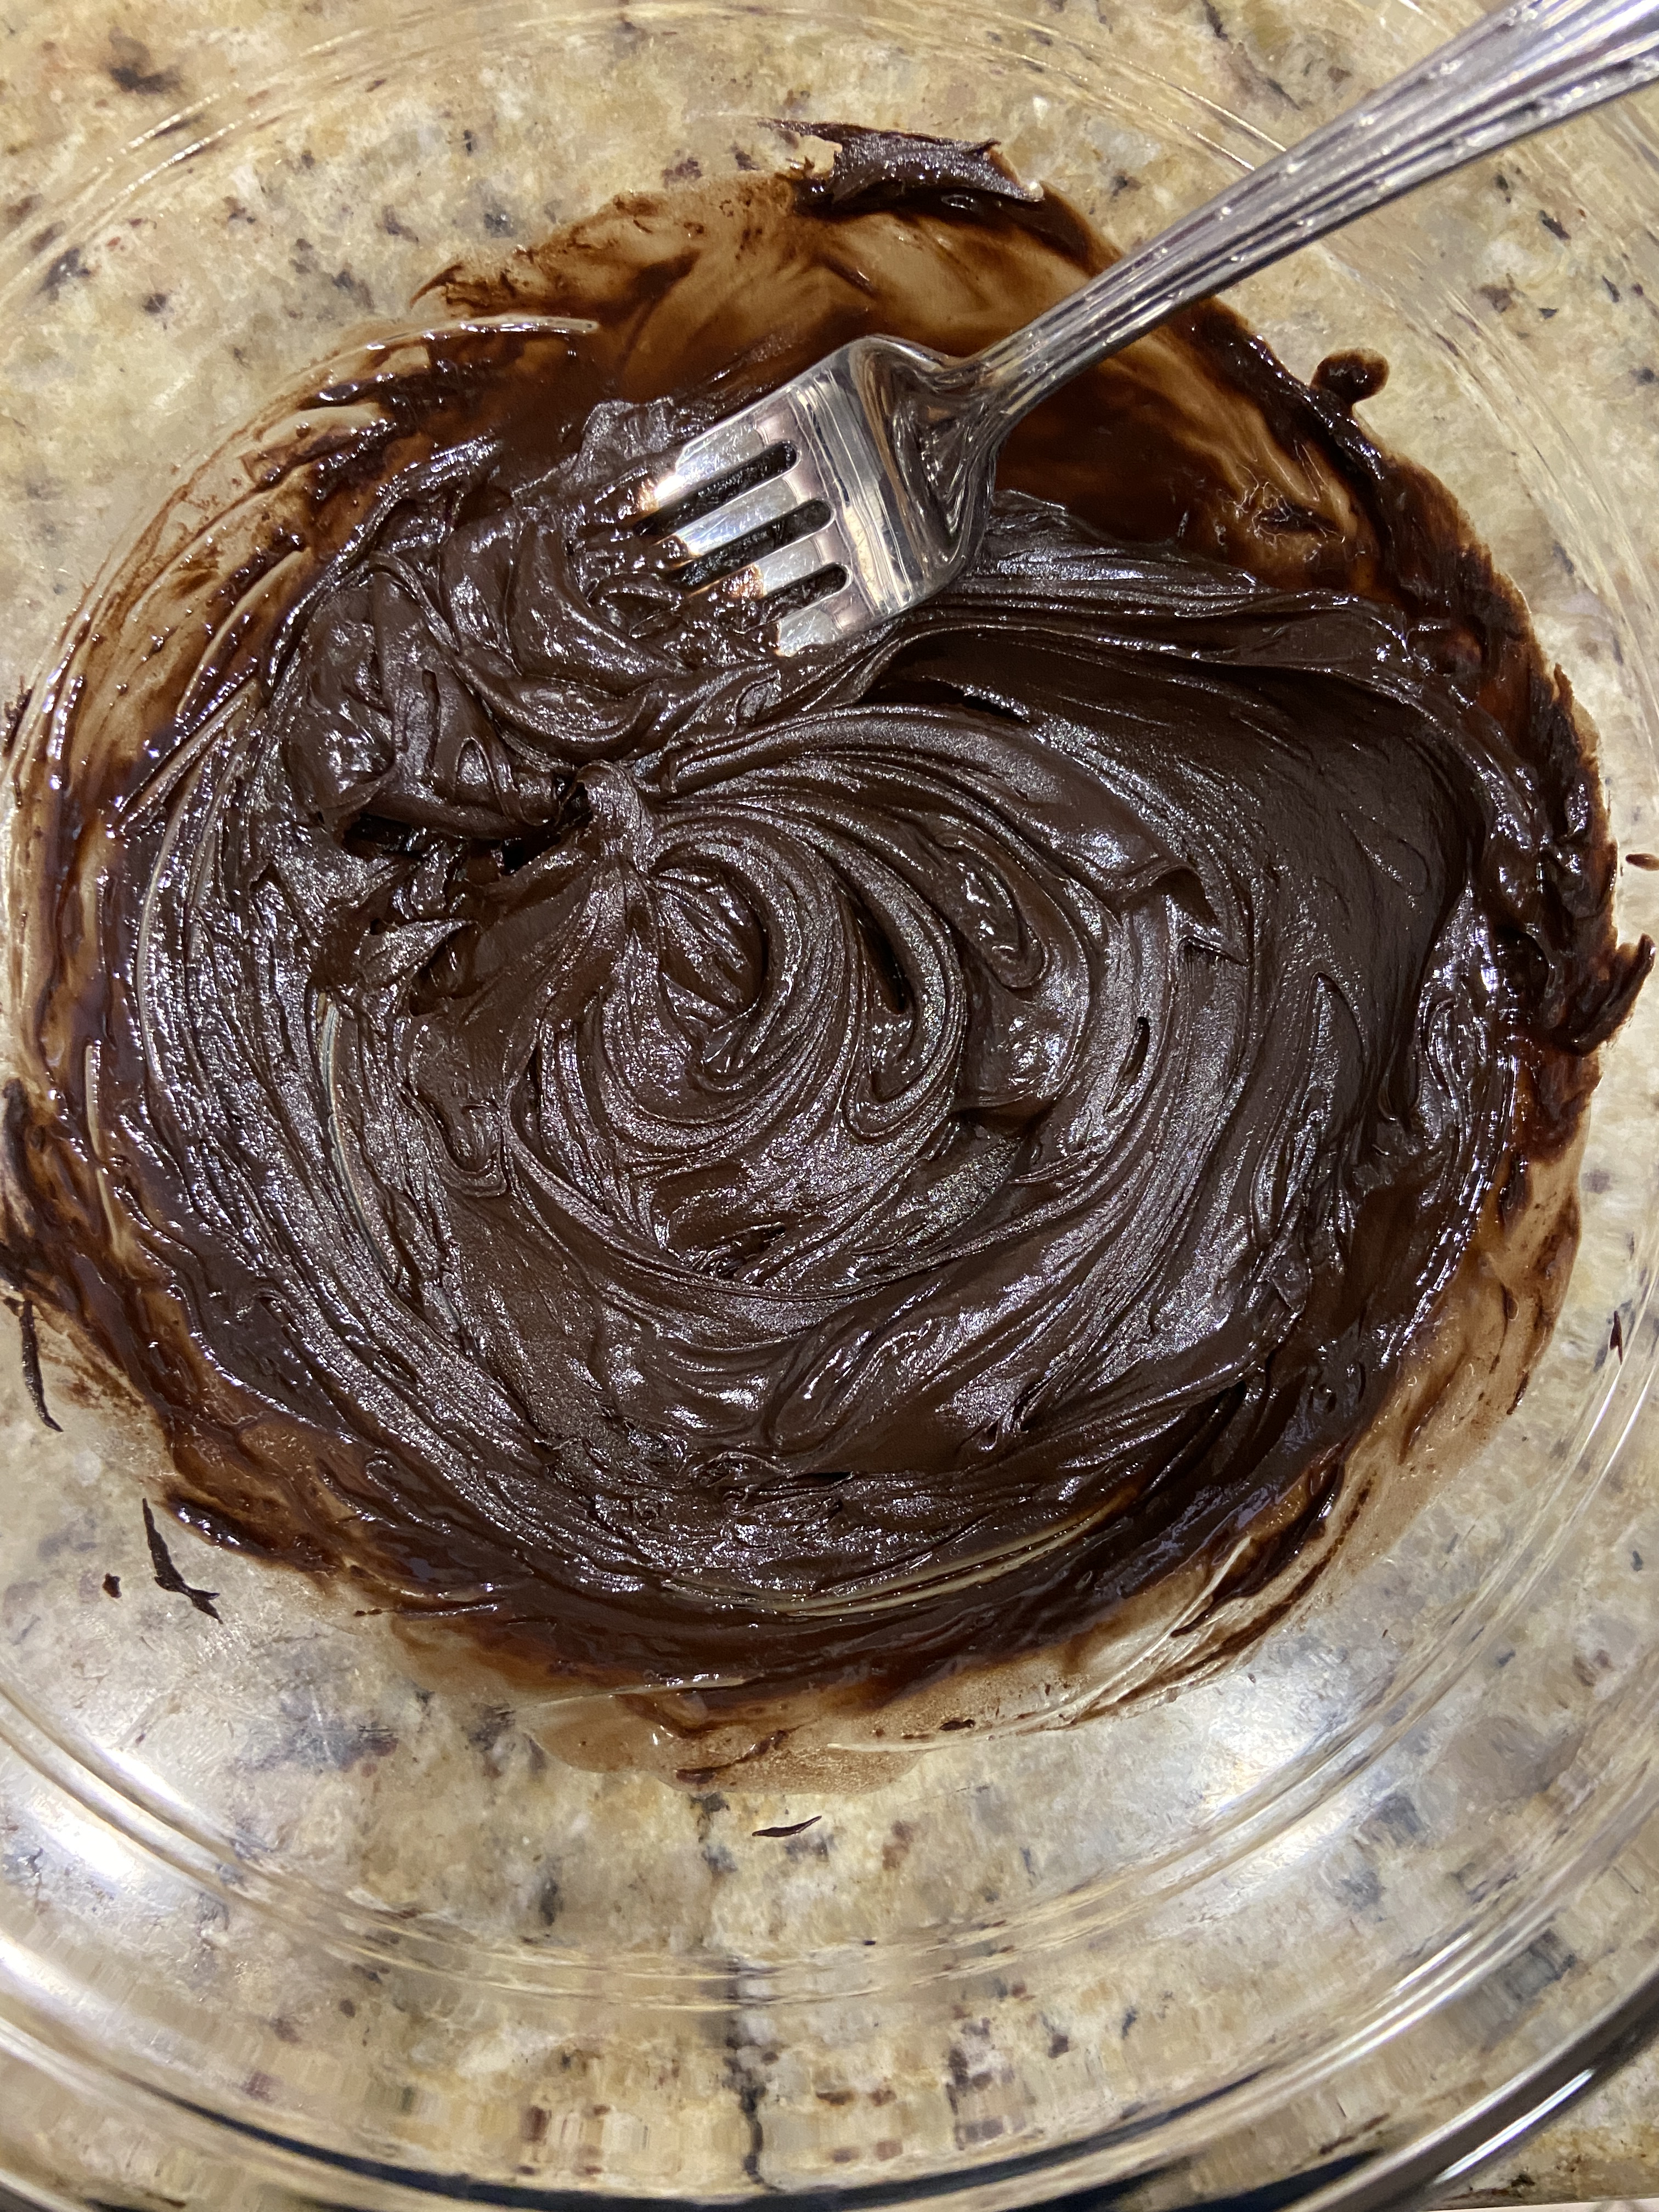
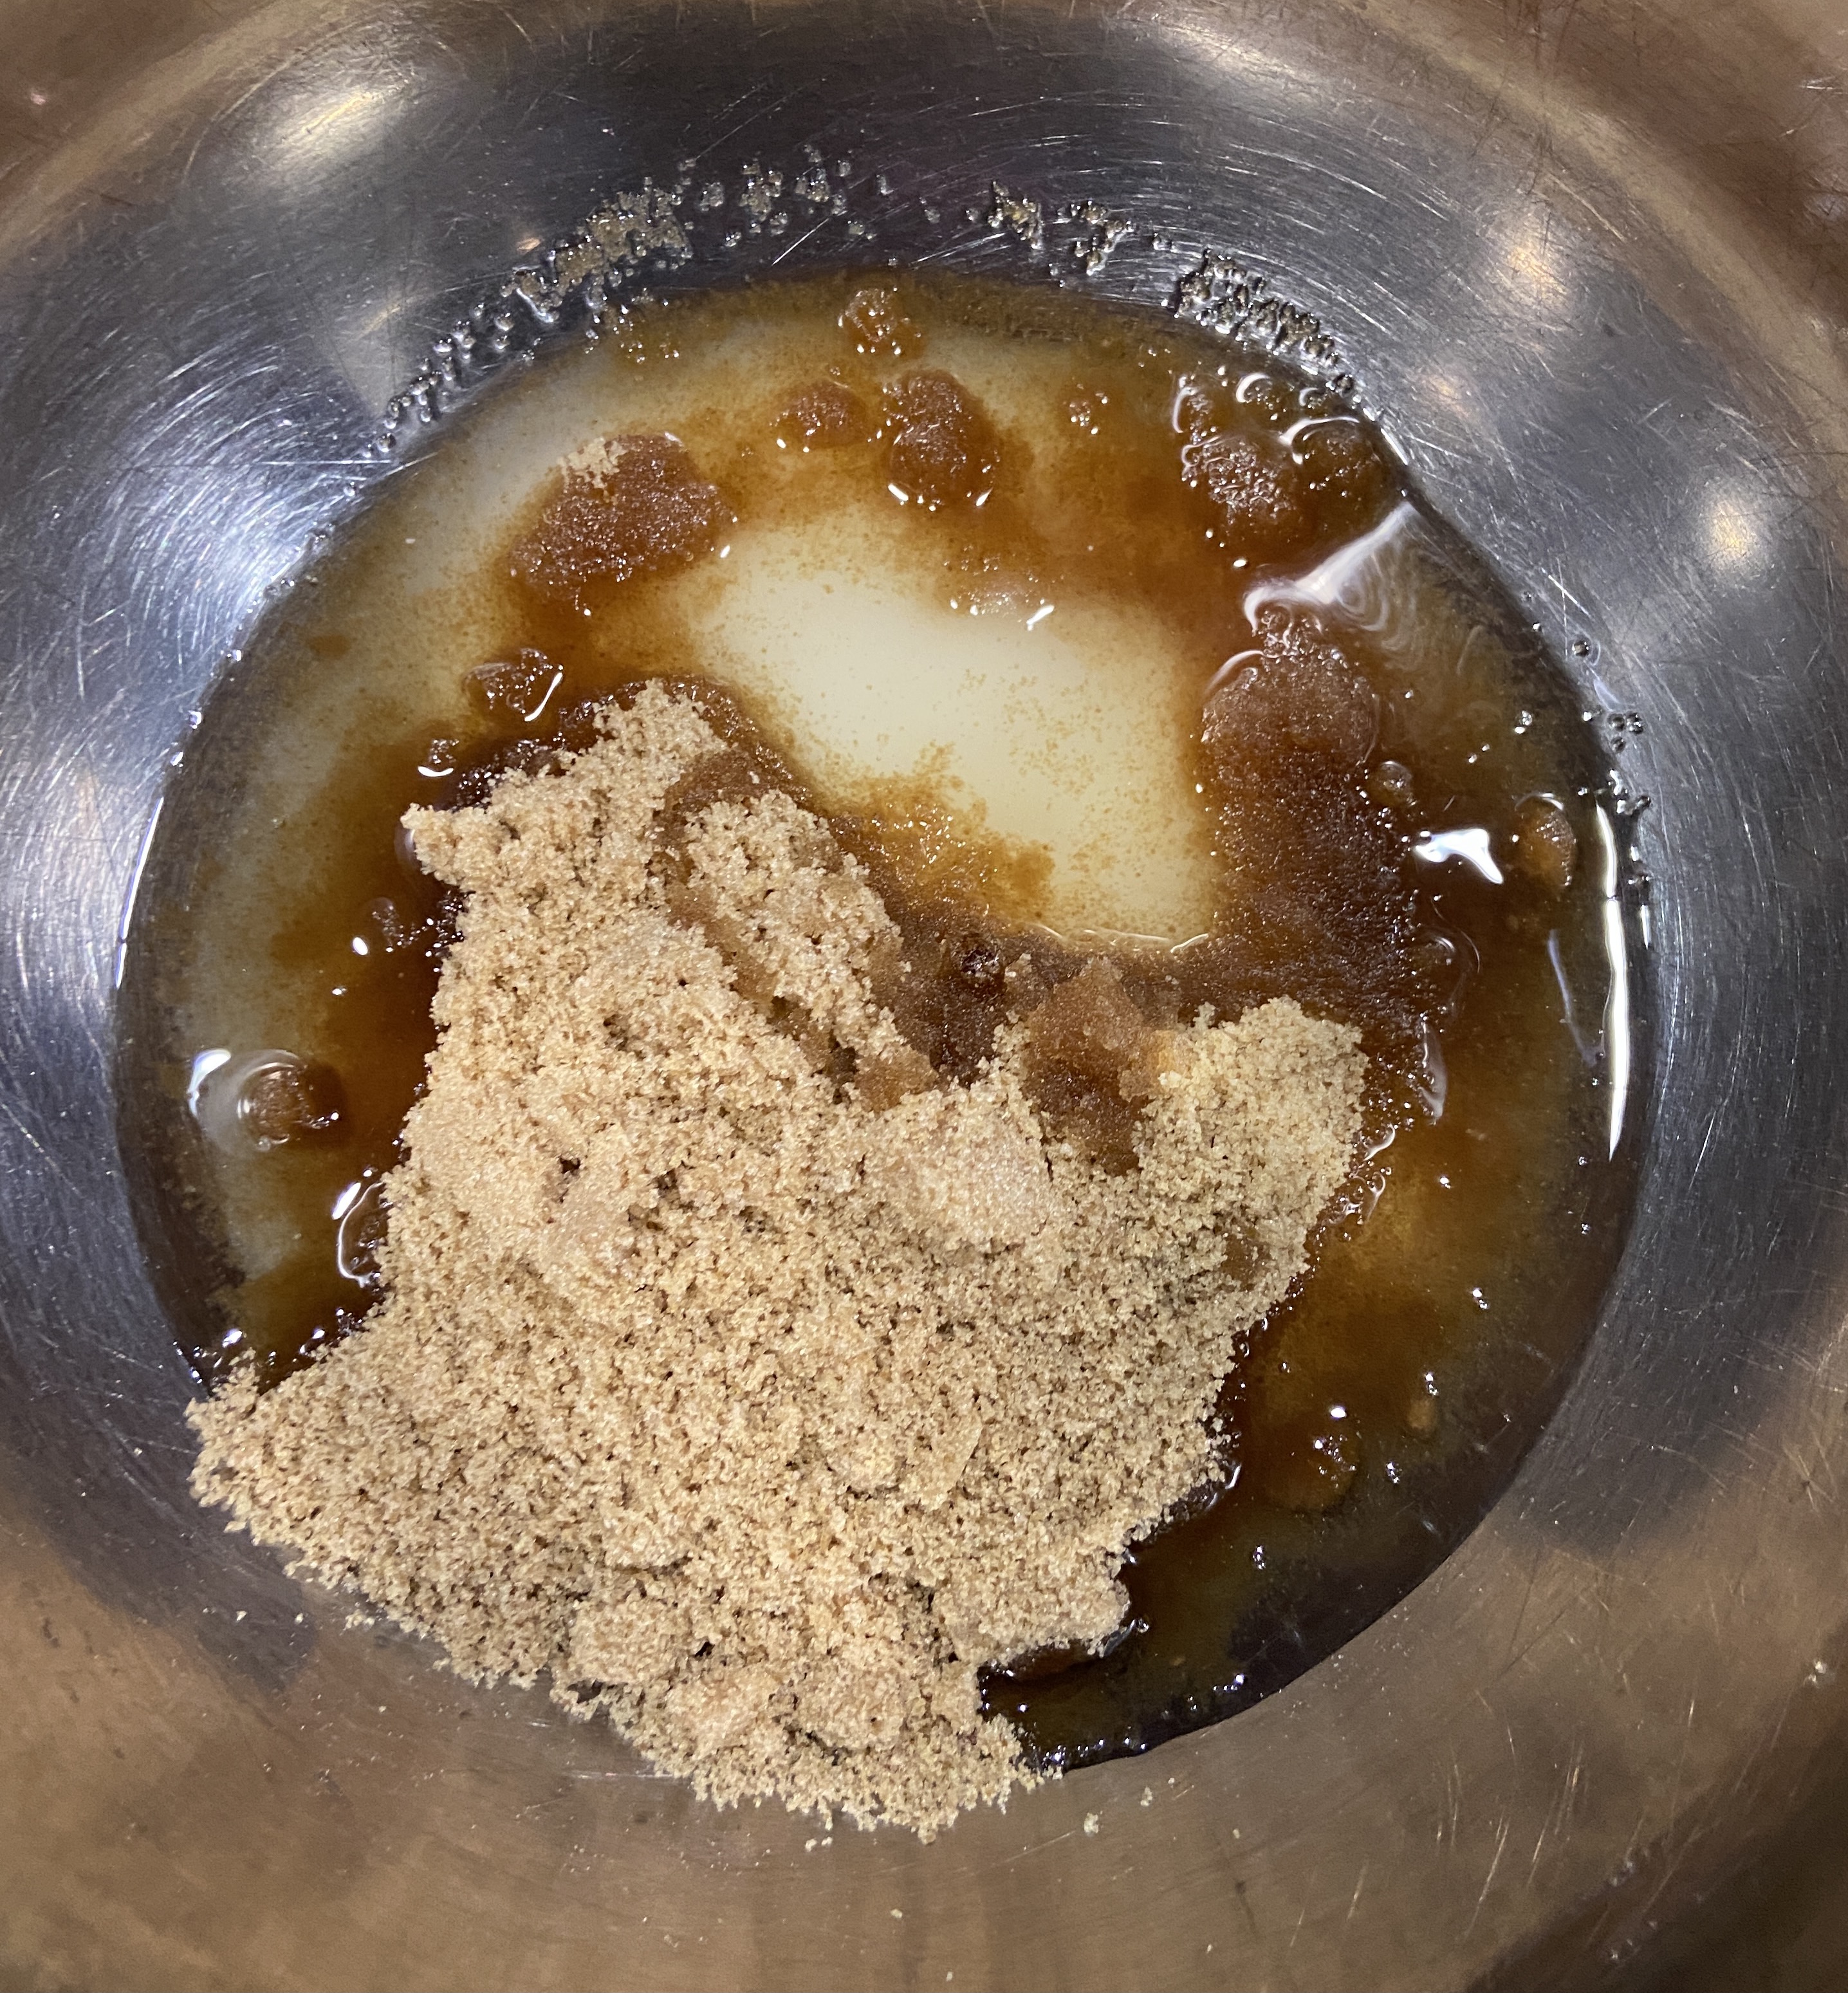
- Mix the canola oil, granulated sugar, and brown sugar in a large bowl with an electric mixer (on high speed) until combined.
- Next, add in the eggs and mix until light and fluffy.
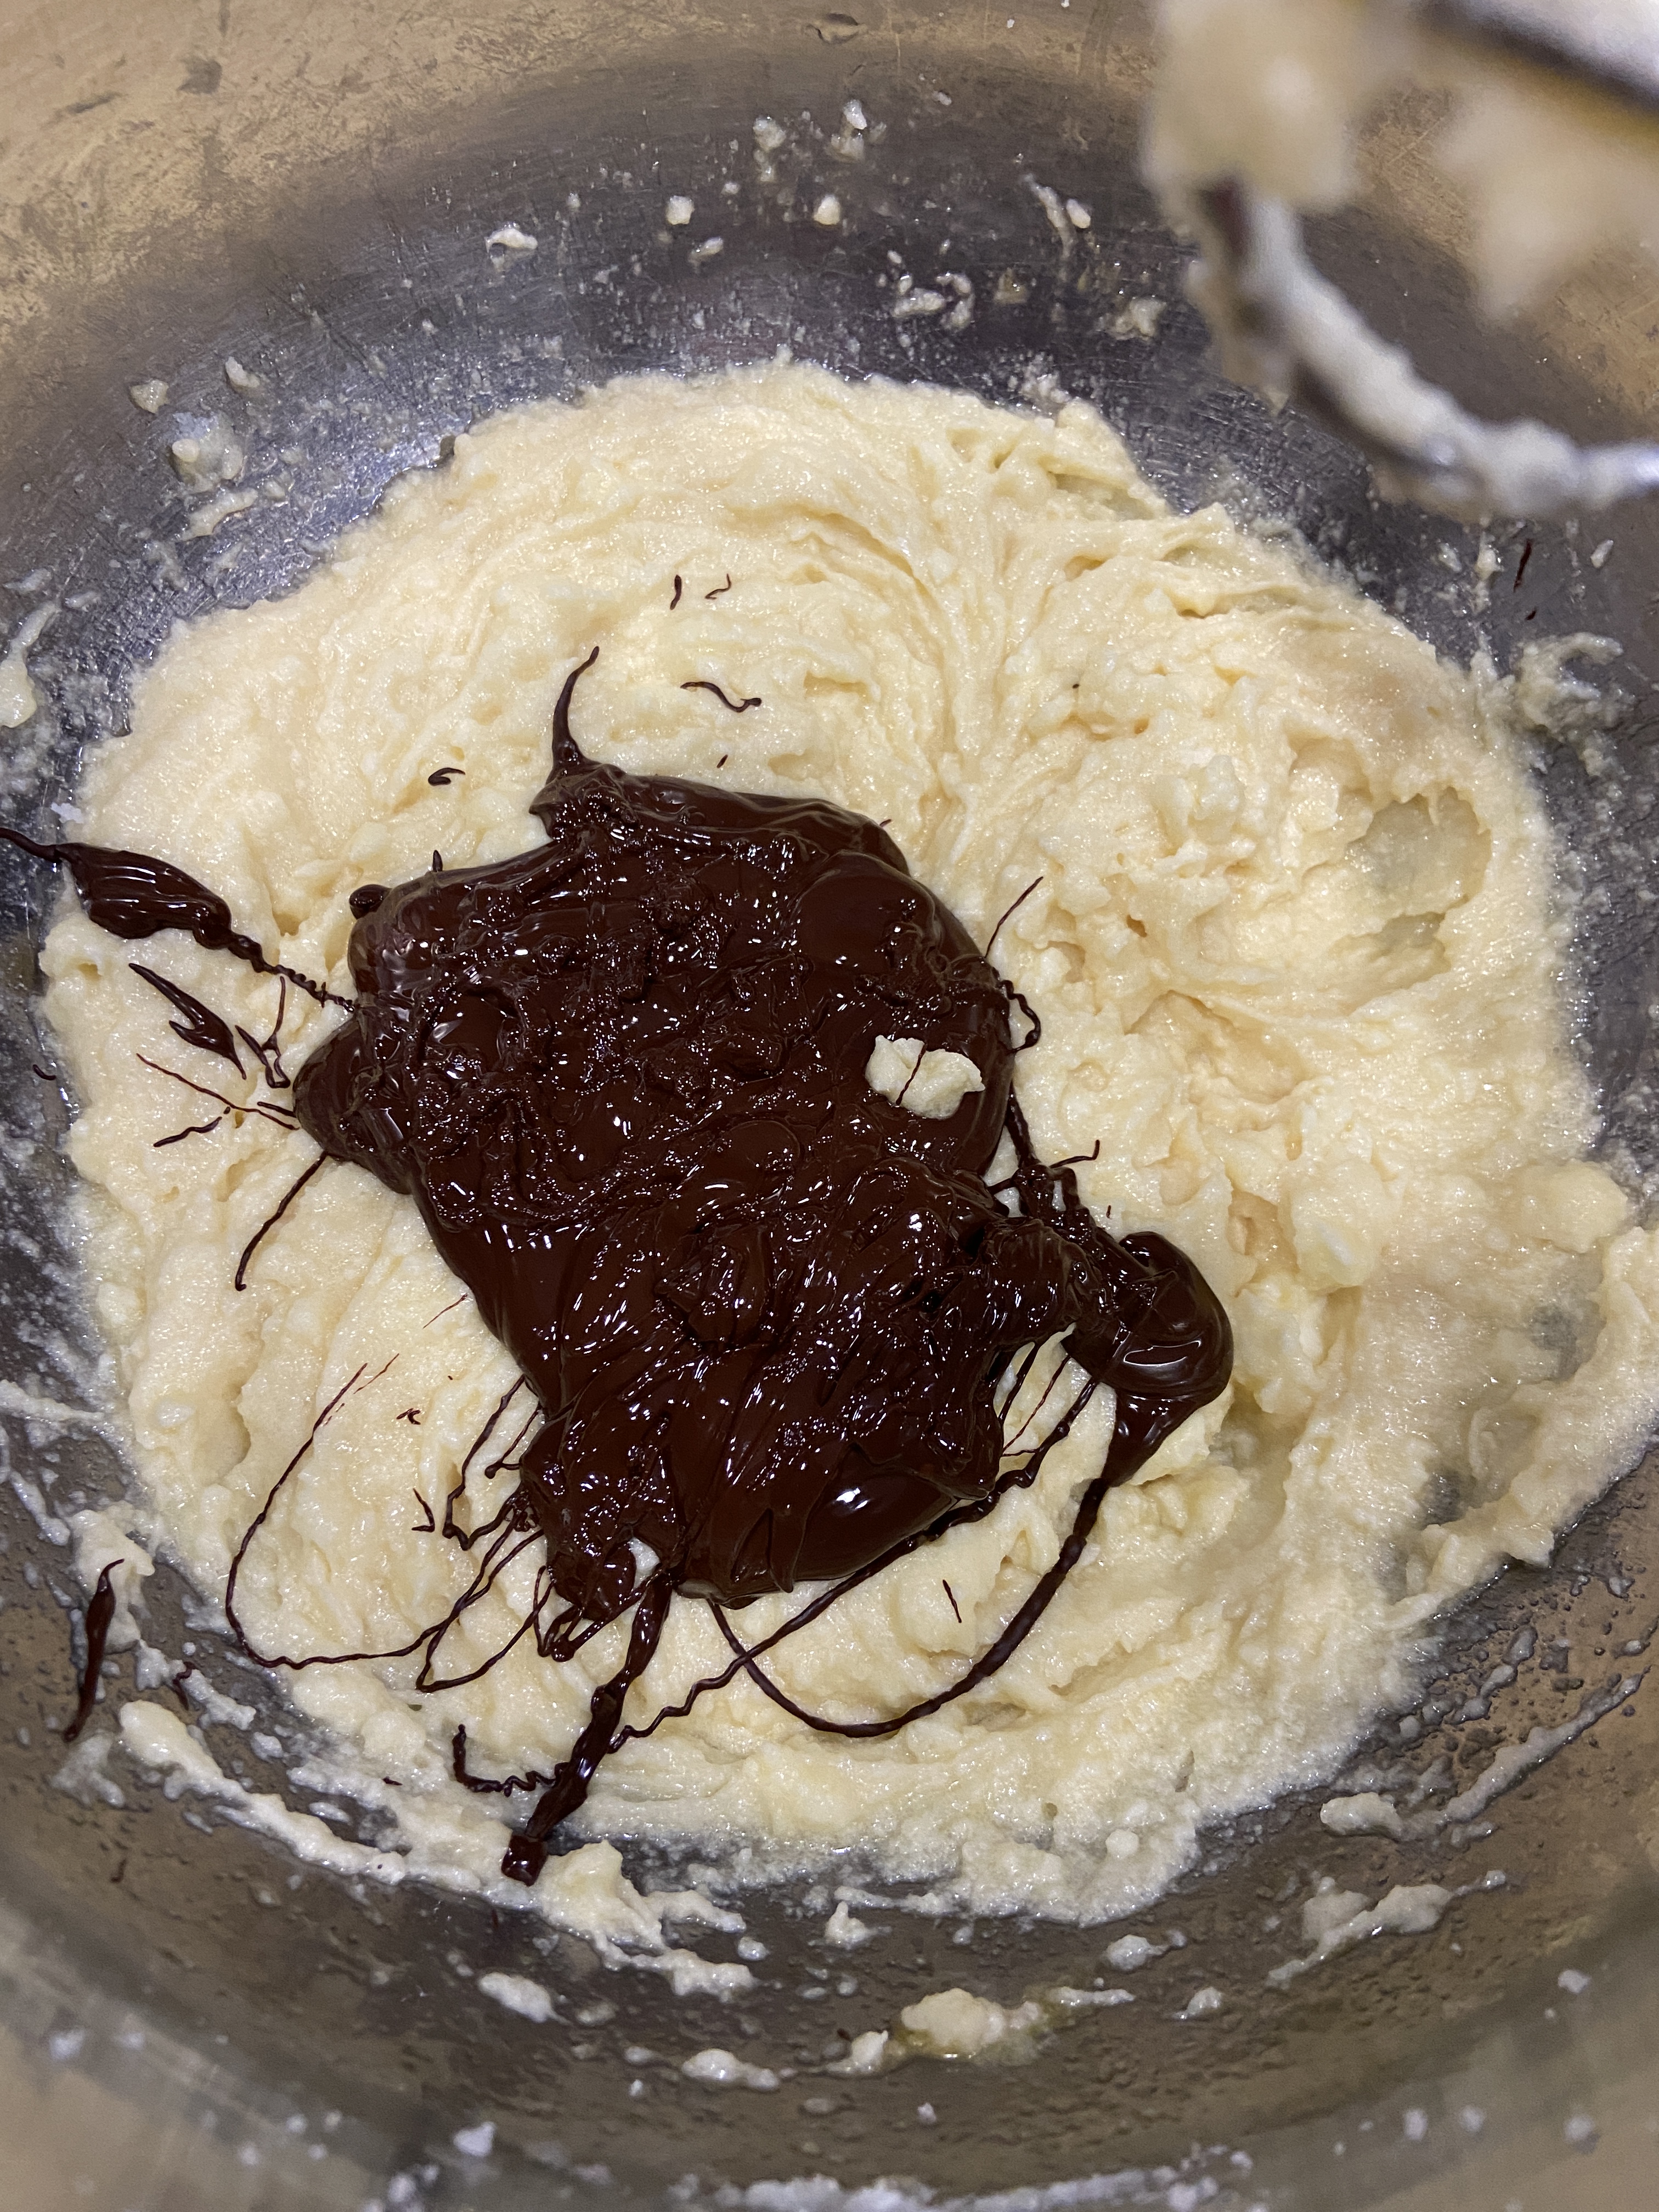
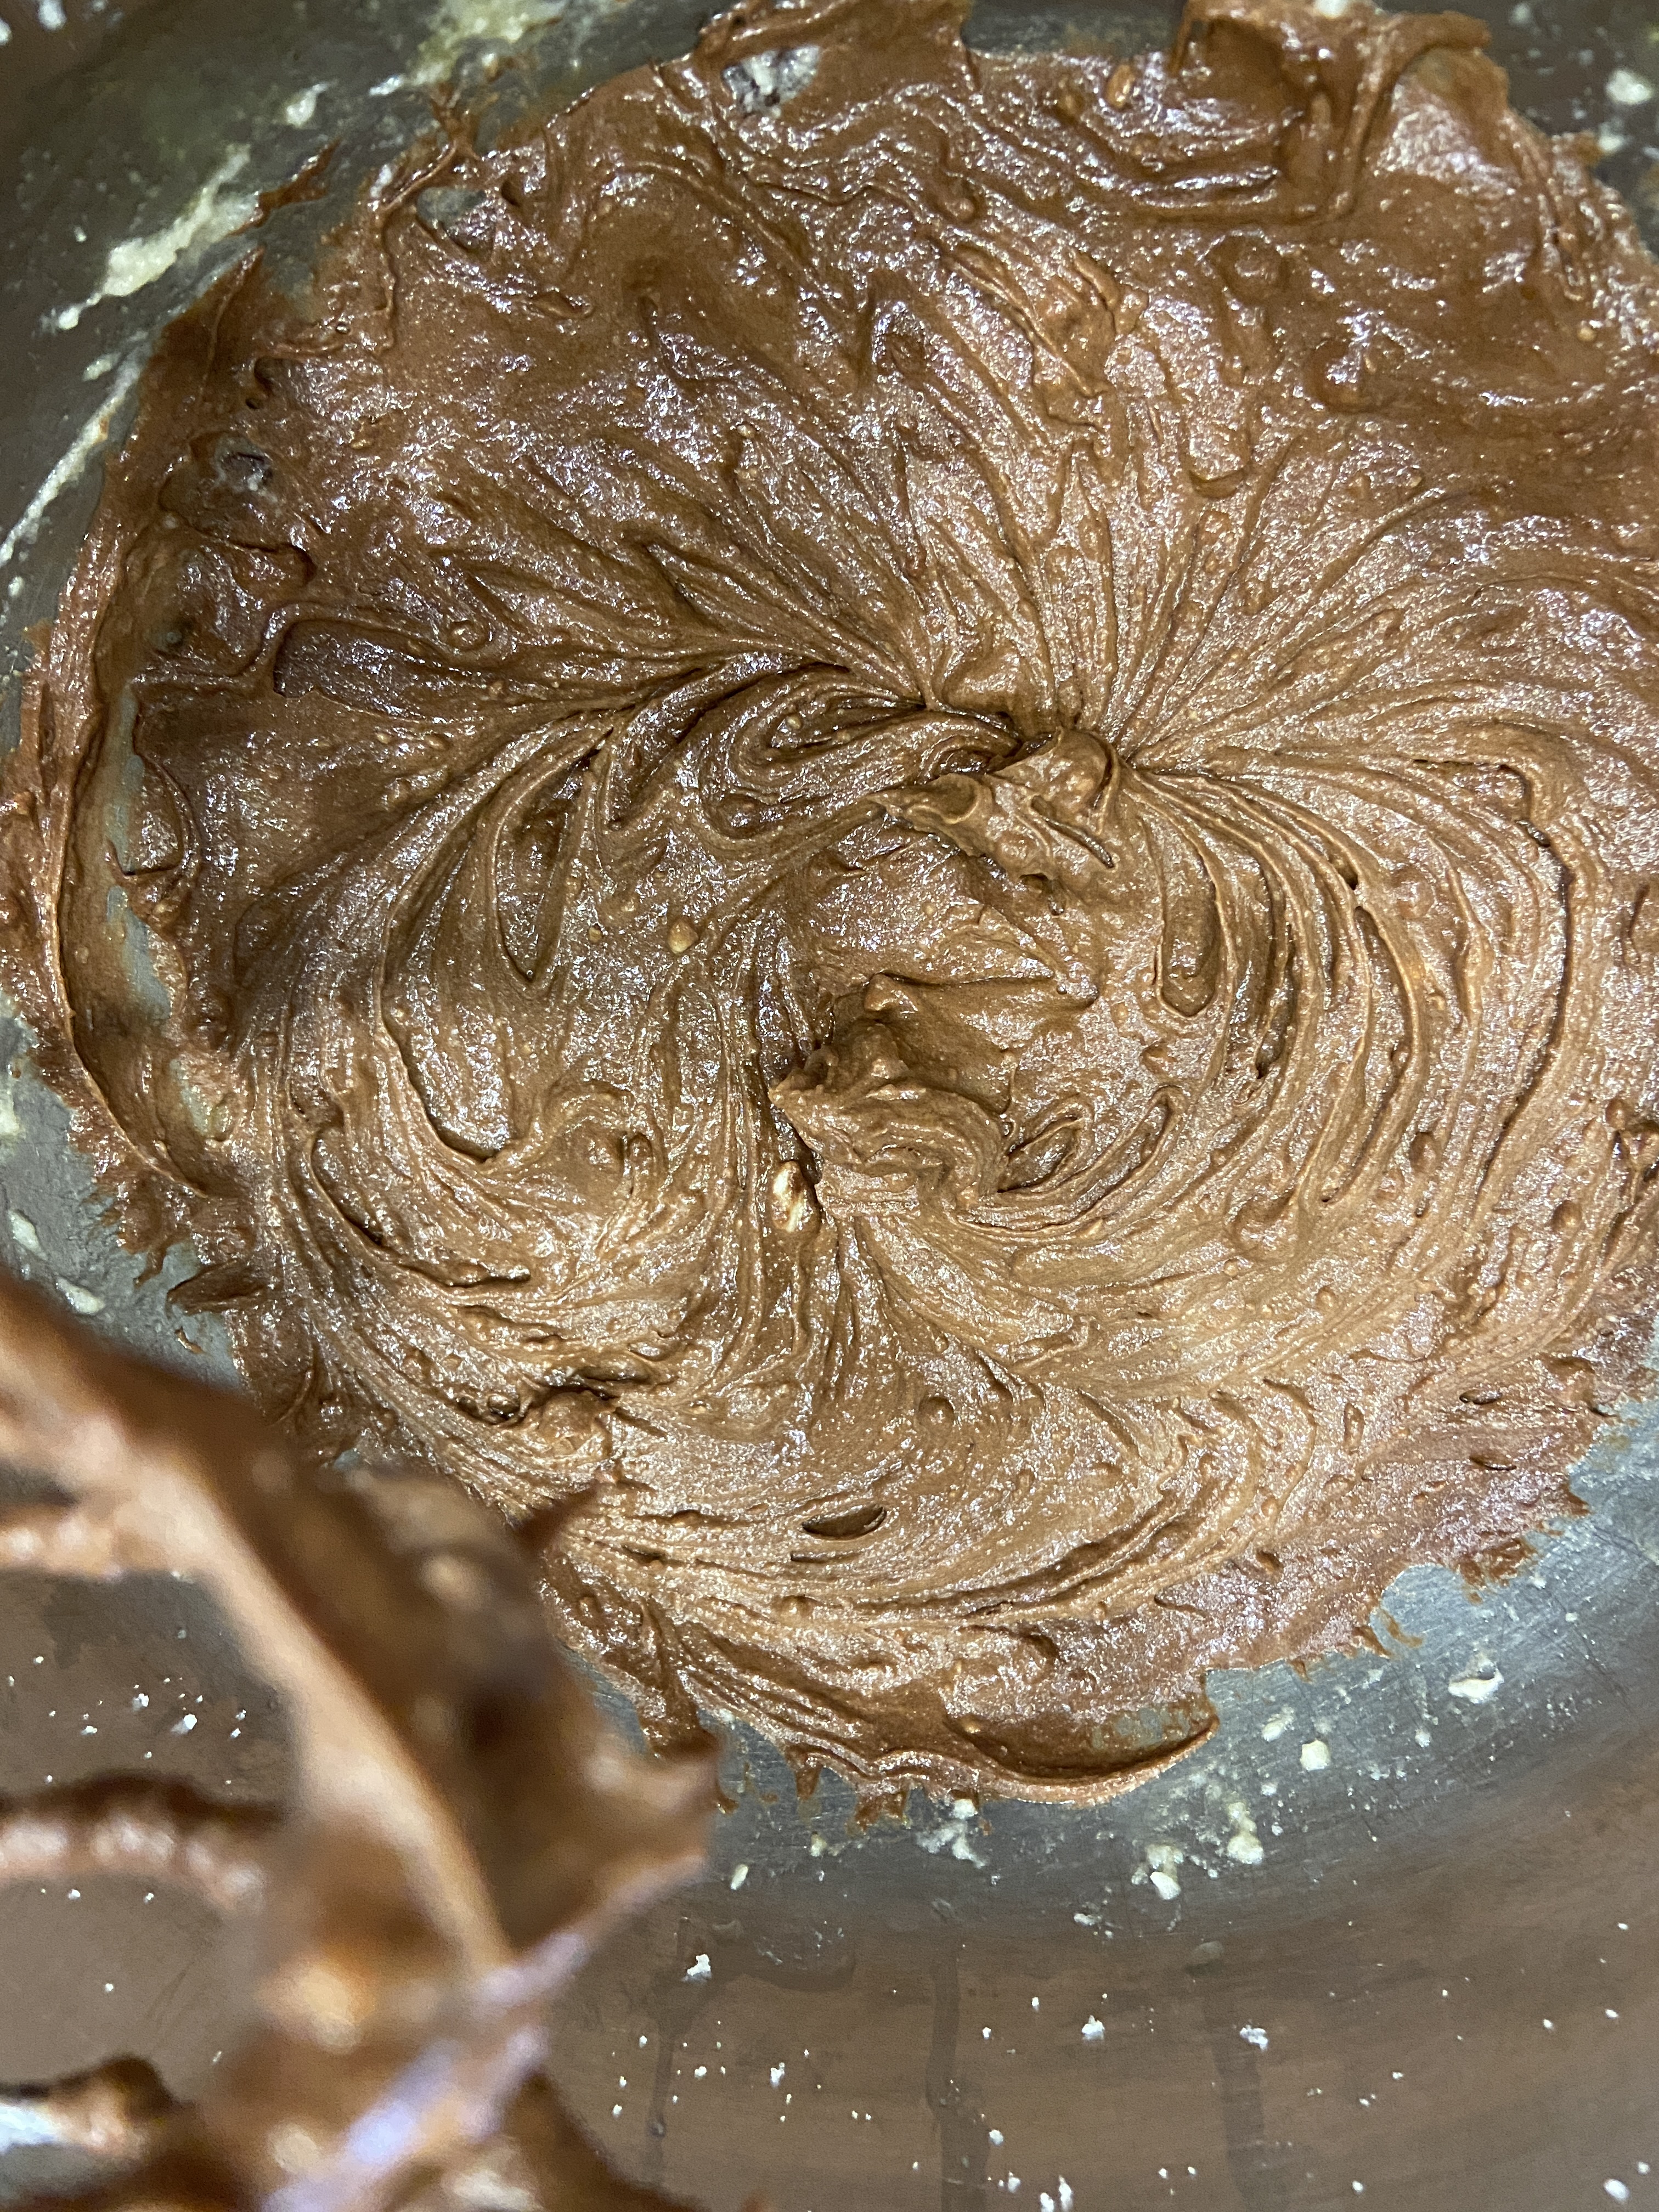
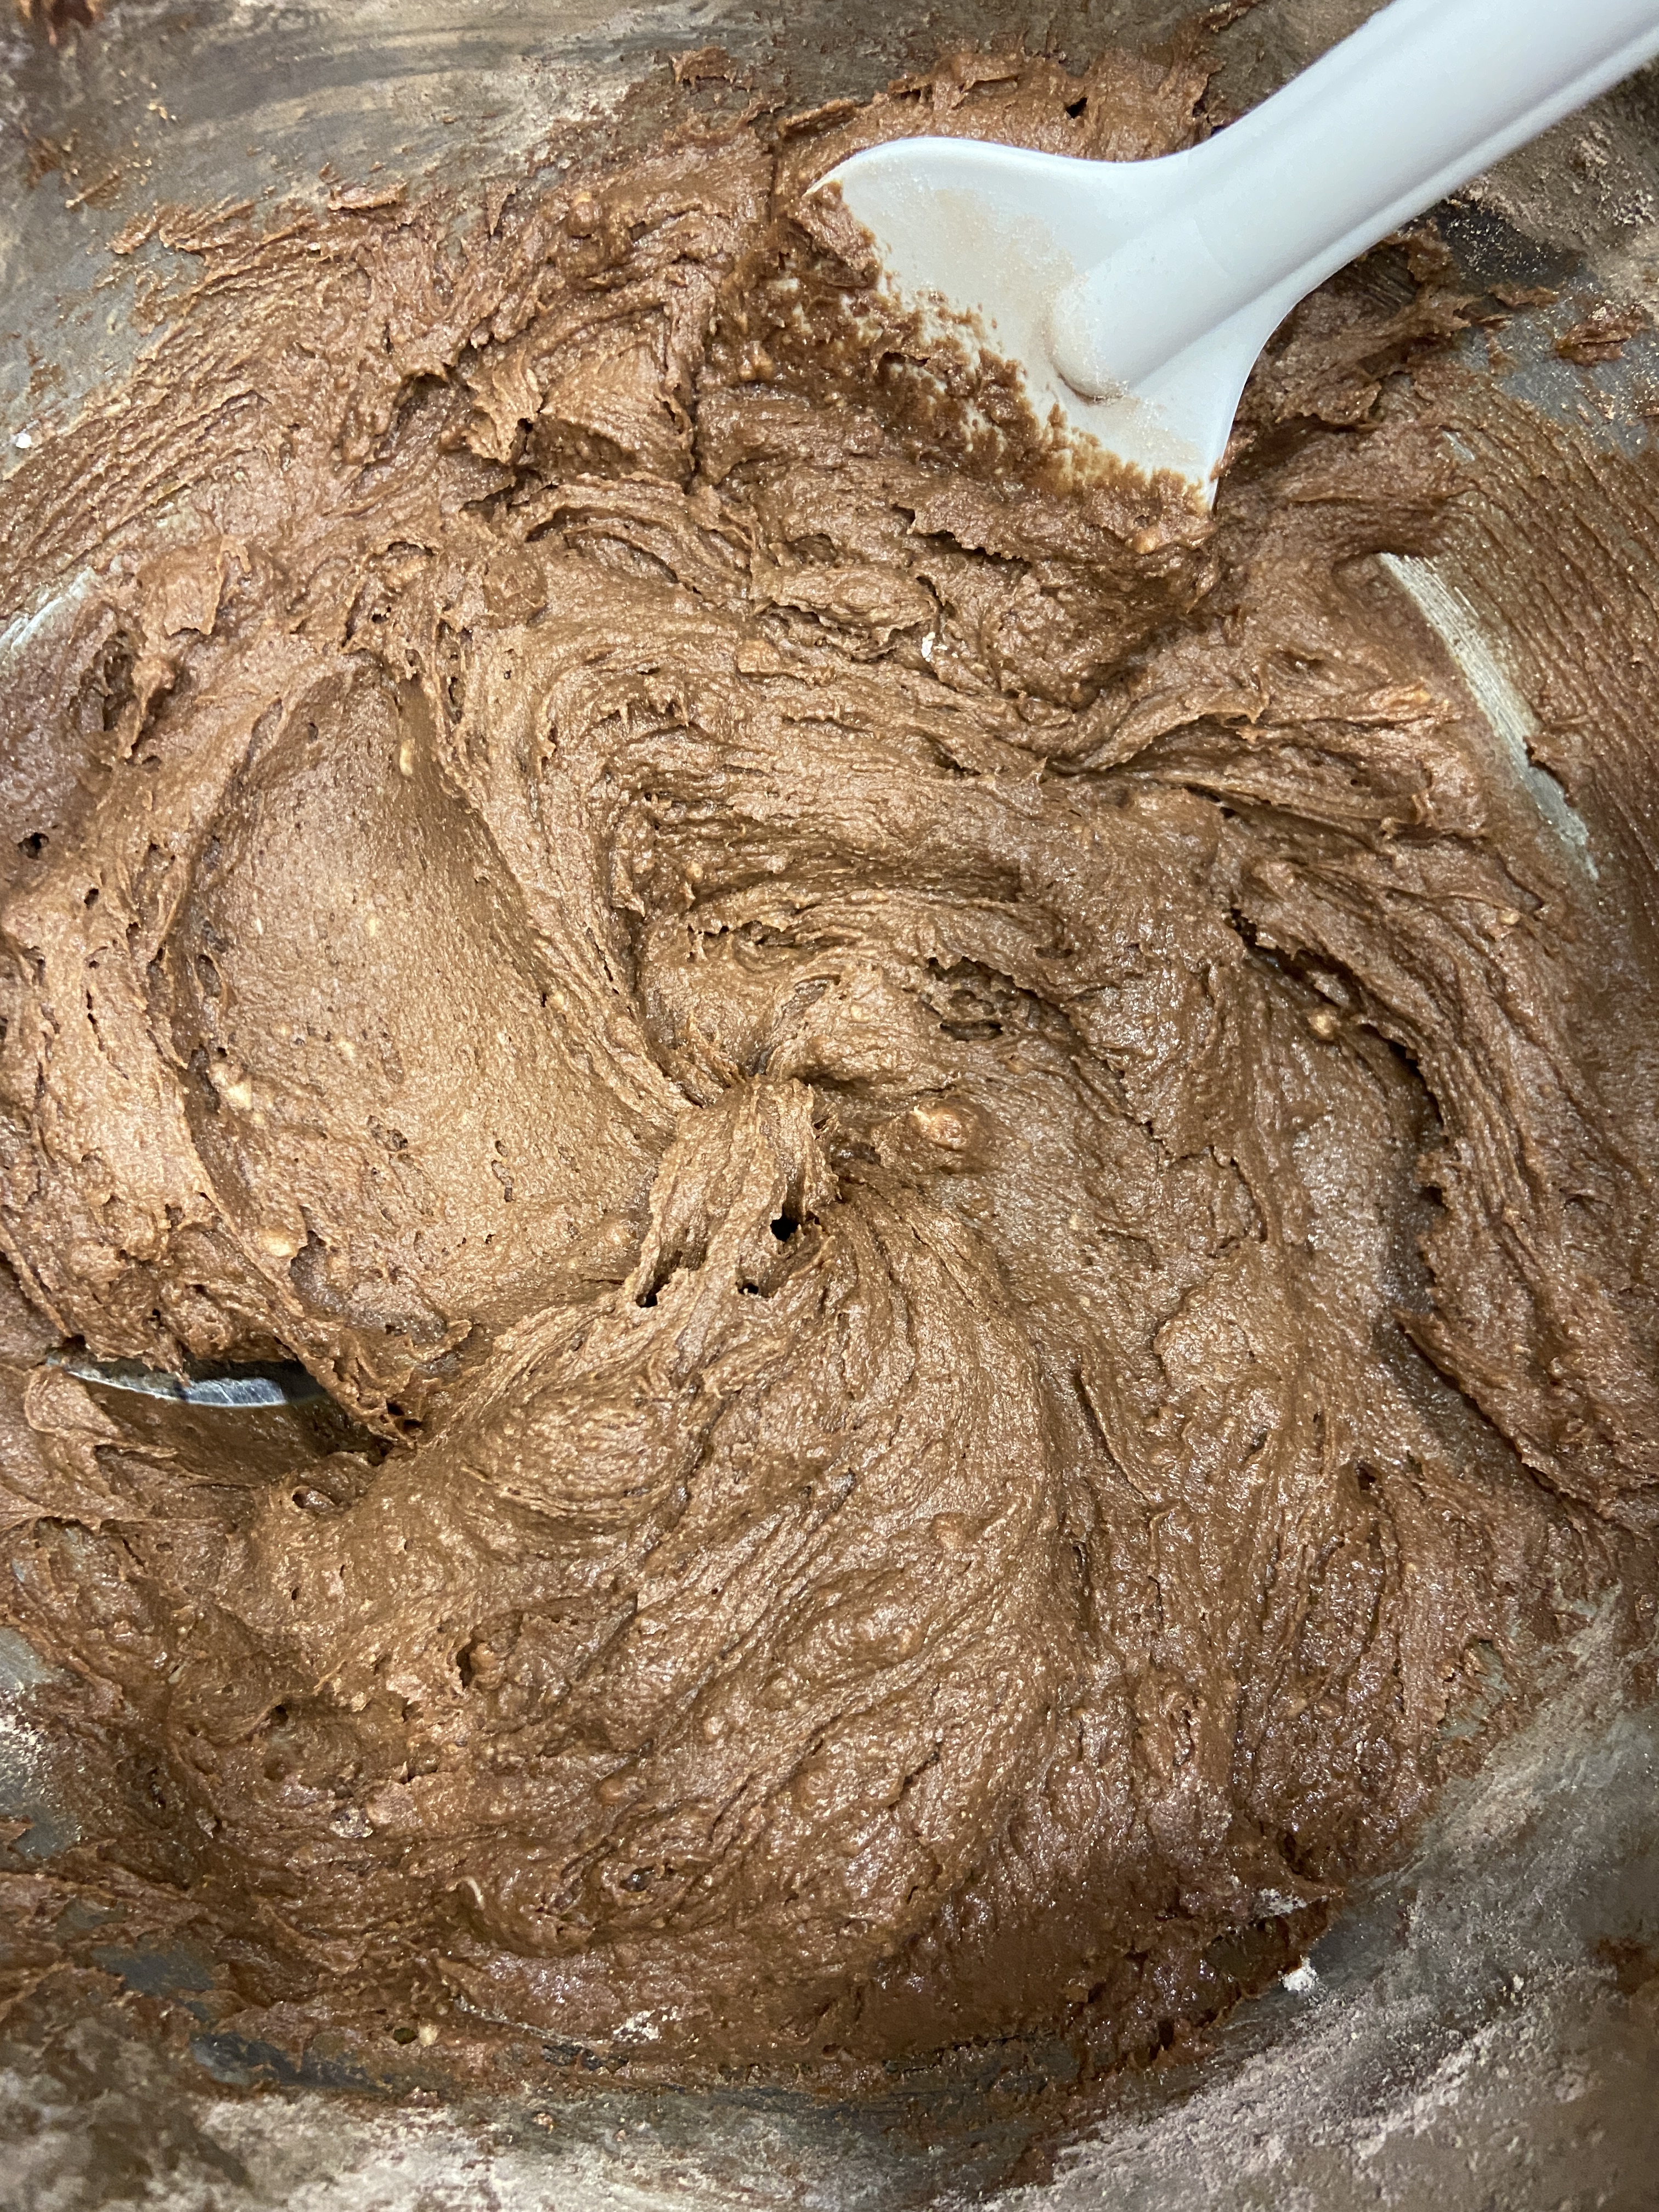
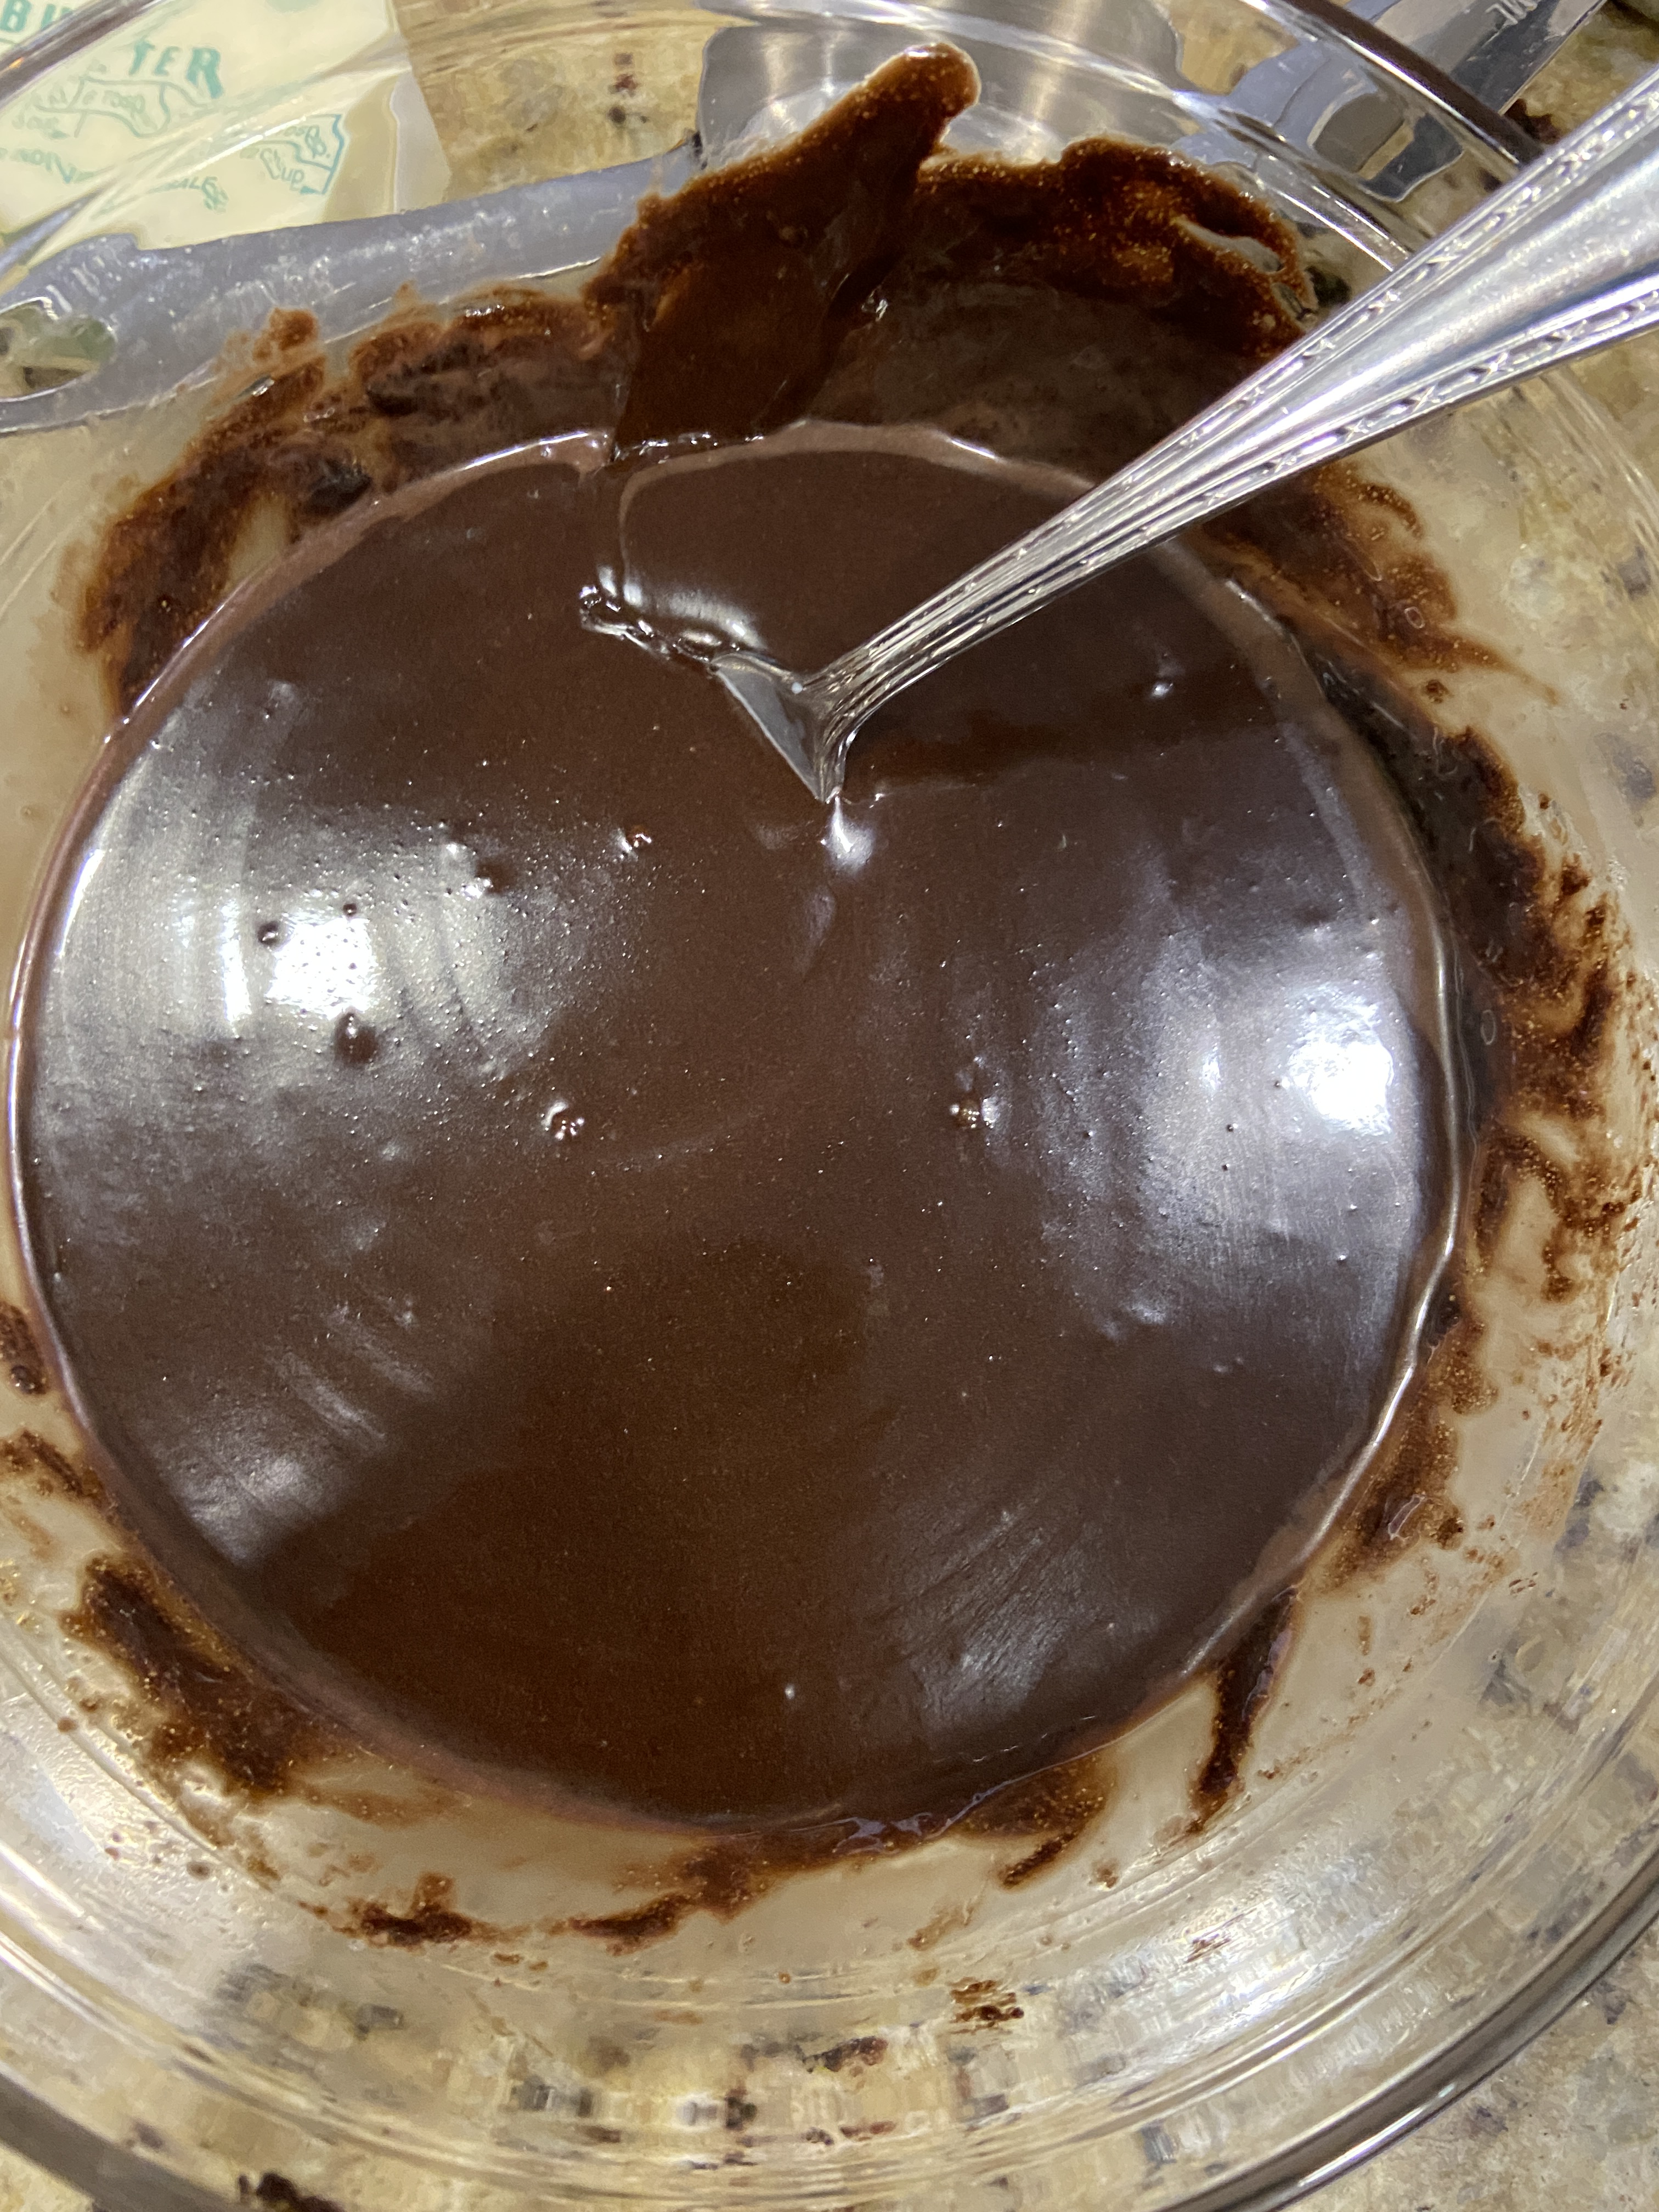
- Then add the pumpkin puree, chai tea concentrate, vanilla extract, and mix them until just combined.
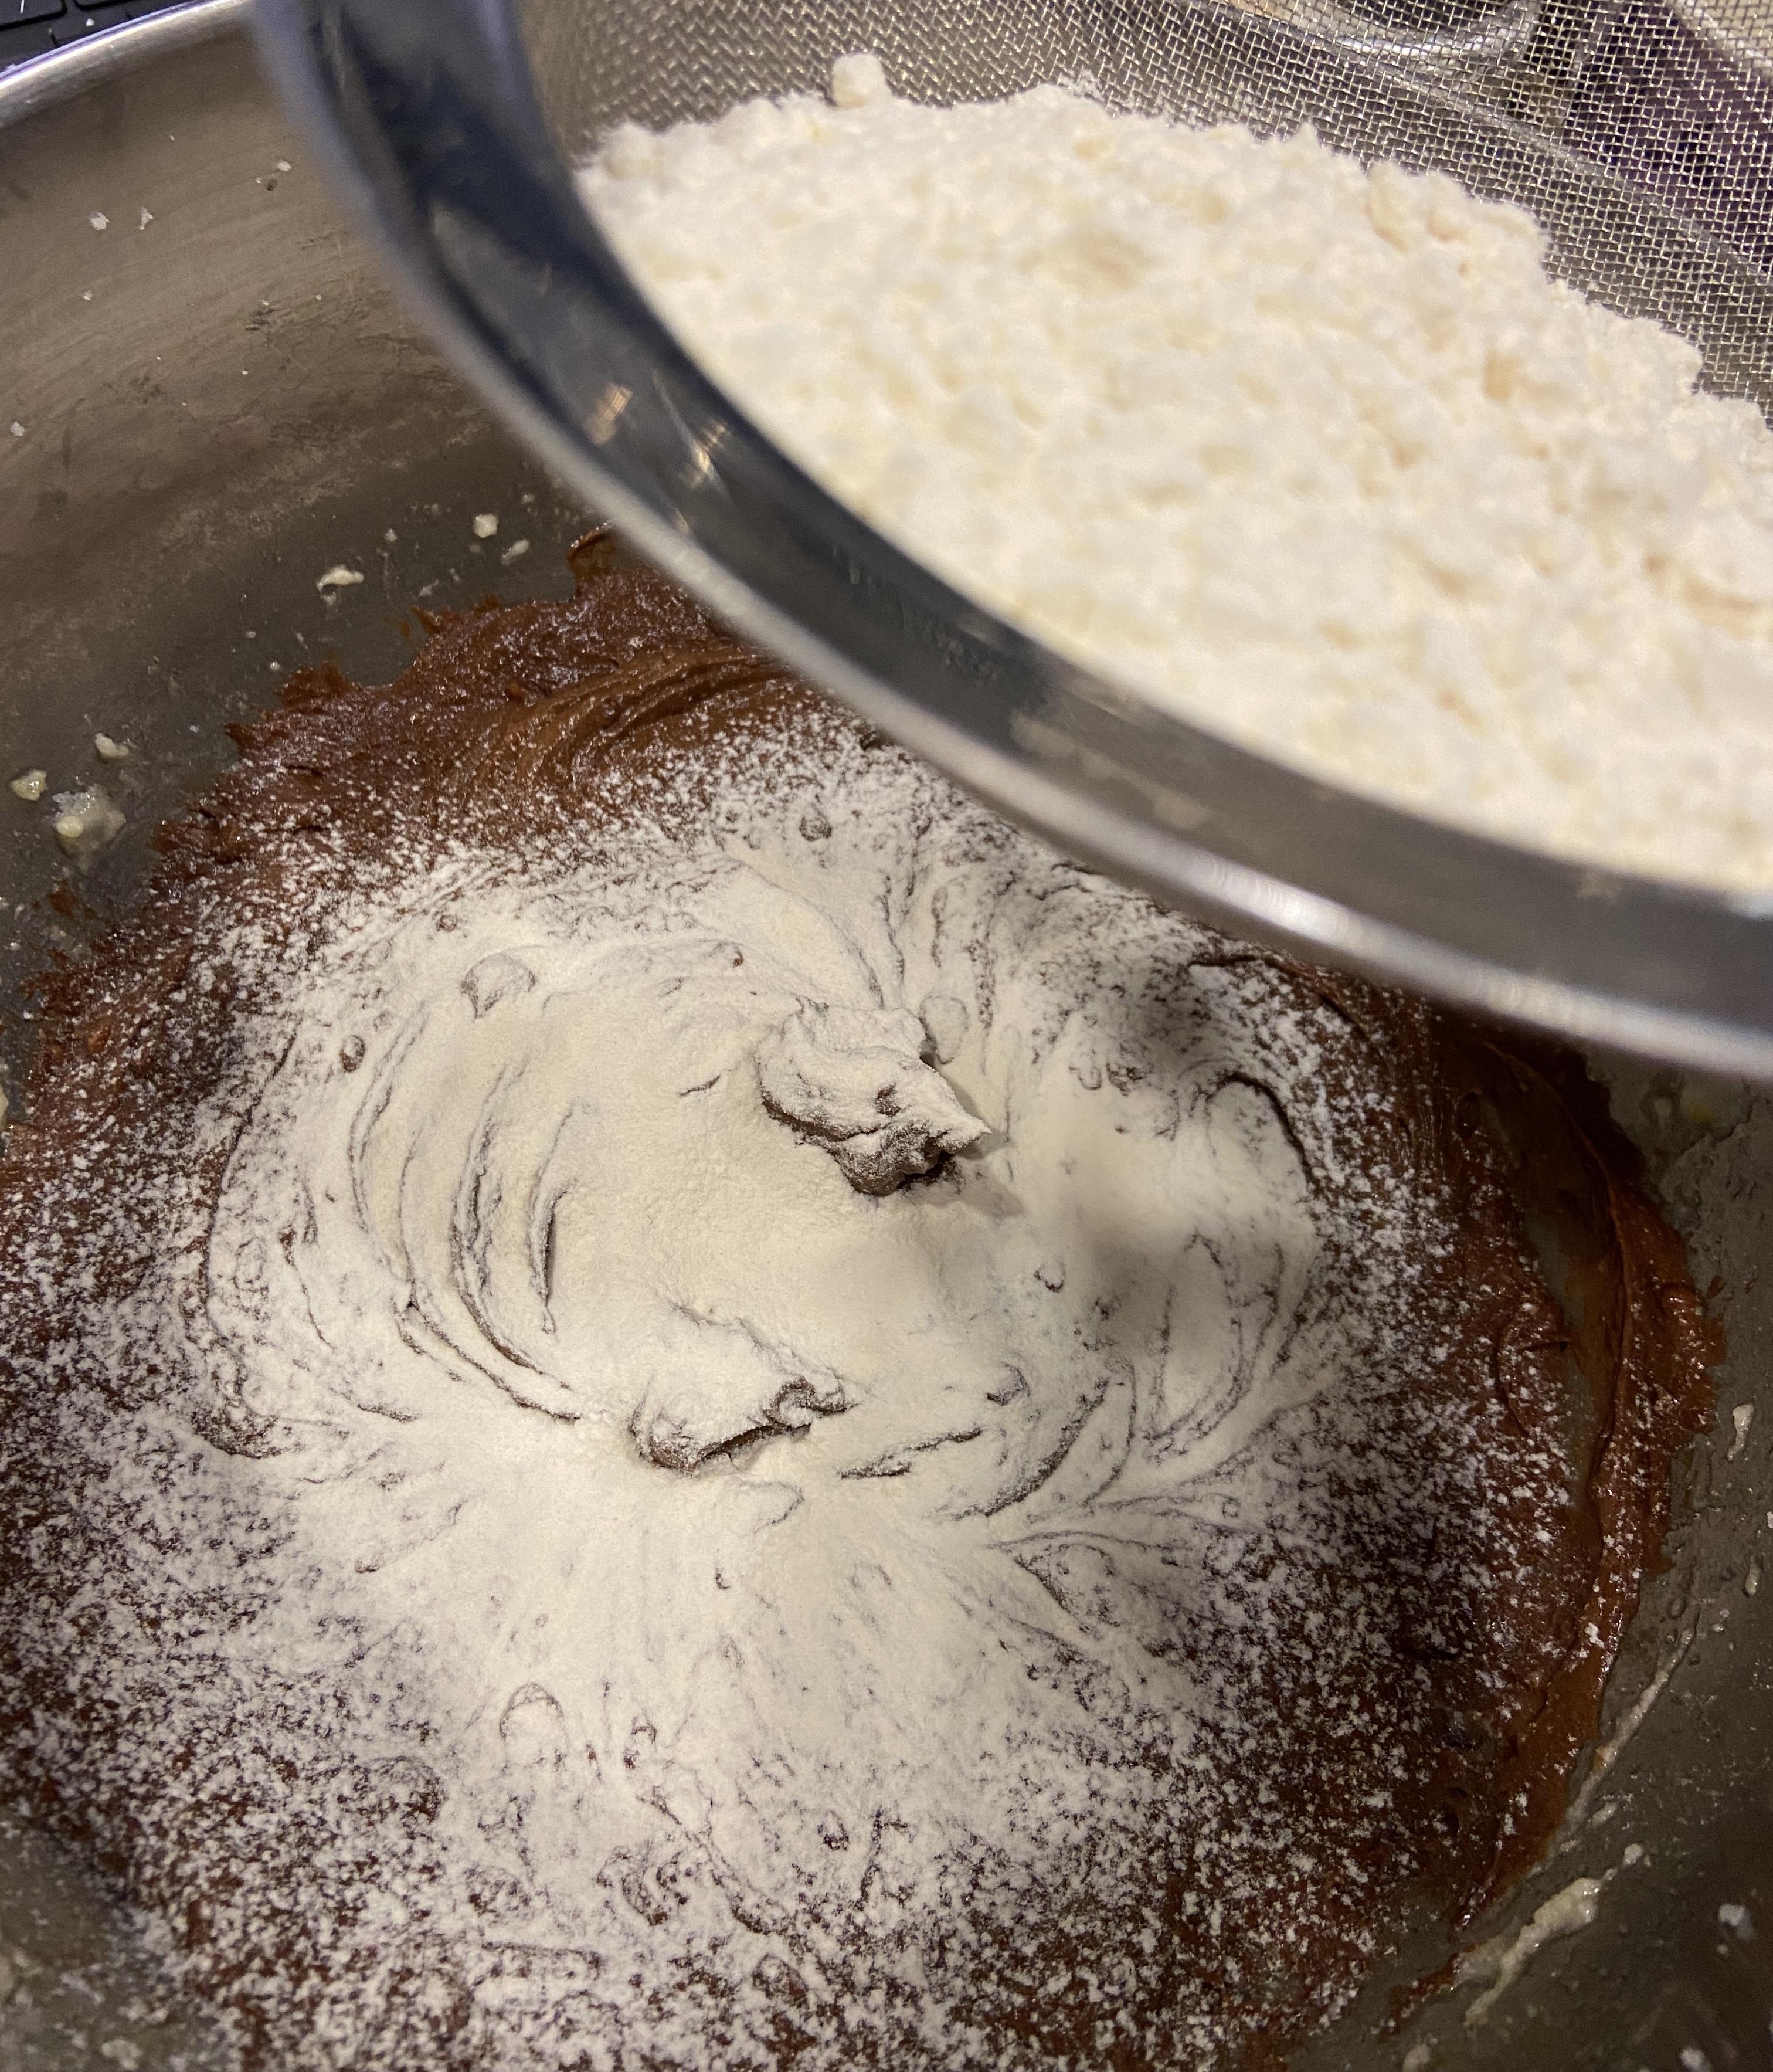
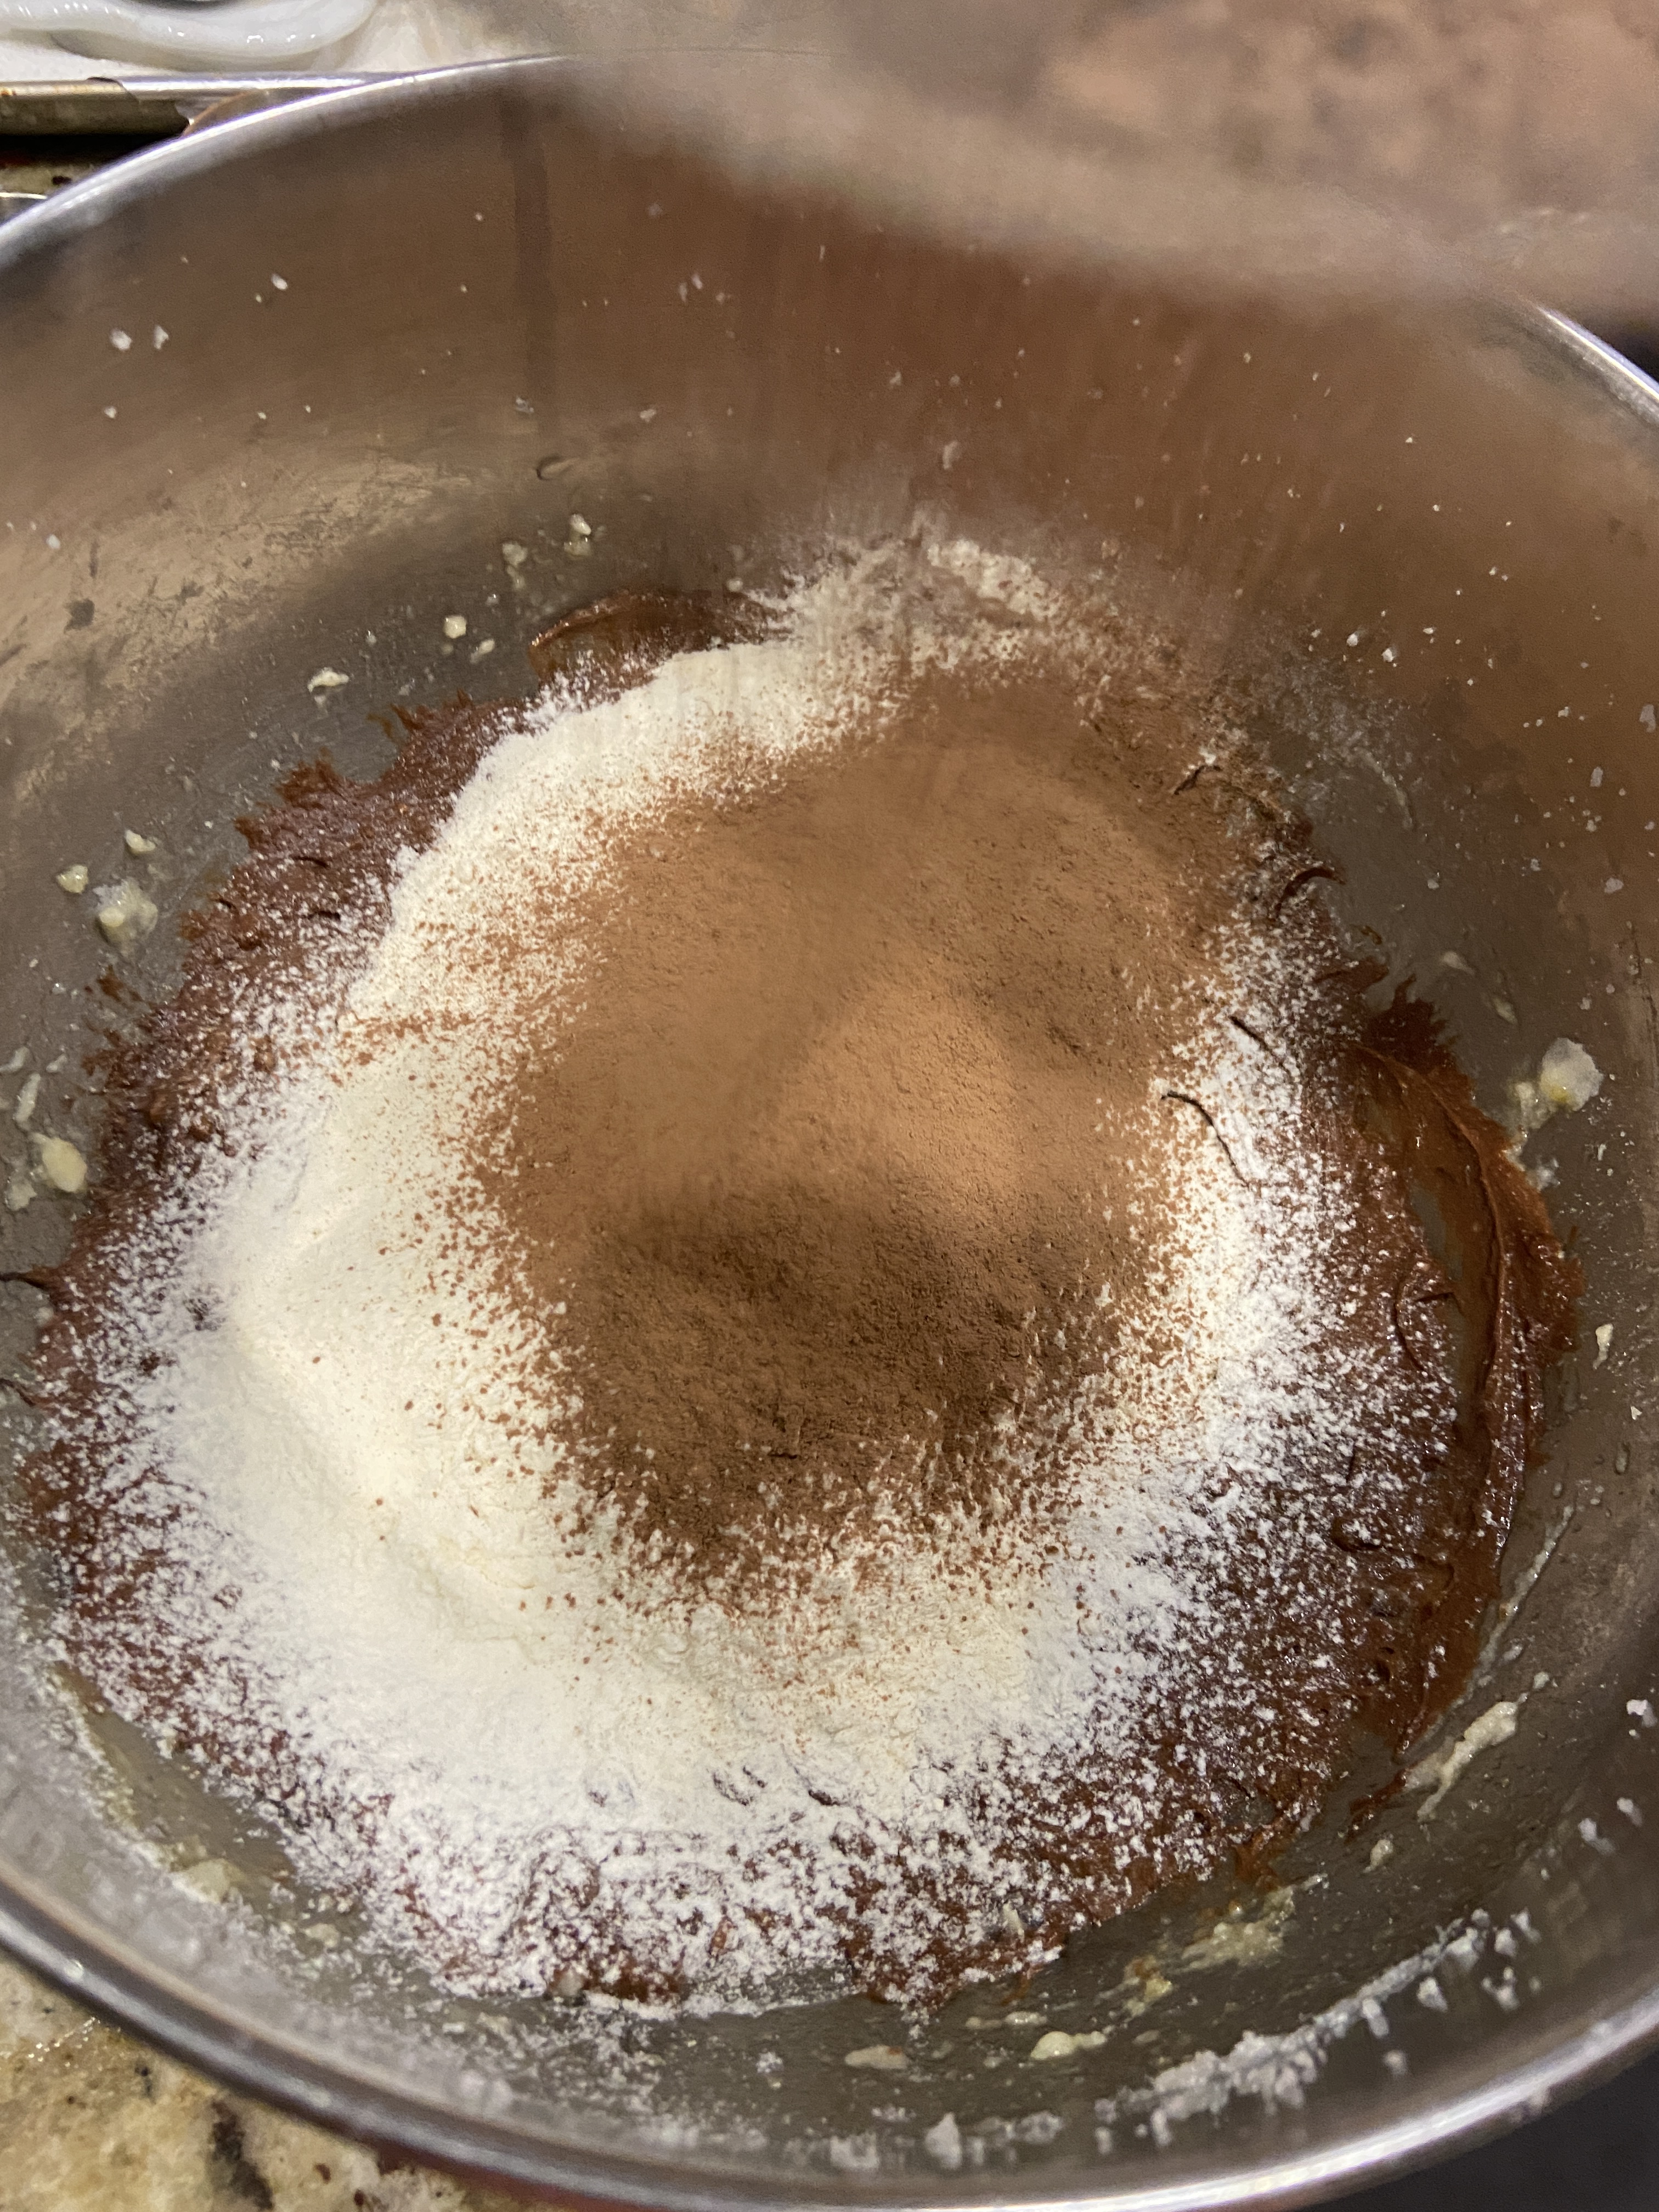
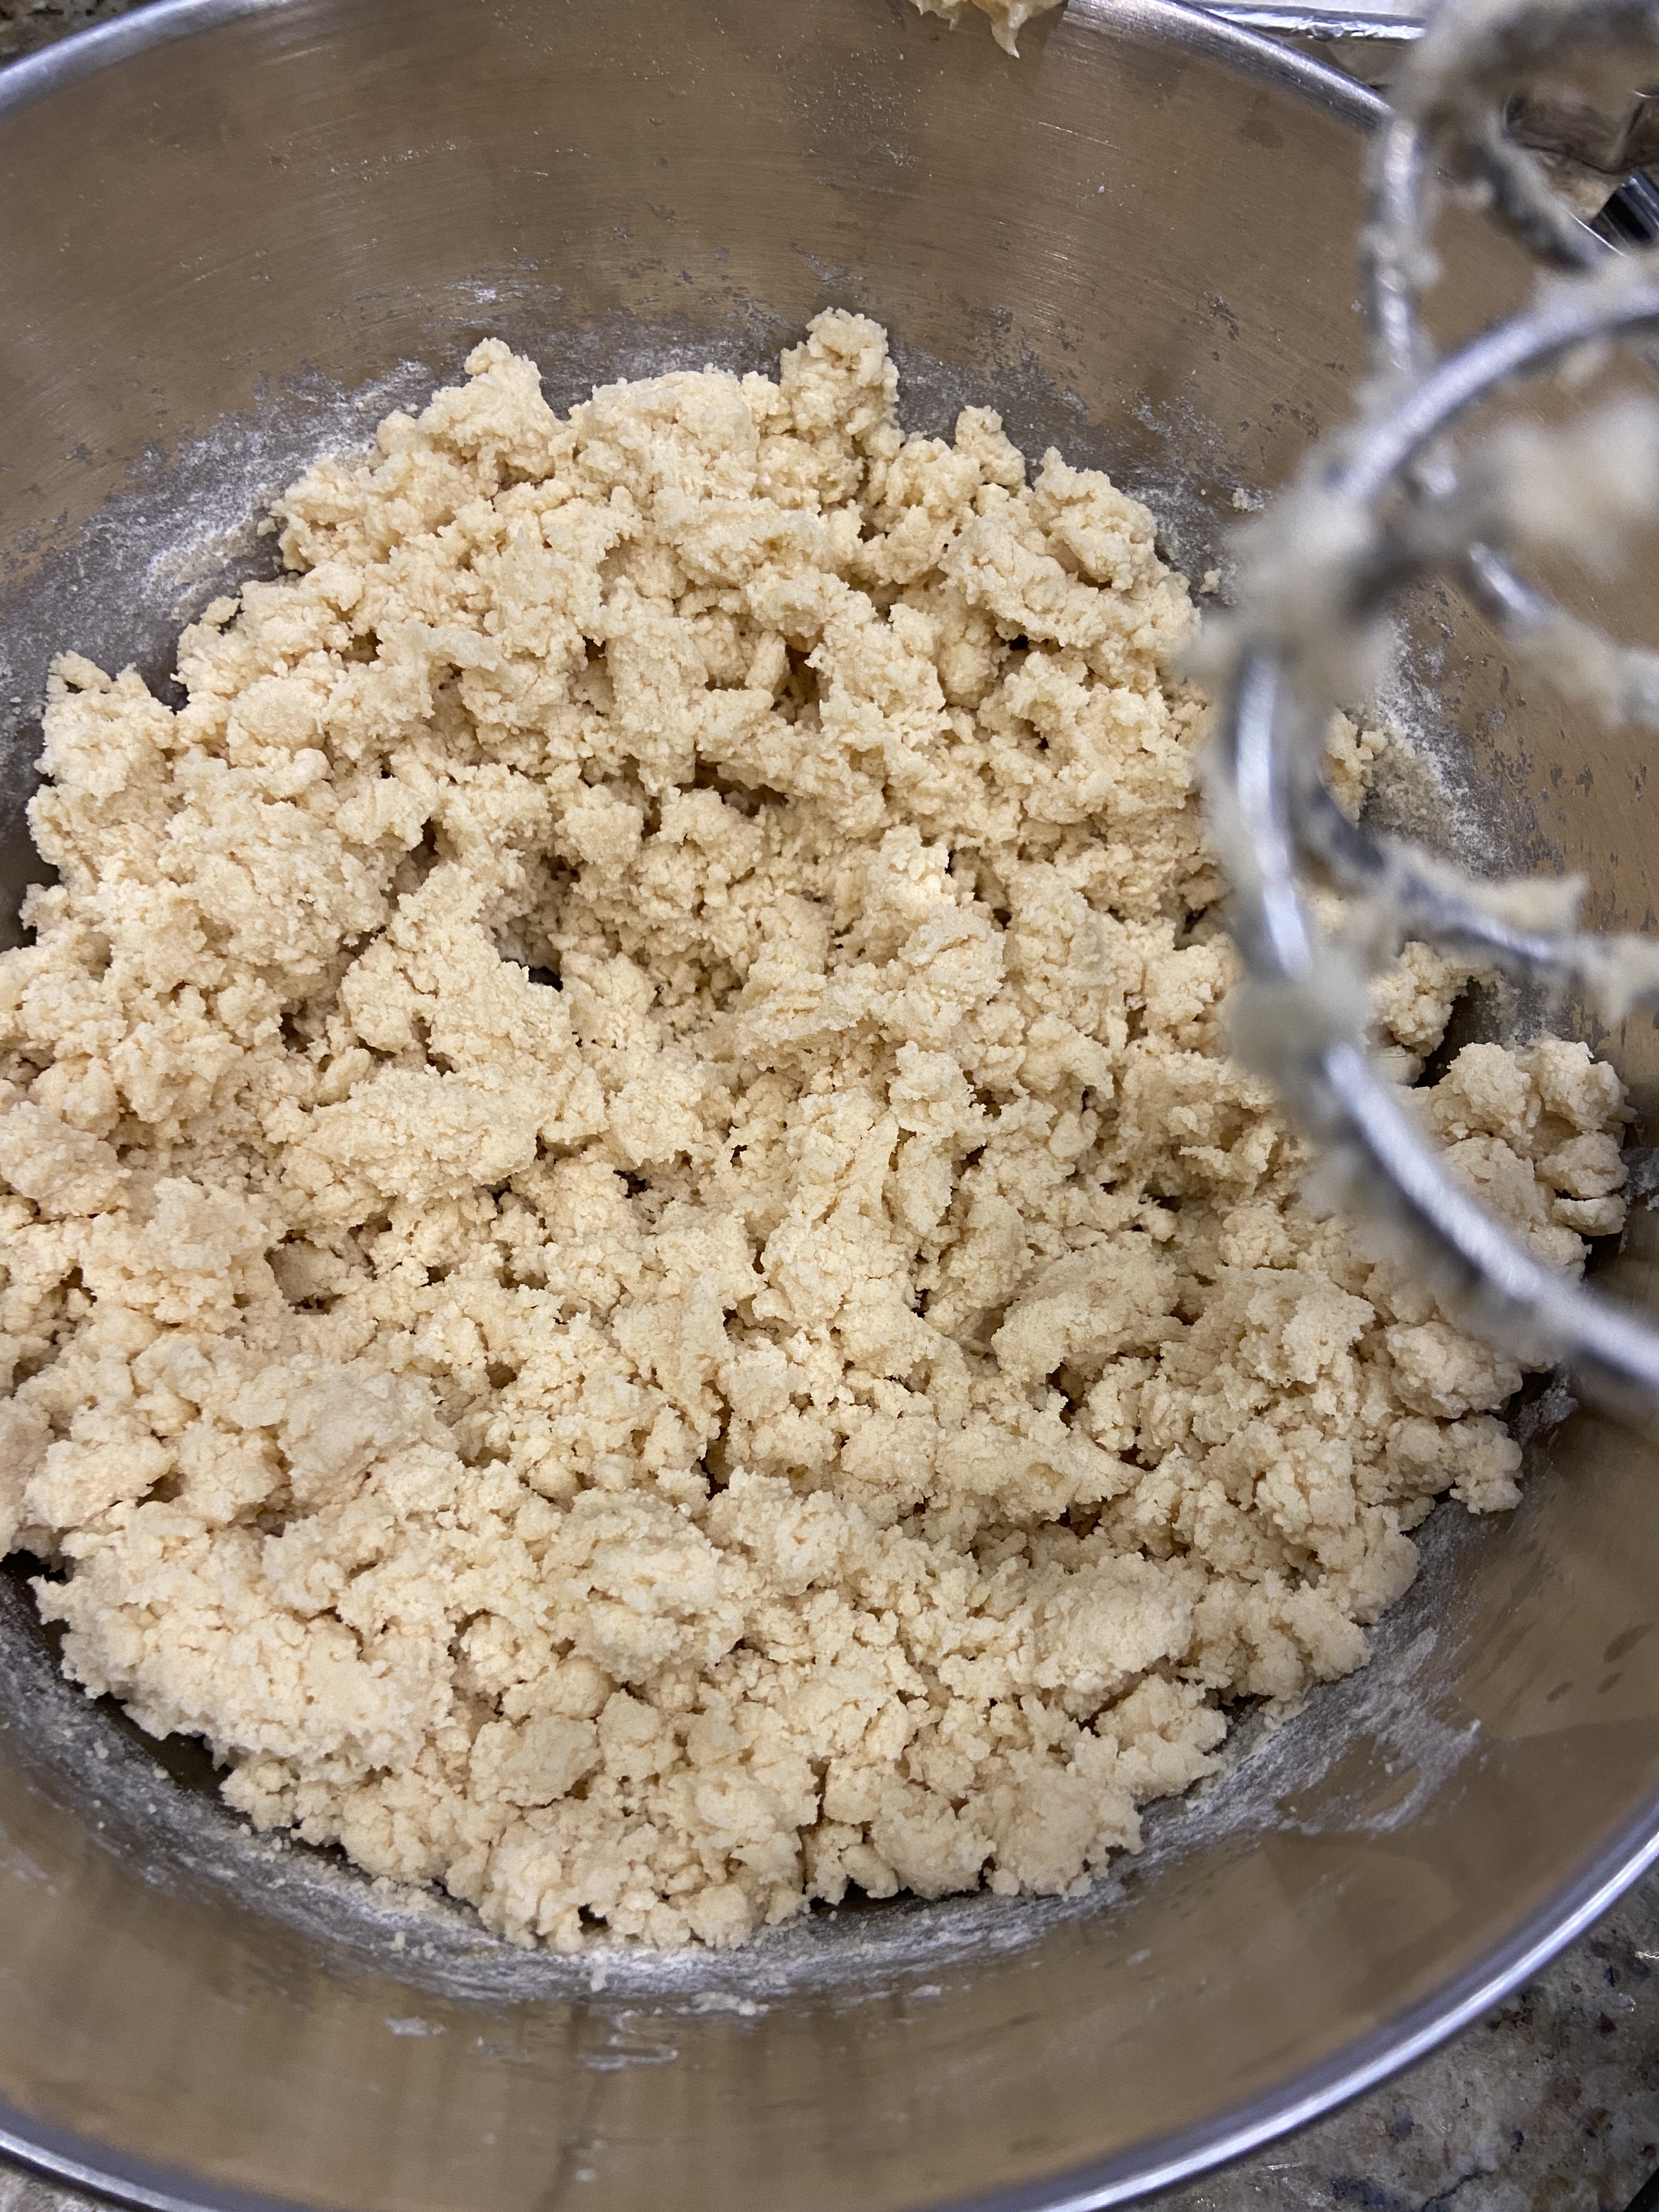
- Sift in the baking soda, baking powder, cinnamon, nutmeg, cloves, and salt; stirring them until combined.
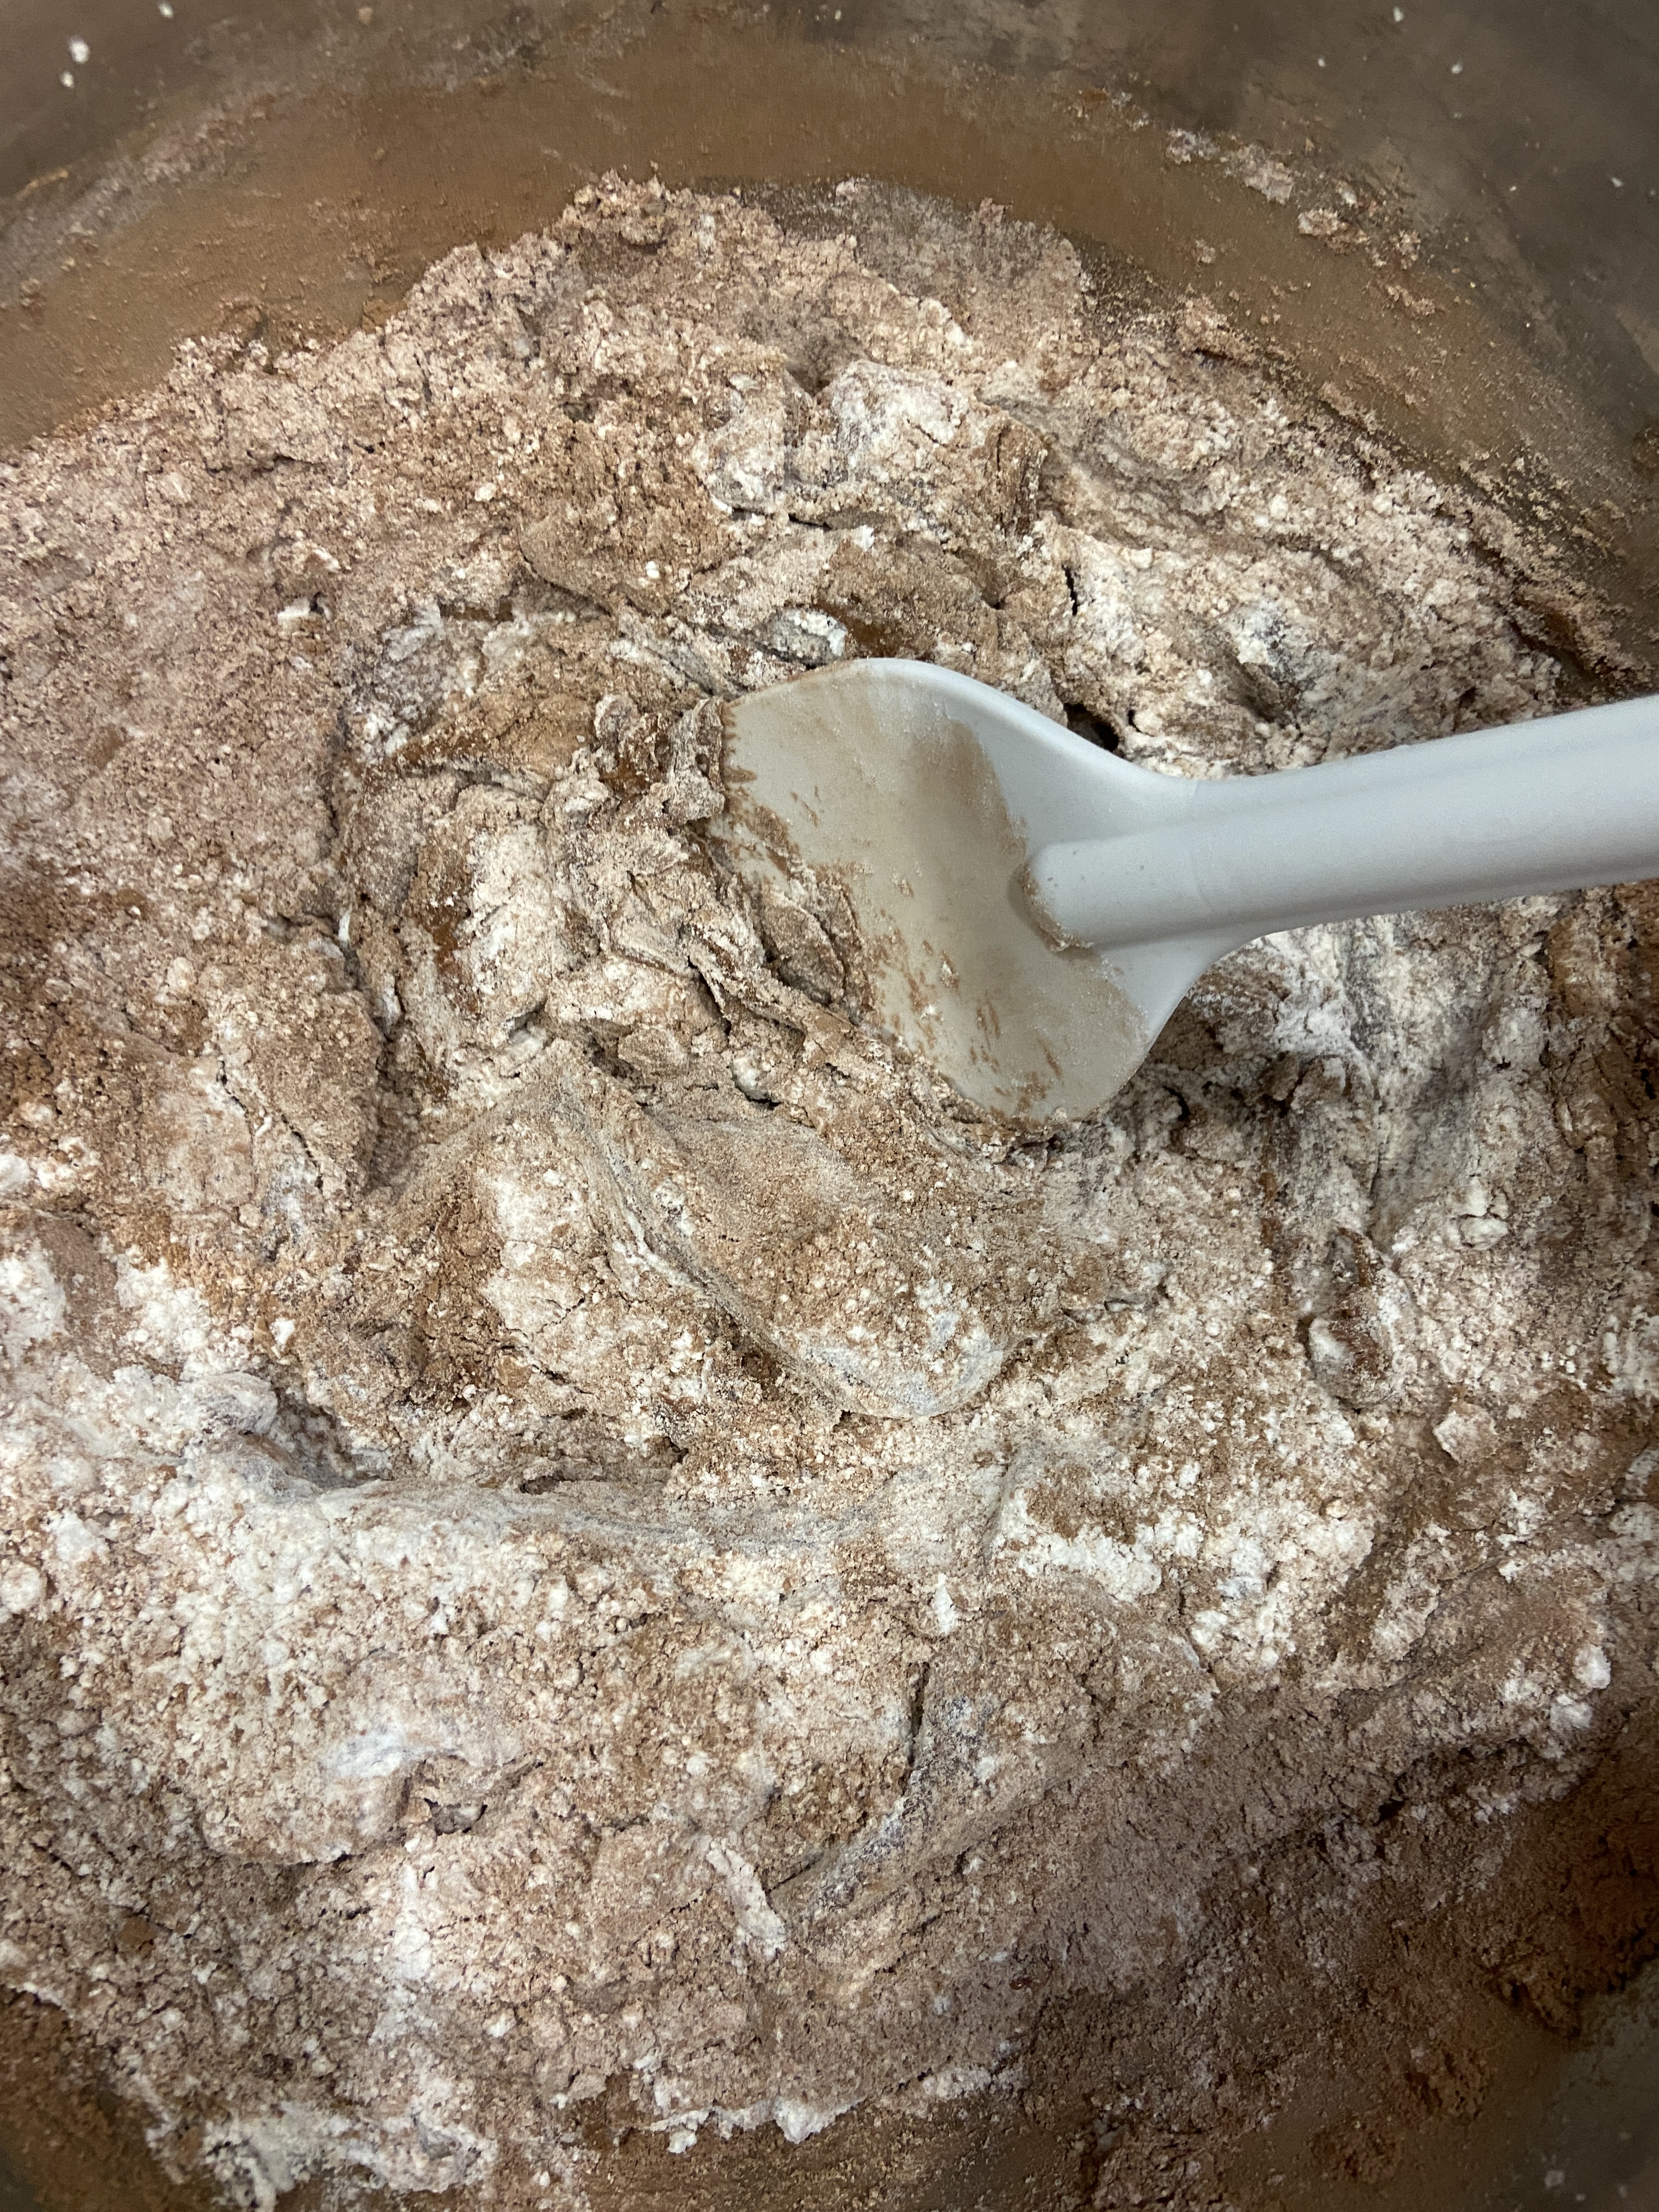
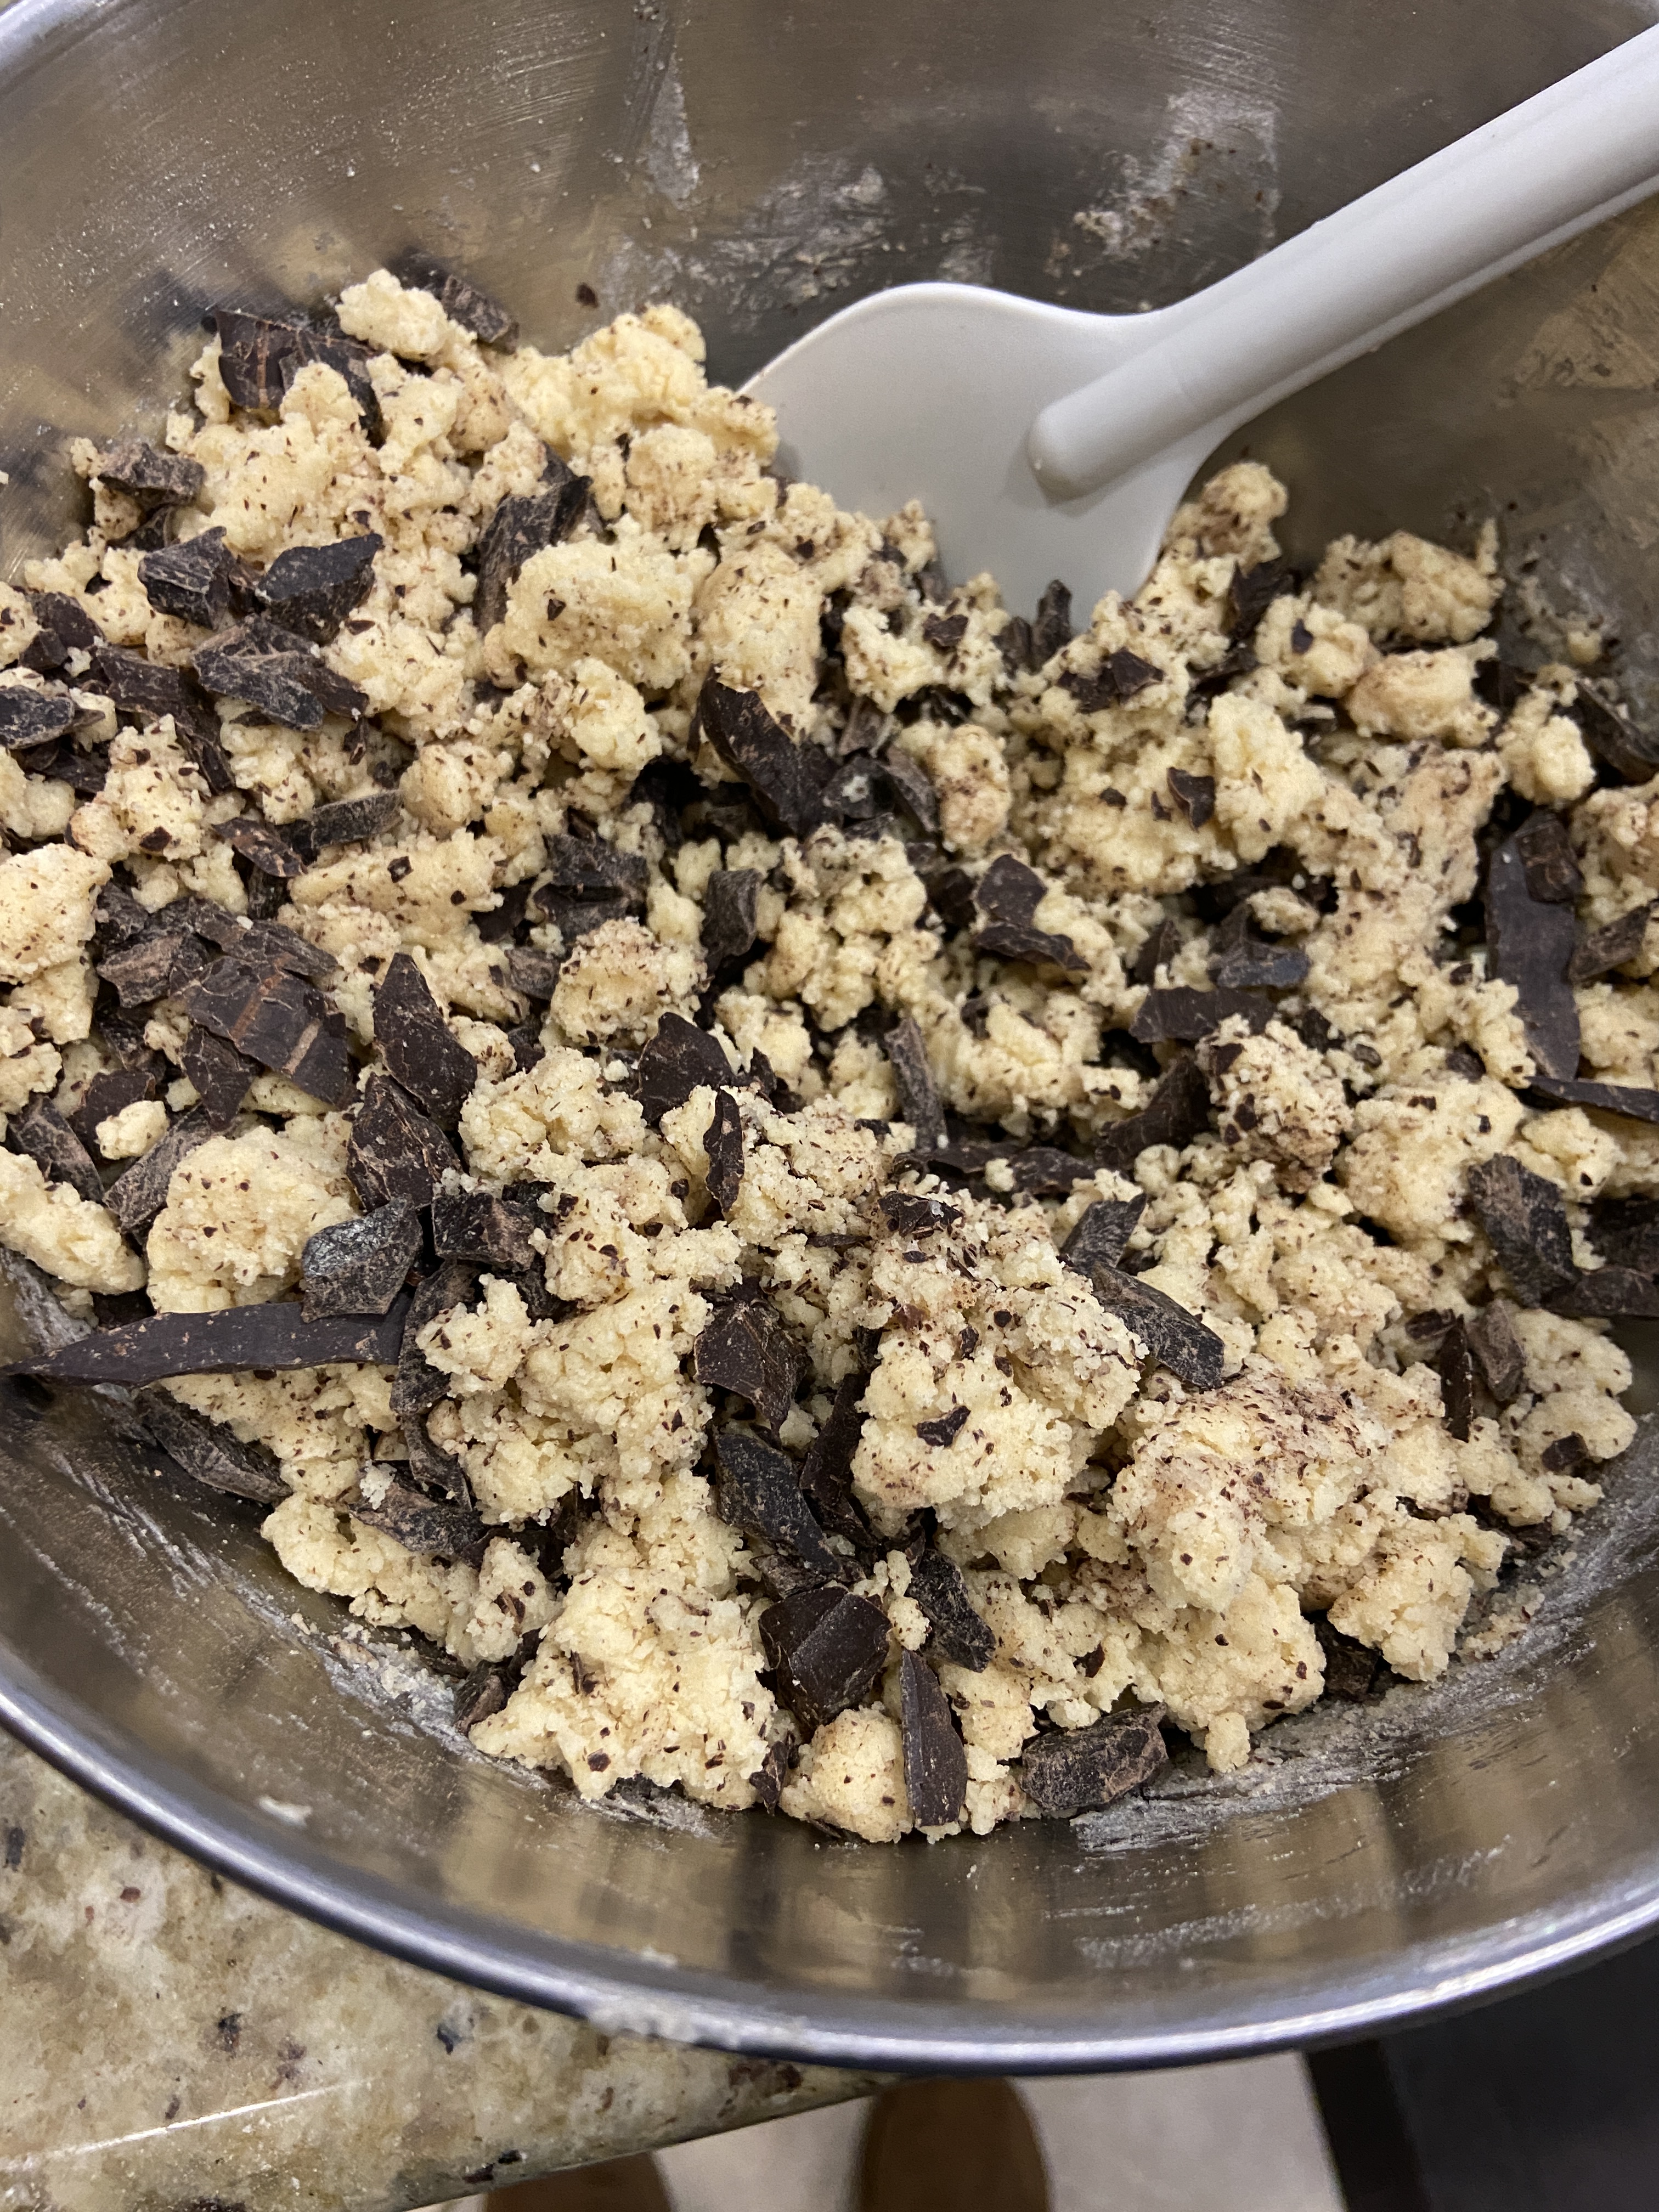
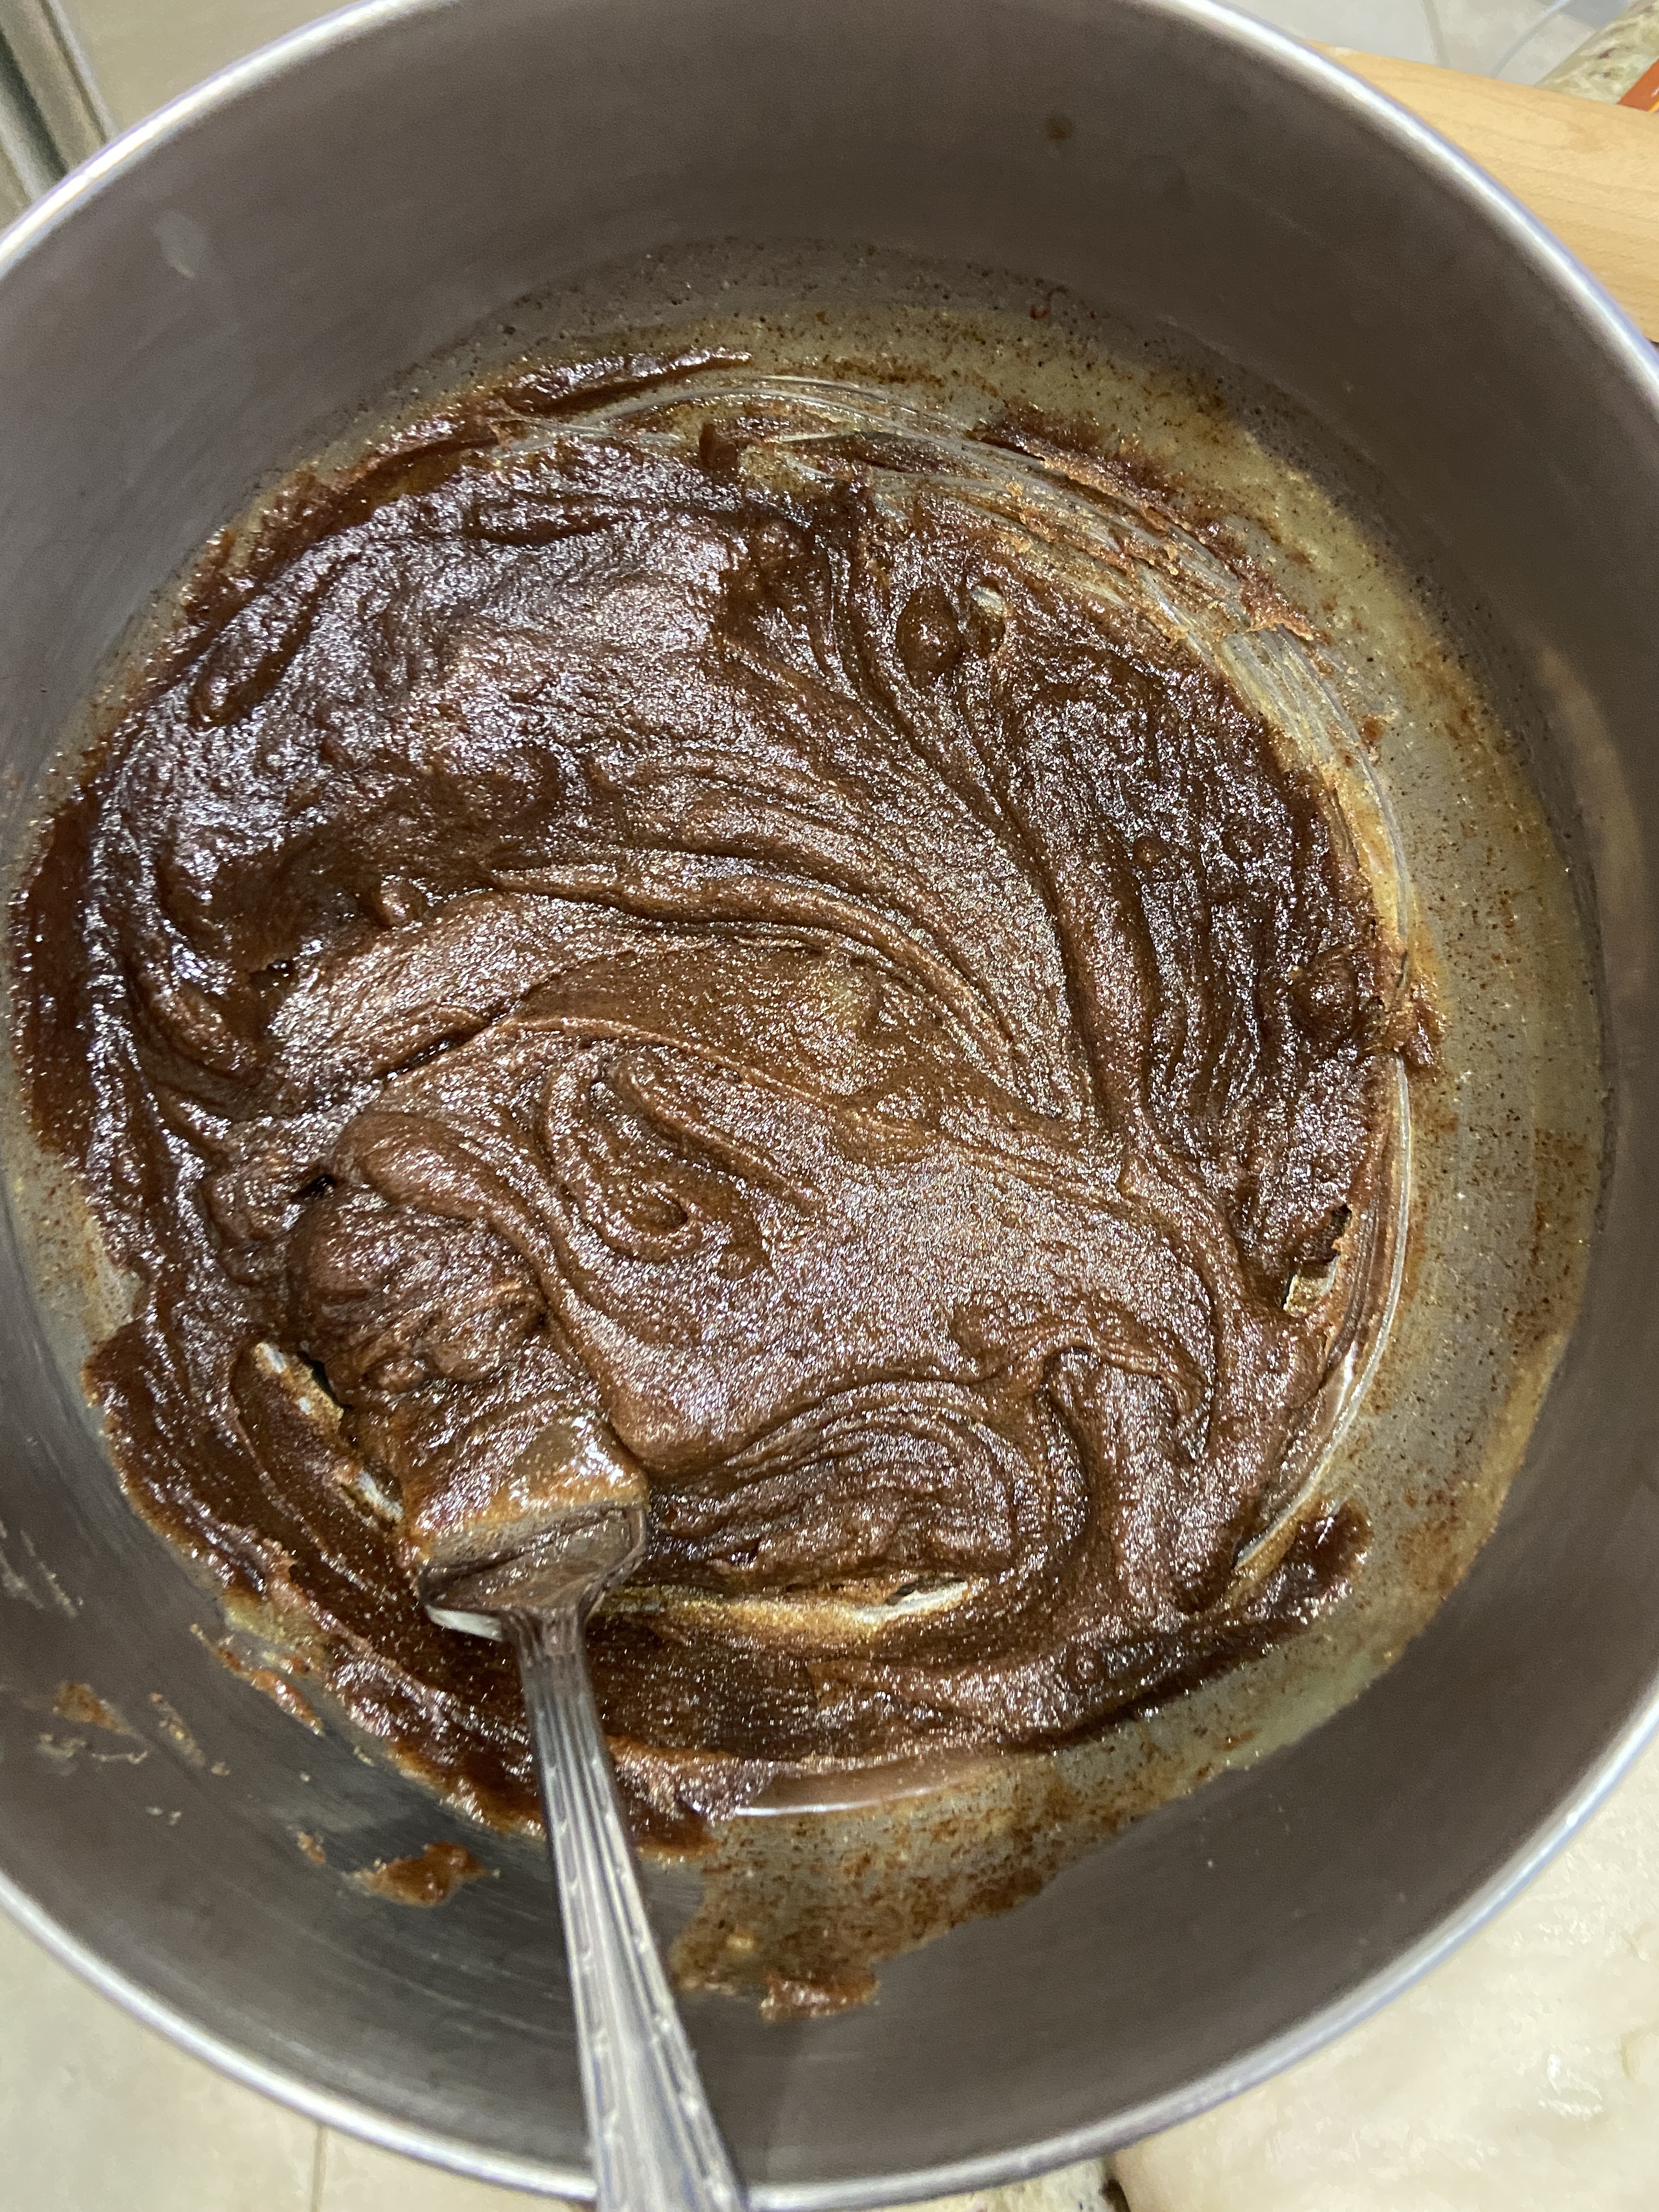
- Then sift in the flour and gently fold it into the batter, be careful not to overwork it.
- Pour the batter into the loaf pan.
- Sprinkle some turbinado sugar on top (it might not give the outside much of a crunch since it could just sink into the watery batter, still tasty!).
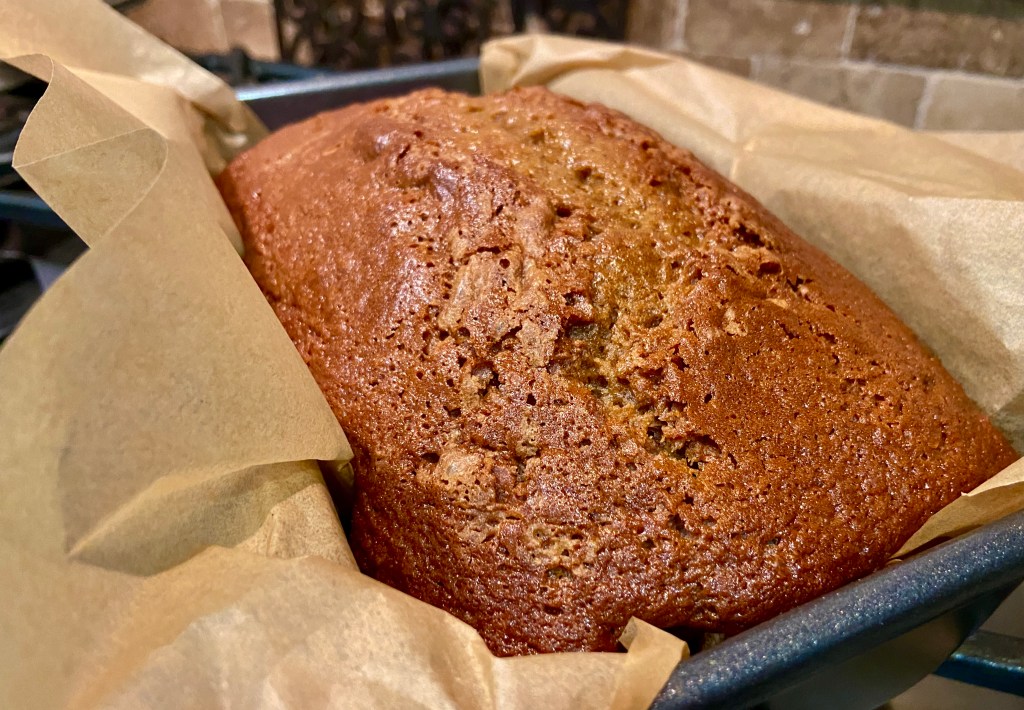
- Bake the loaf for an hour to an hour and 10 minutes, whenever an inserted toothpick comes out with only a few granules of batter.
- Wait a few minutes for the loaf to cool, or risk a burn so that you can delight your tastebuds faster!
- Enjoy!
Note: You can store the bread in a container in the fridge for up to a week and it warms up brilliantly! A fun twist I will be adding on later is a chai glaze for this bread (yuuuummm)!