Chocolate Xiao Long Bao

January 31, 2021 || By: Hope F

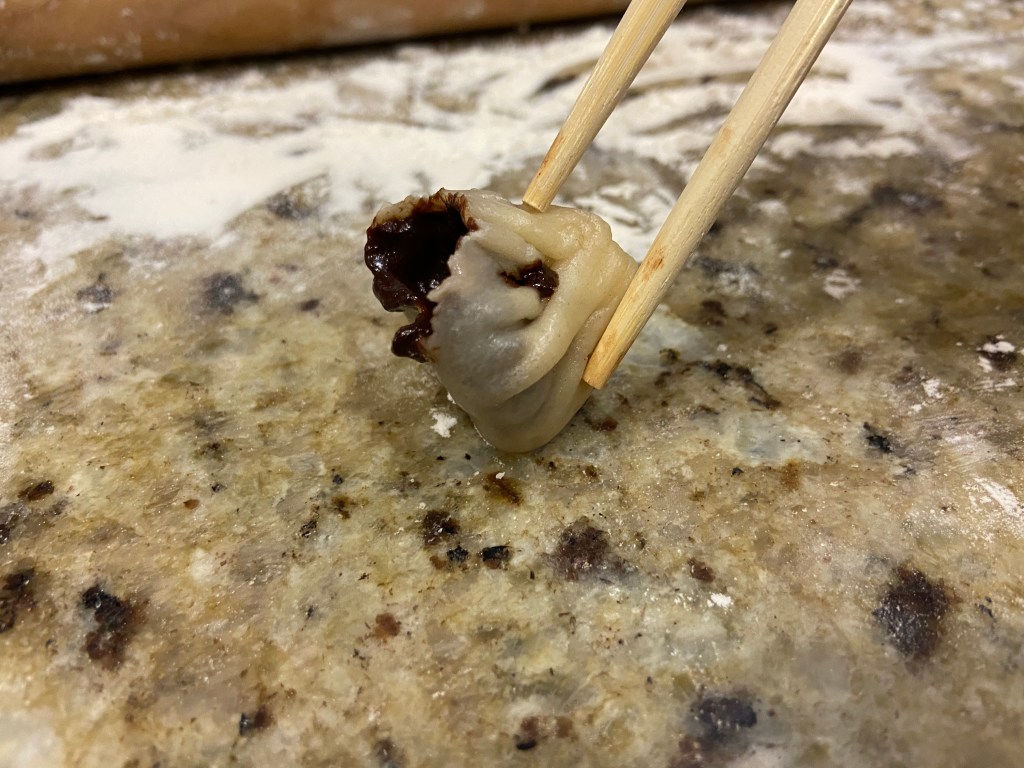
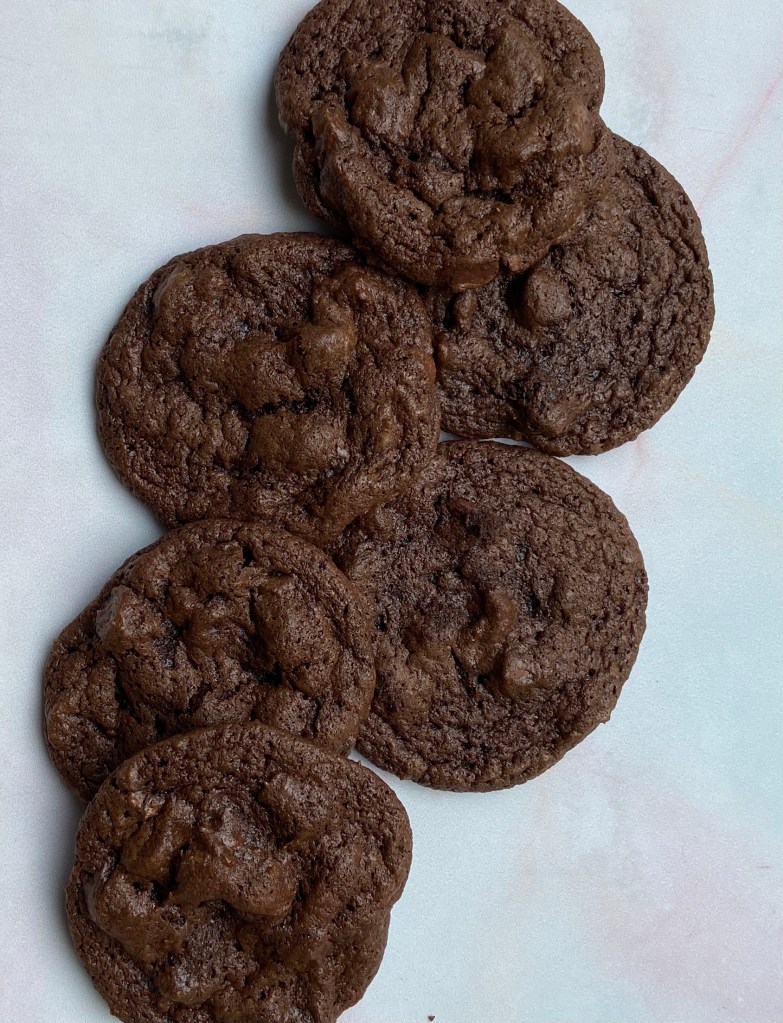
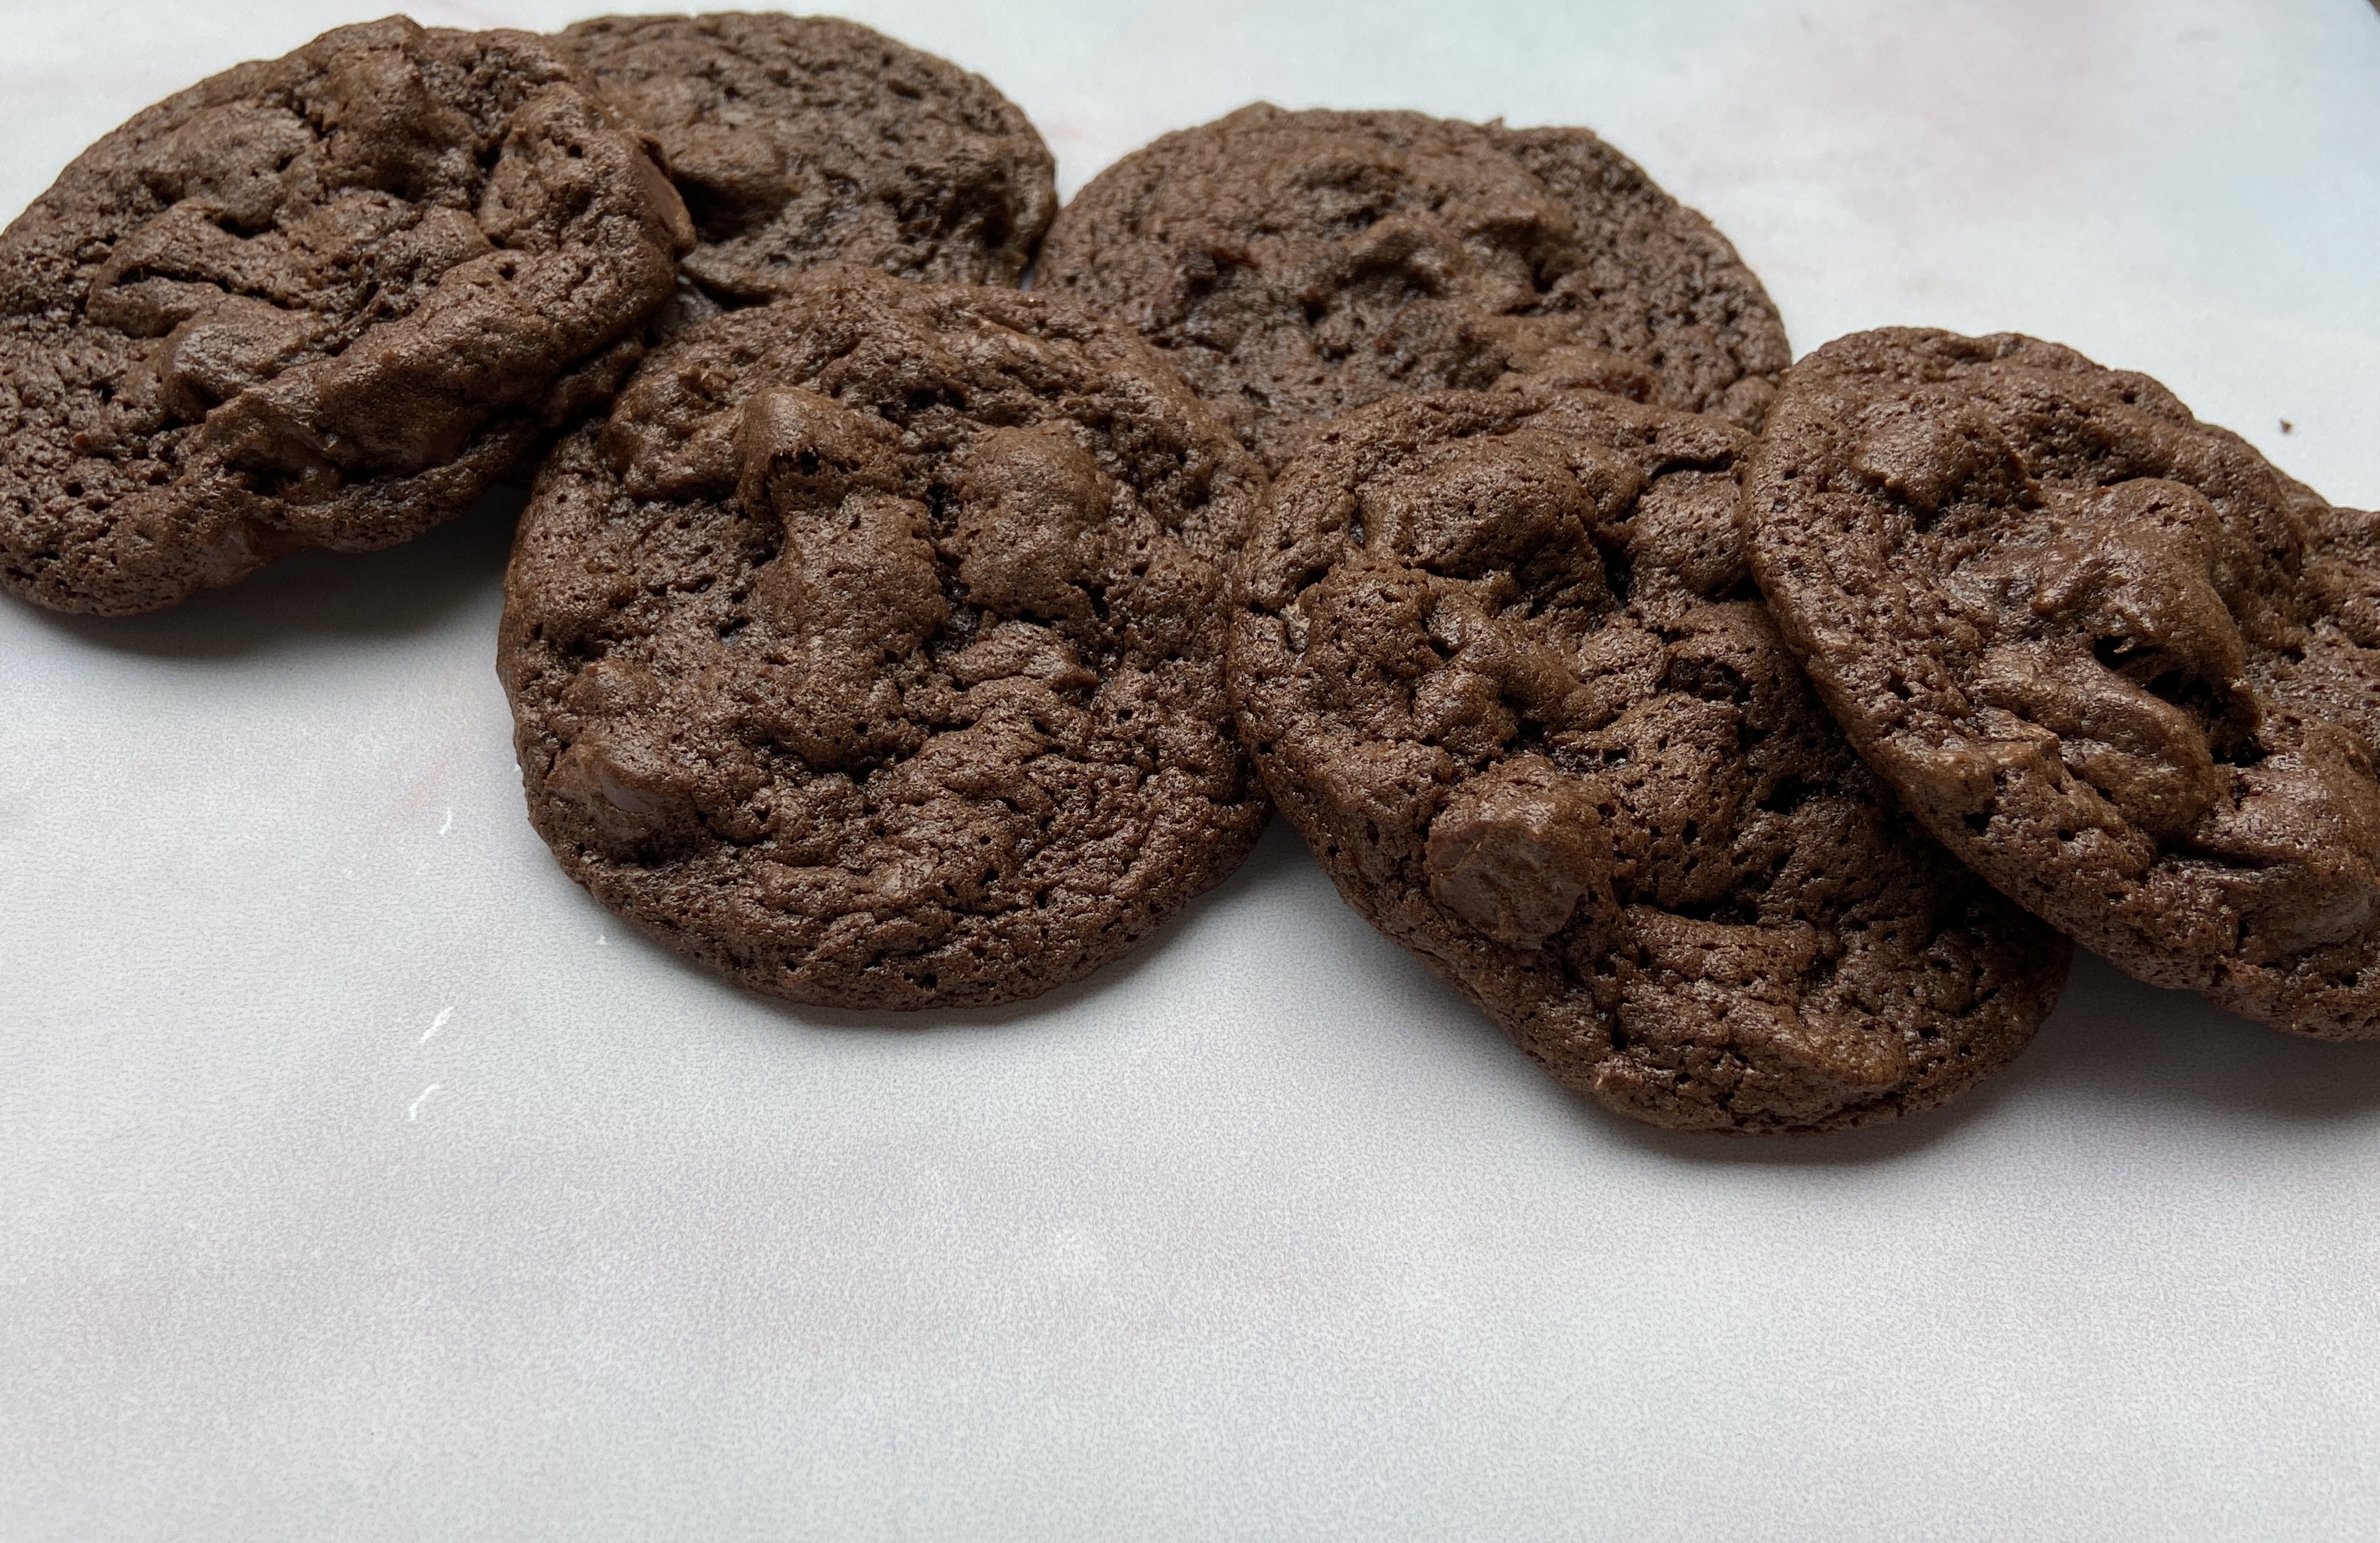
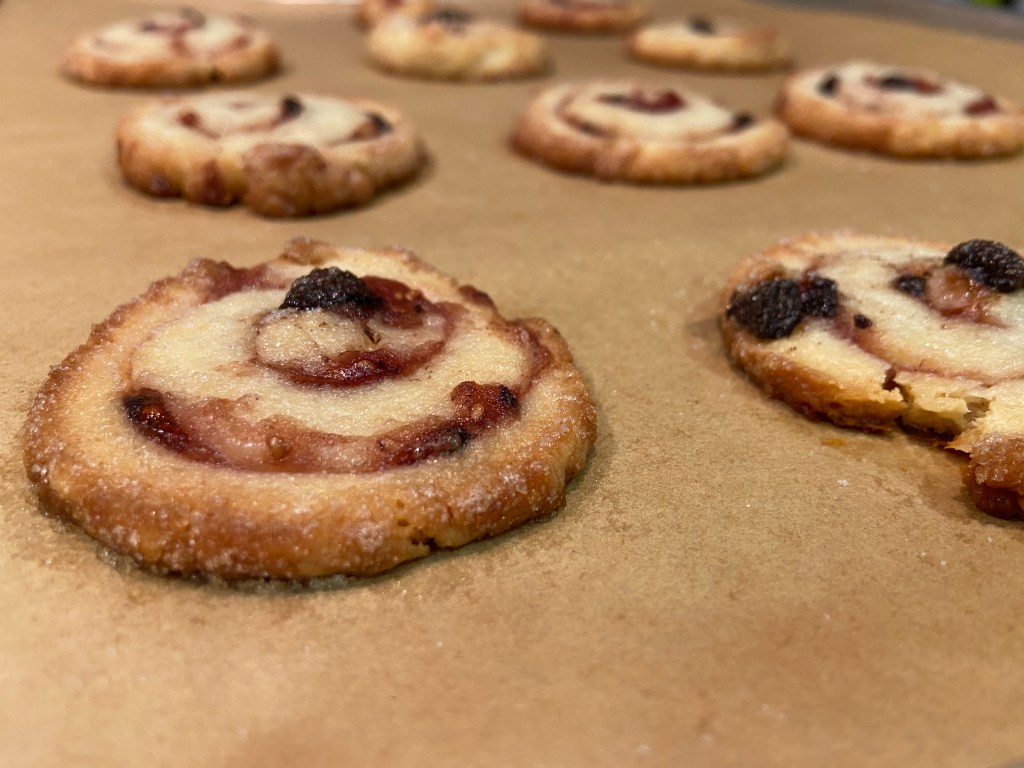
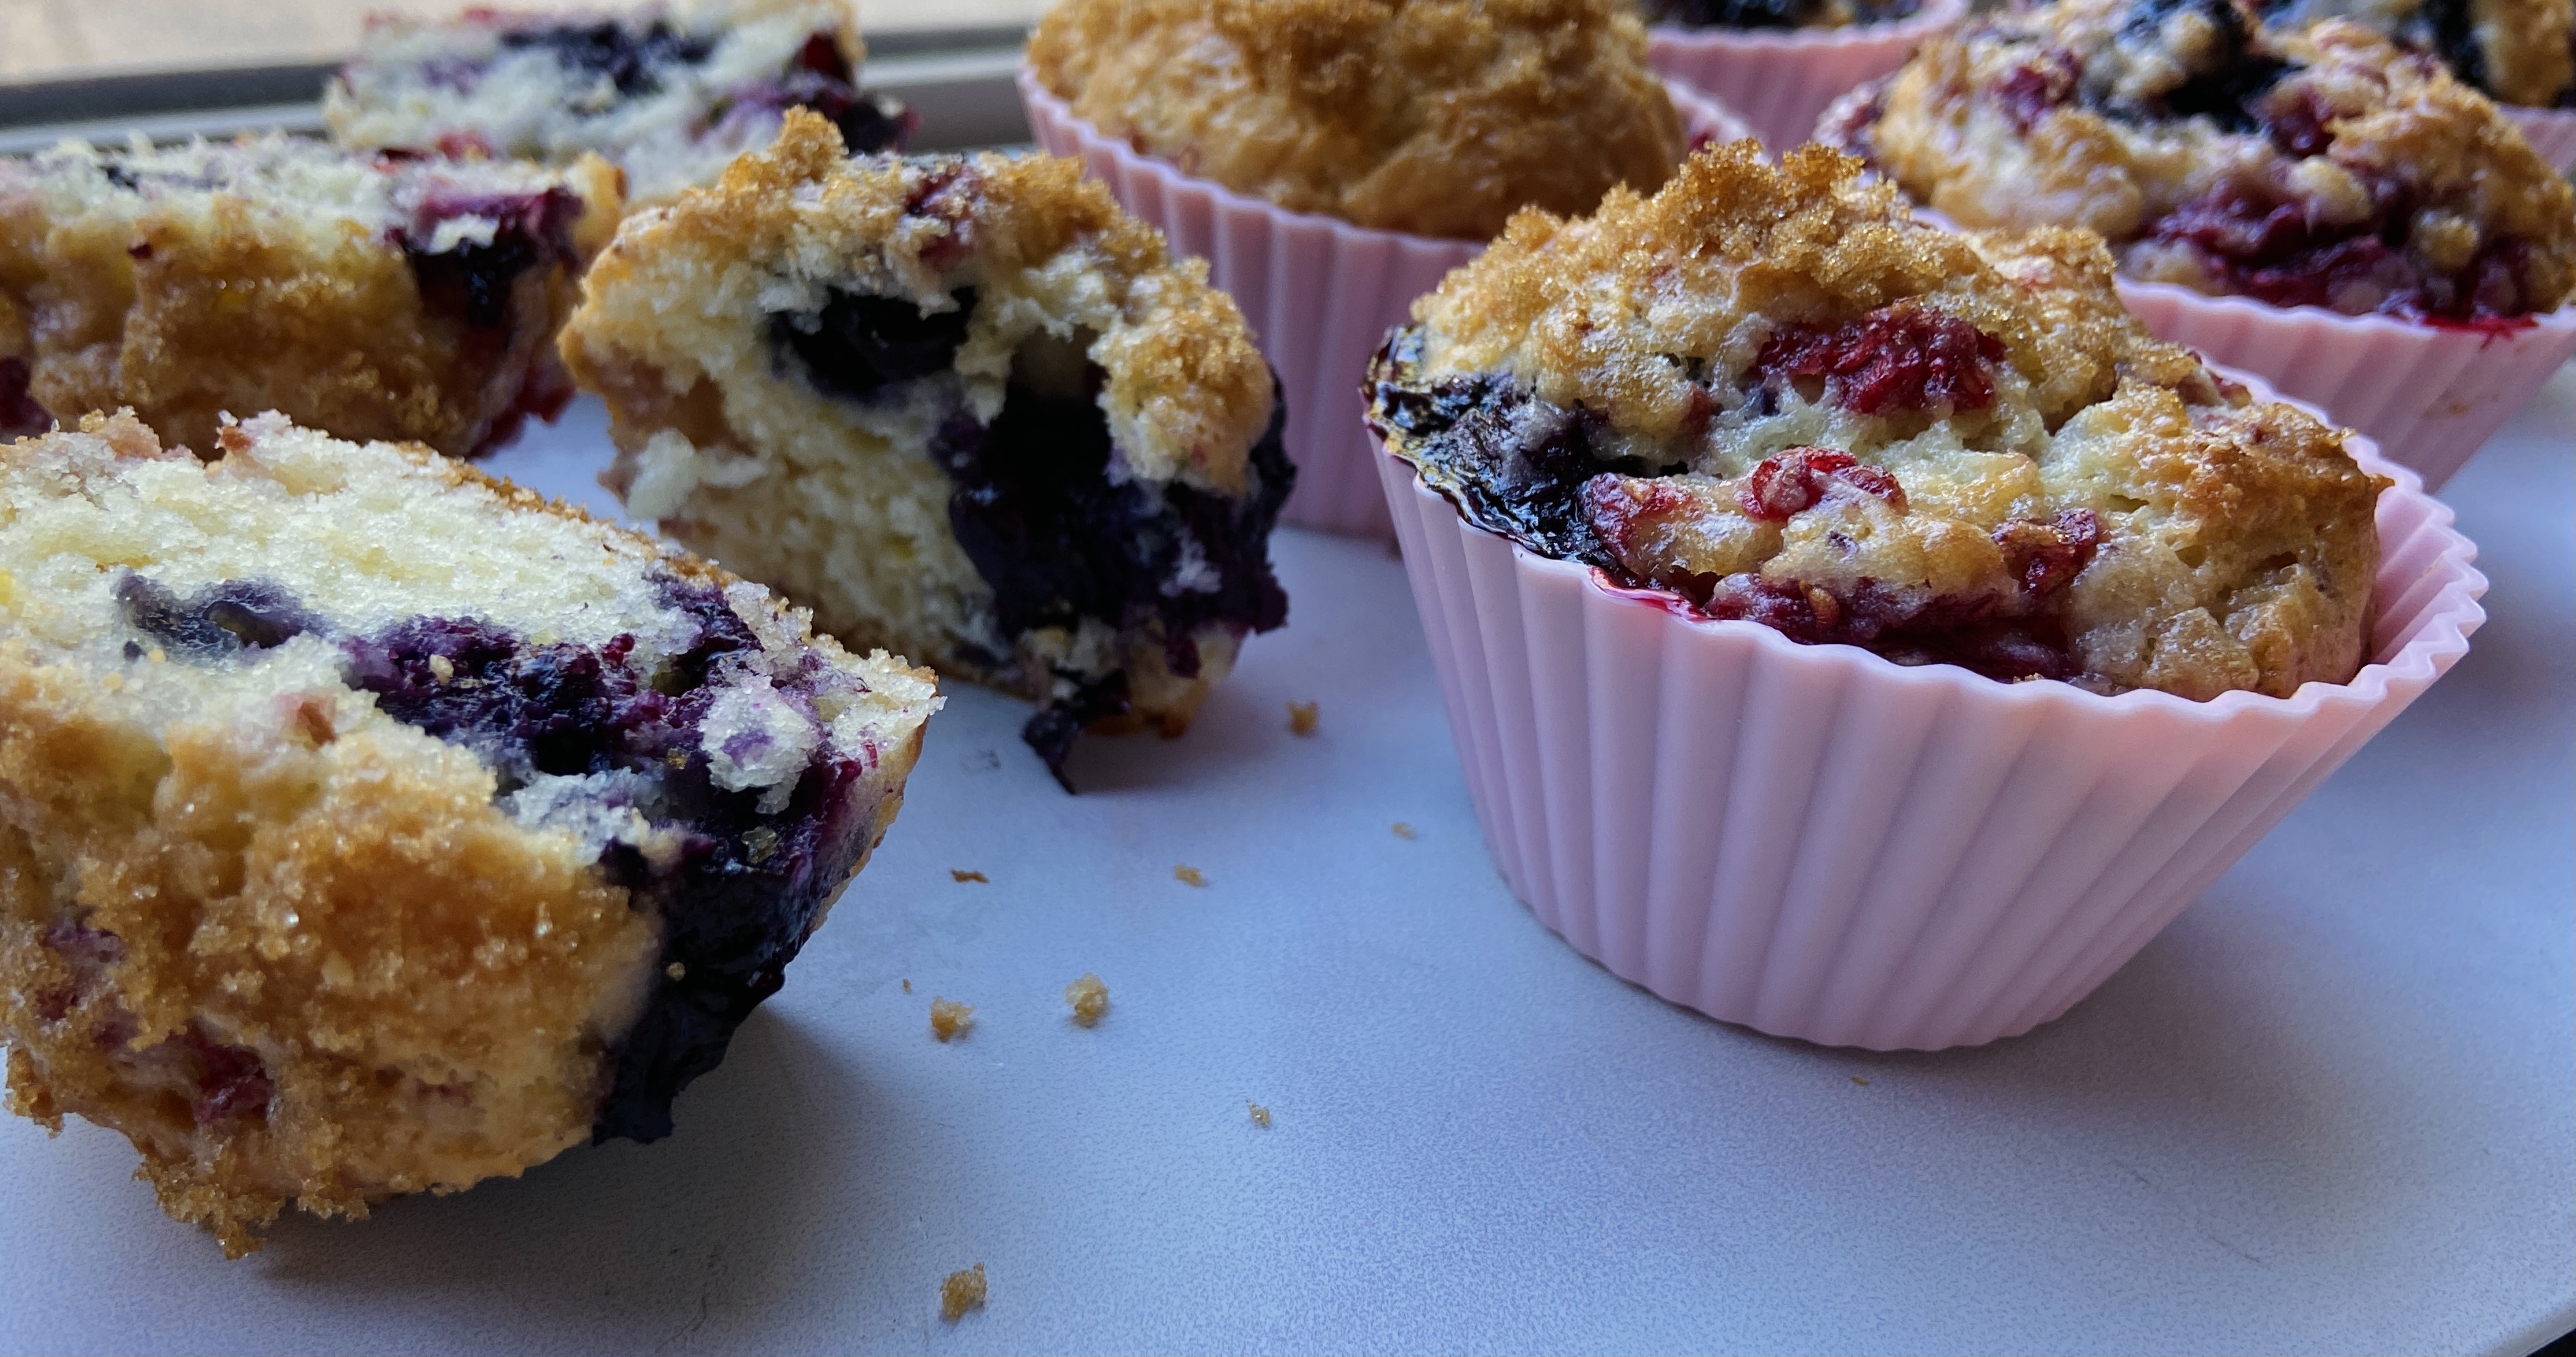
Decadent, creamy, heaven-in-your-mouth chocolate-y, are only a few ways to describe these little wrapped in mochi chocolates. It’s an explosion of chocolate when you bite into it, of “happiness in your mouth.” They are an all day event, but well worth it!

Recipe: Prep Time – 3 hours (most of it is passive), Cook Time – 6 minutes

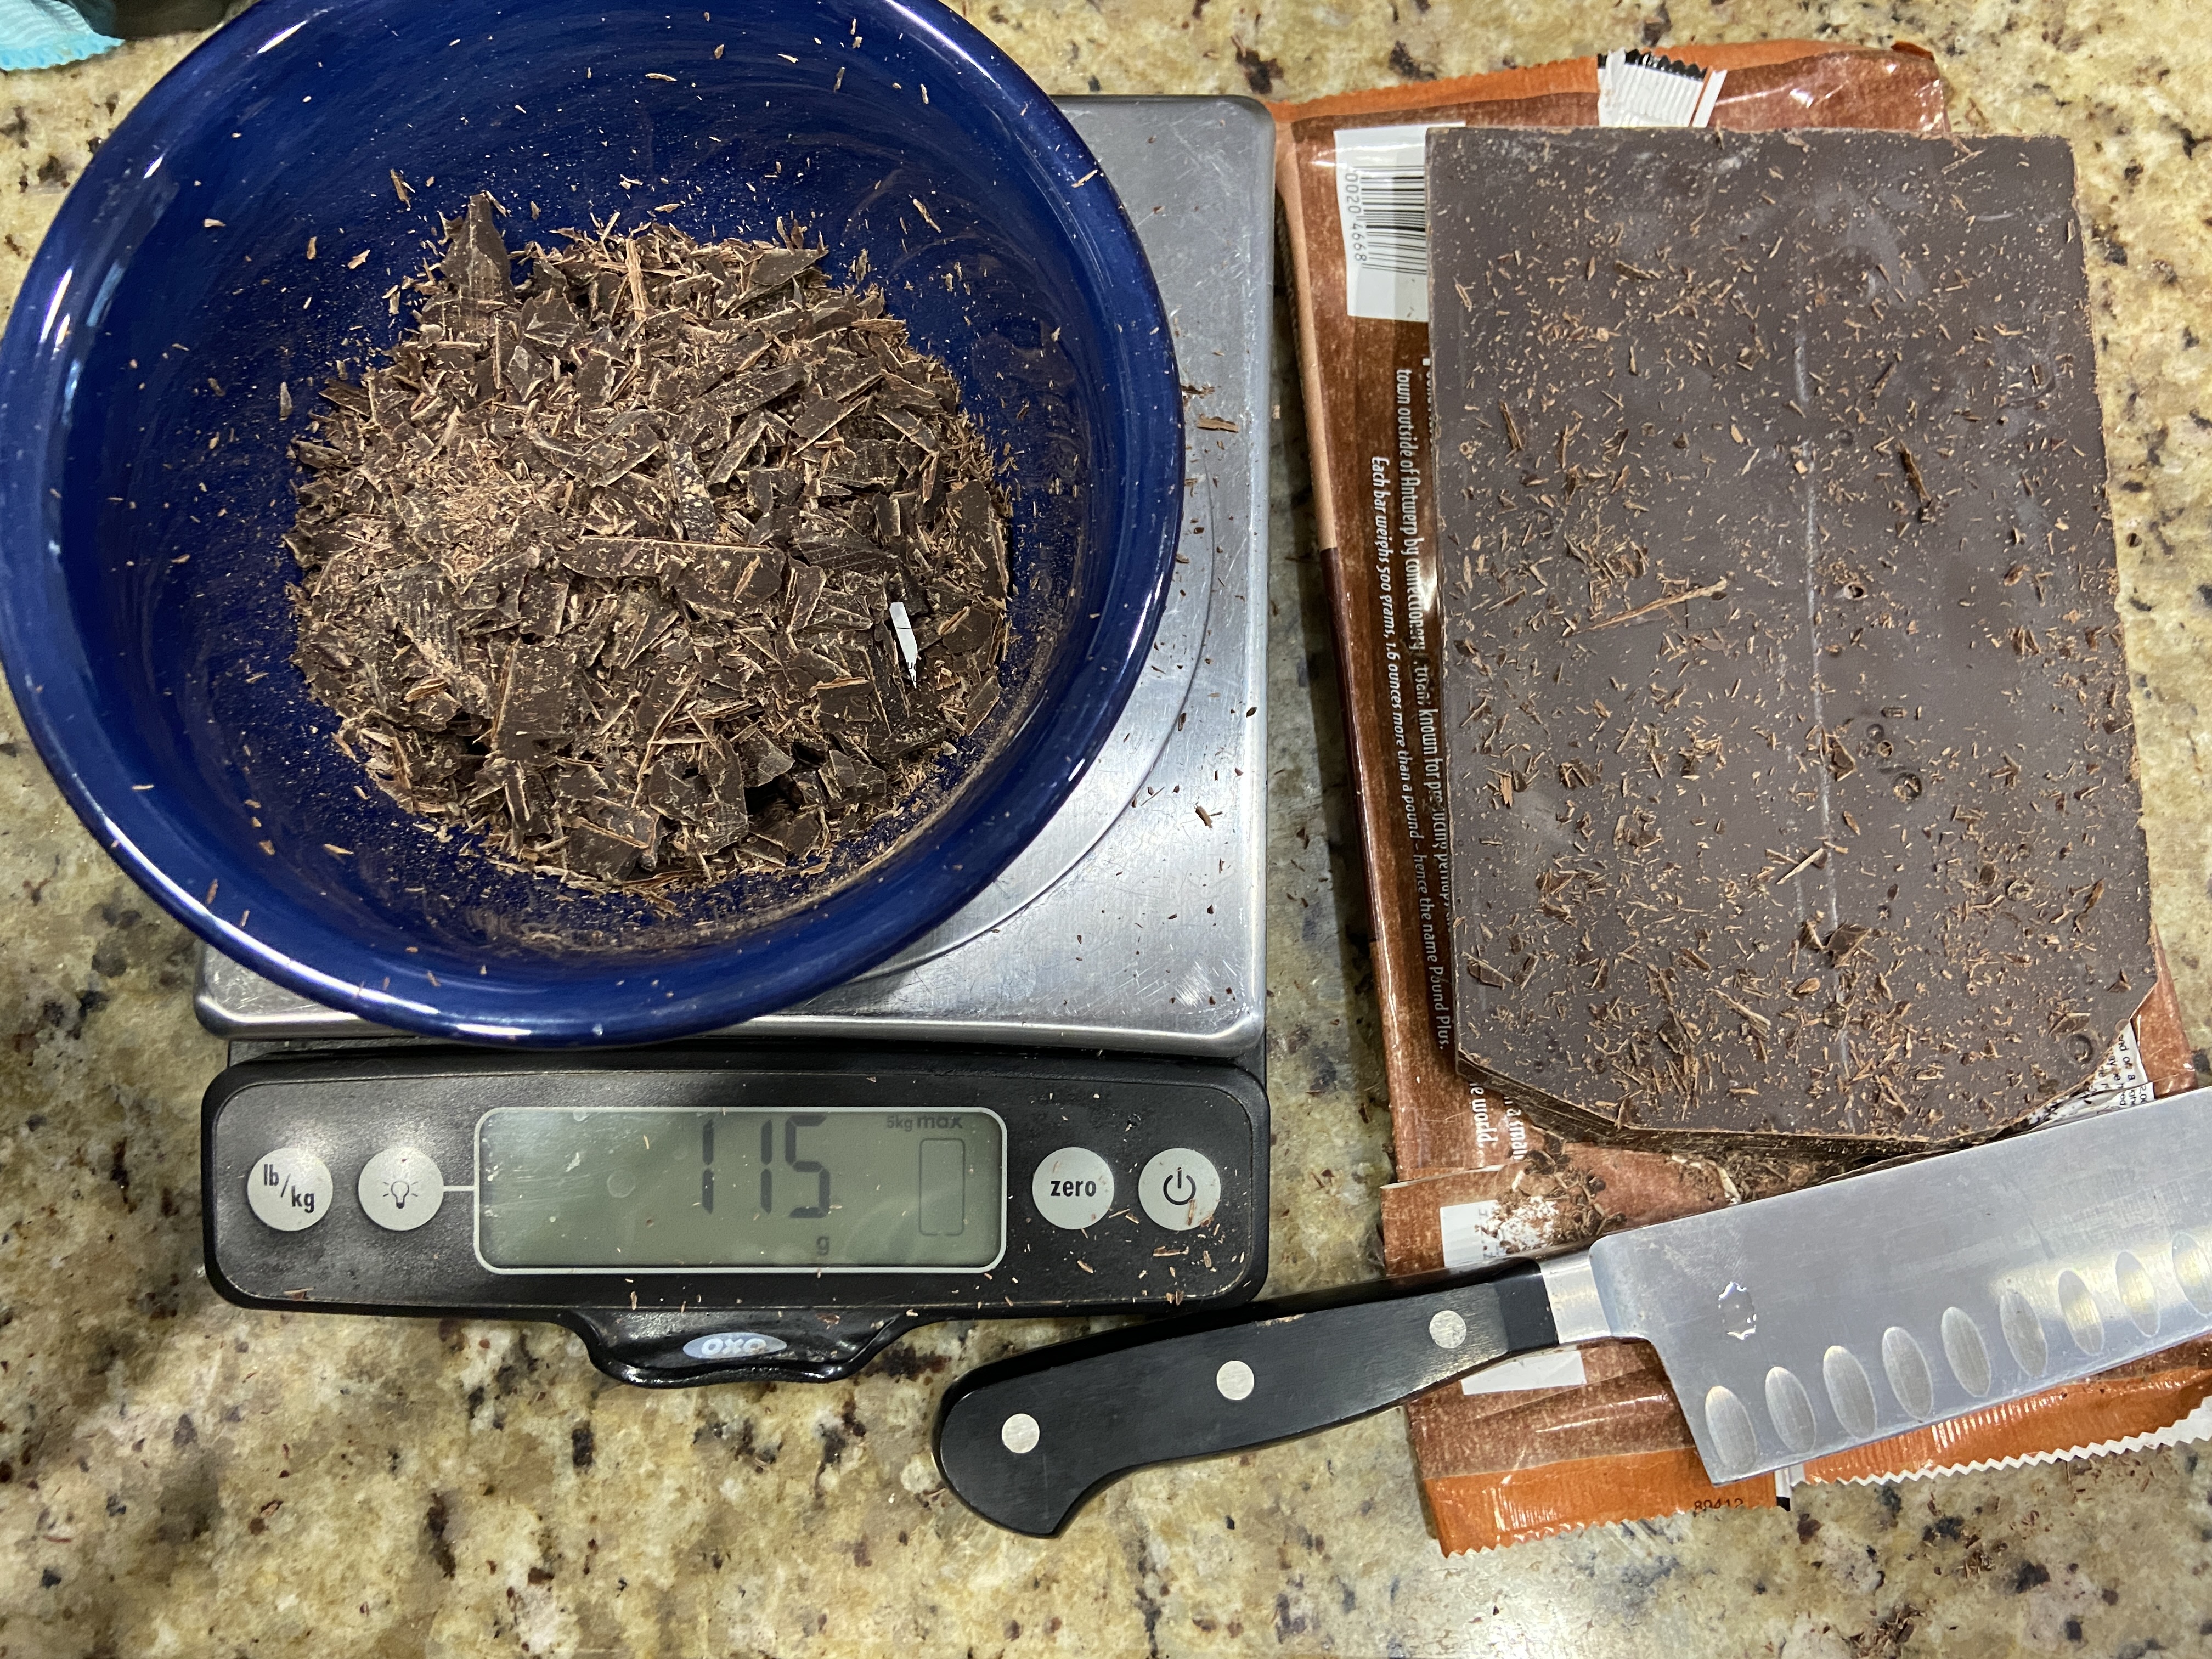
Ingredients for Chocolate Filling (Ganache):

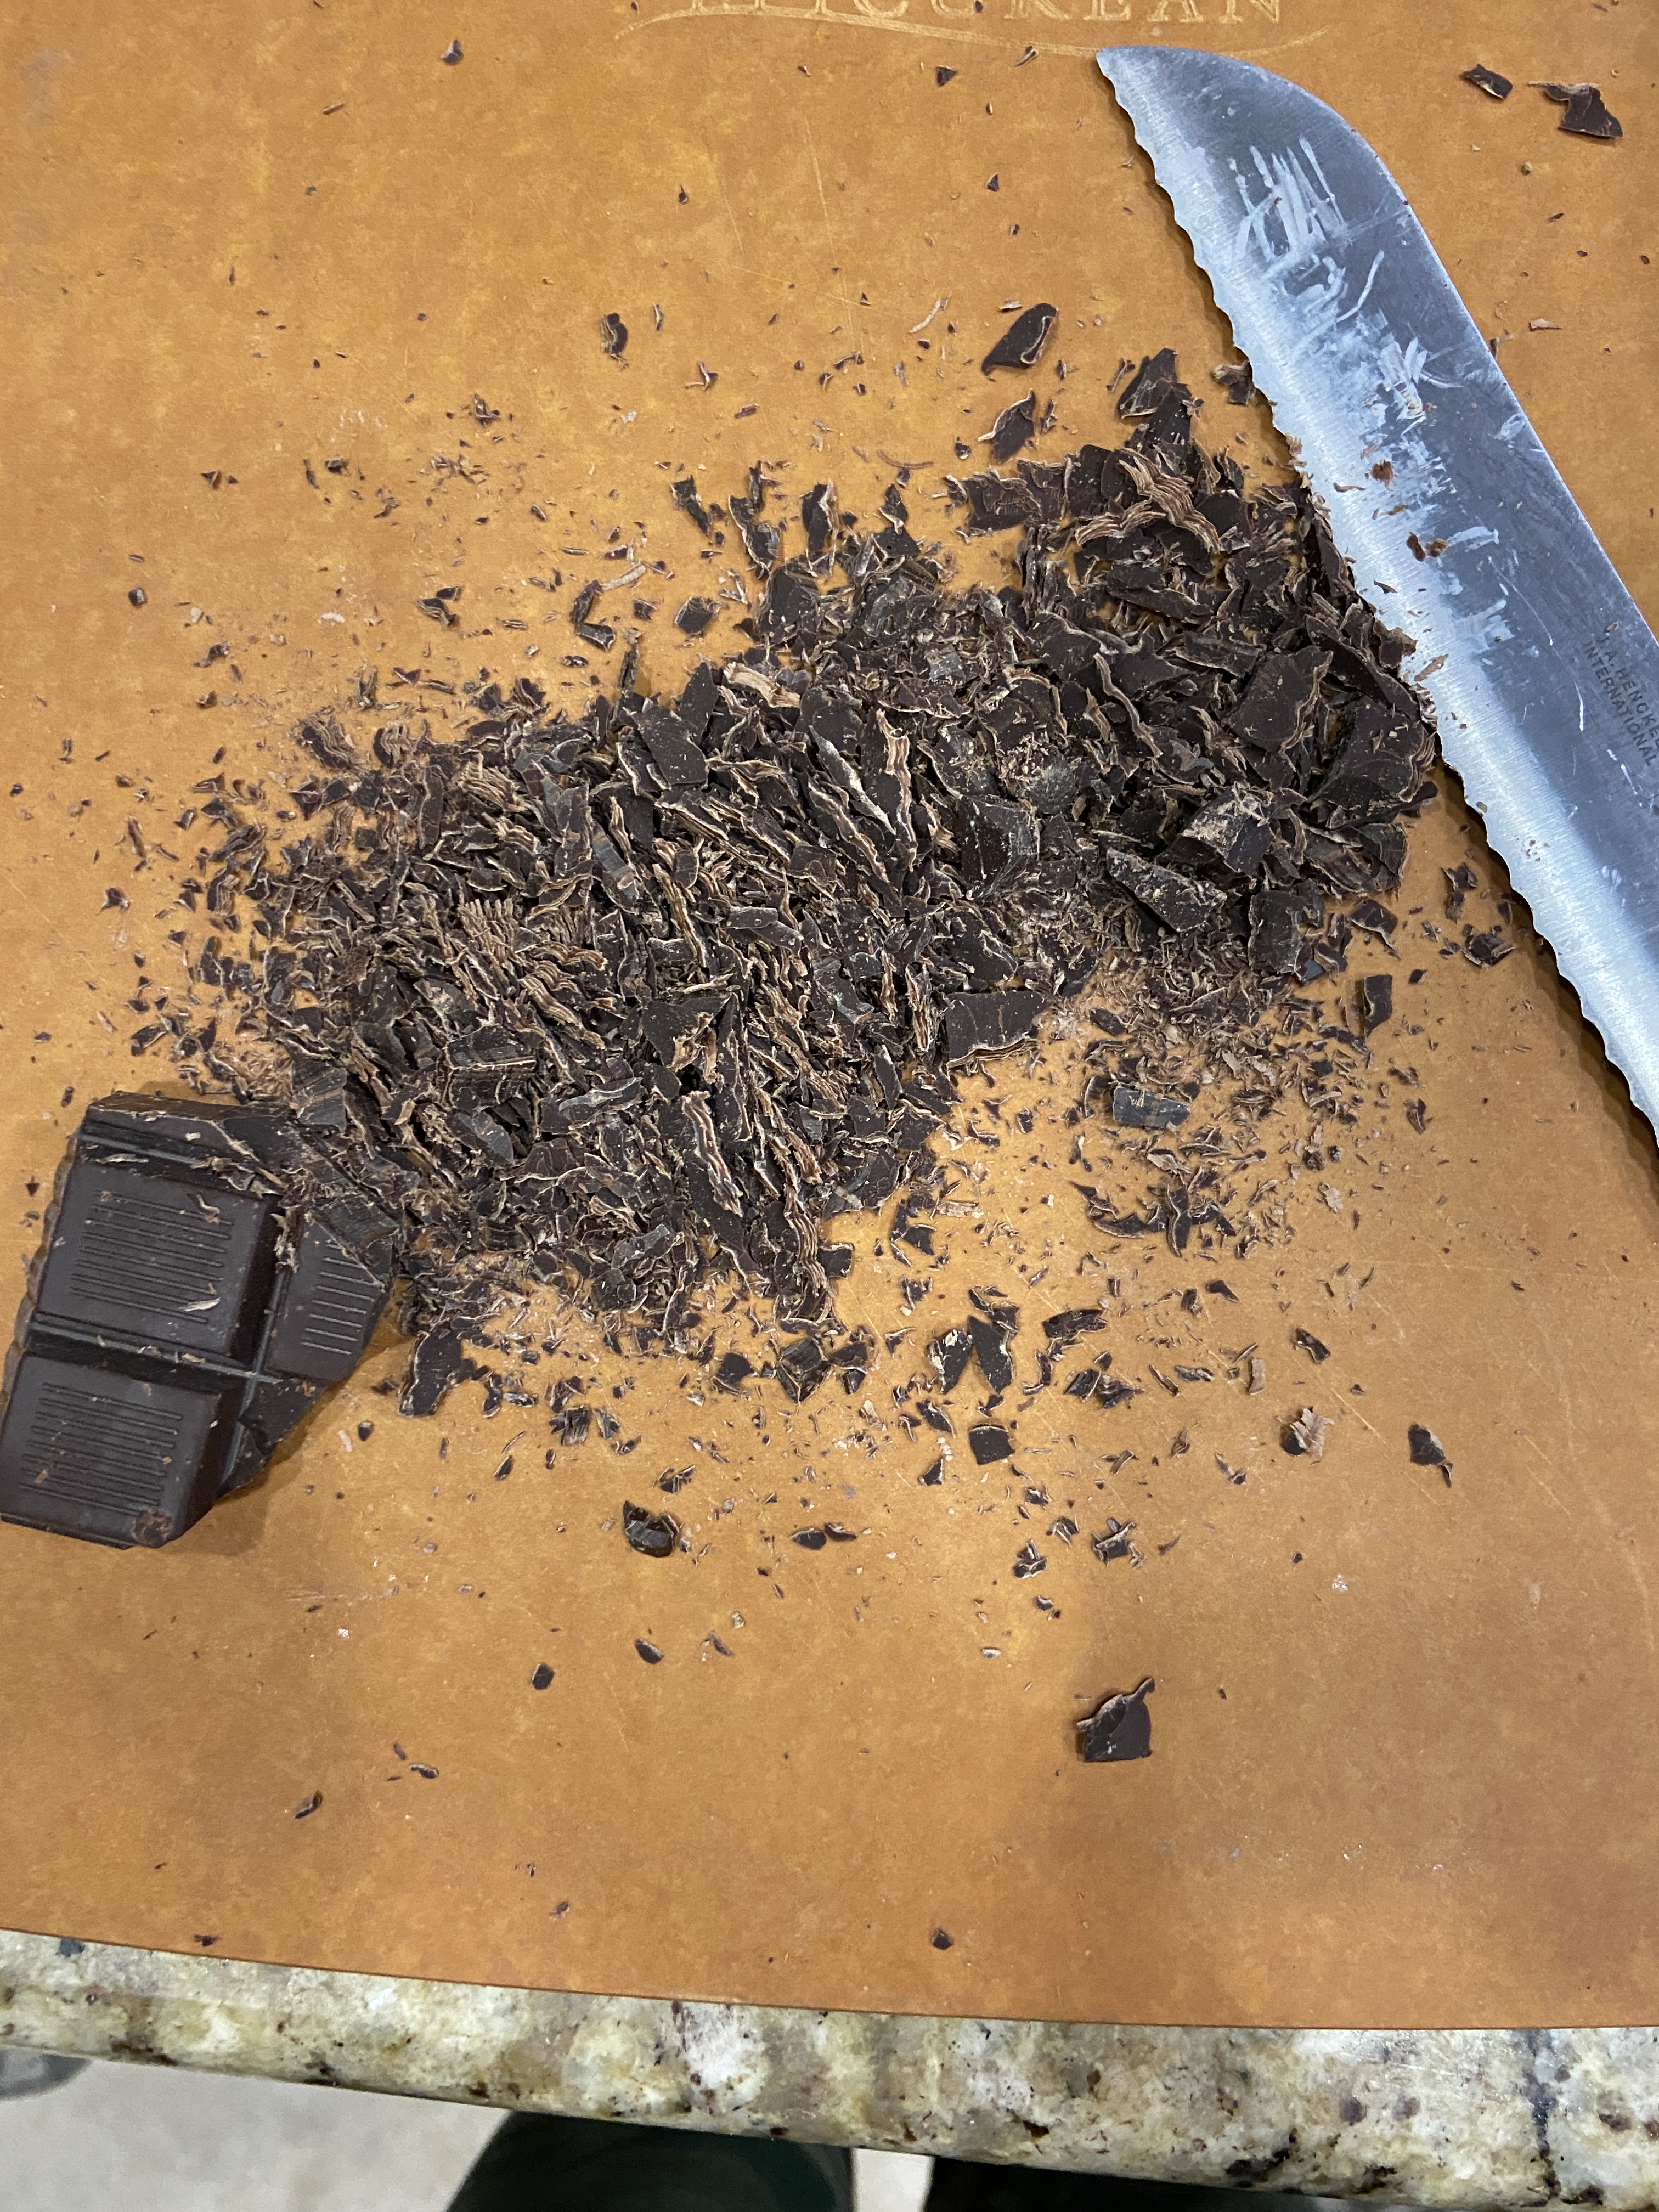
  • 4 ounces Semi-Sweet Chocolate
  • 4 ounces Milk Chocolate
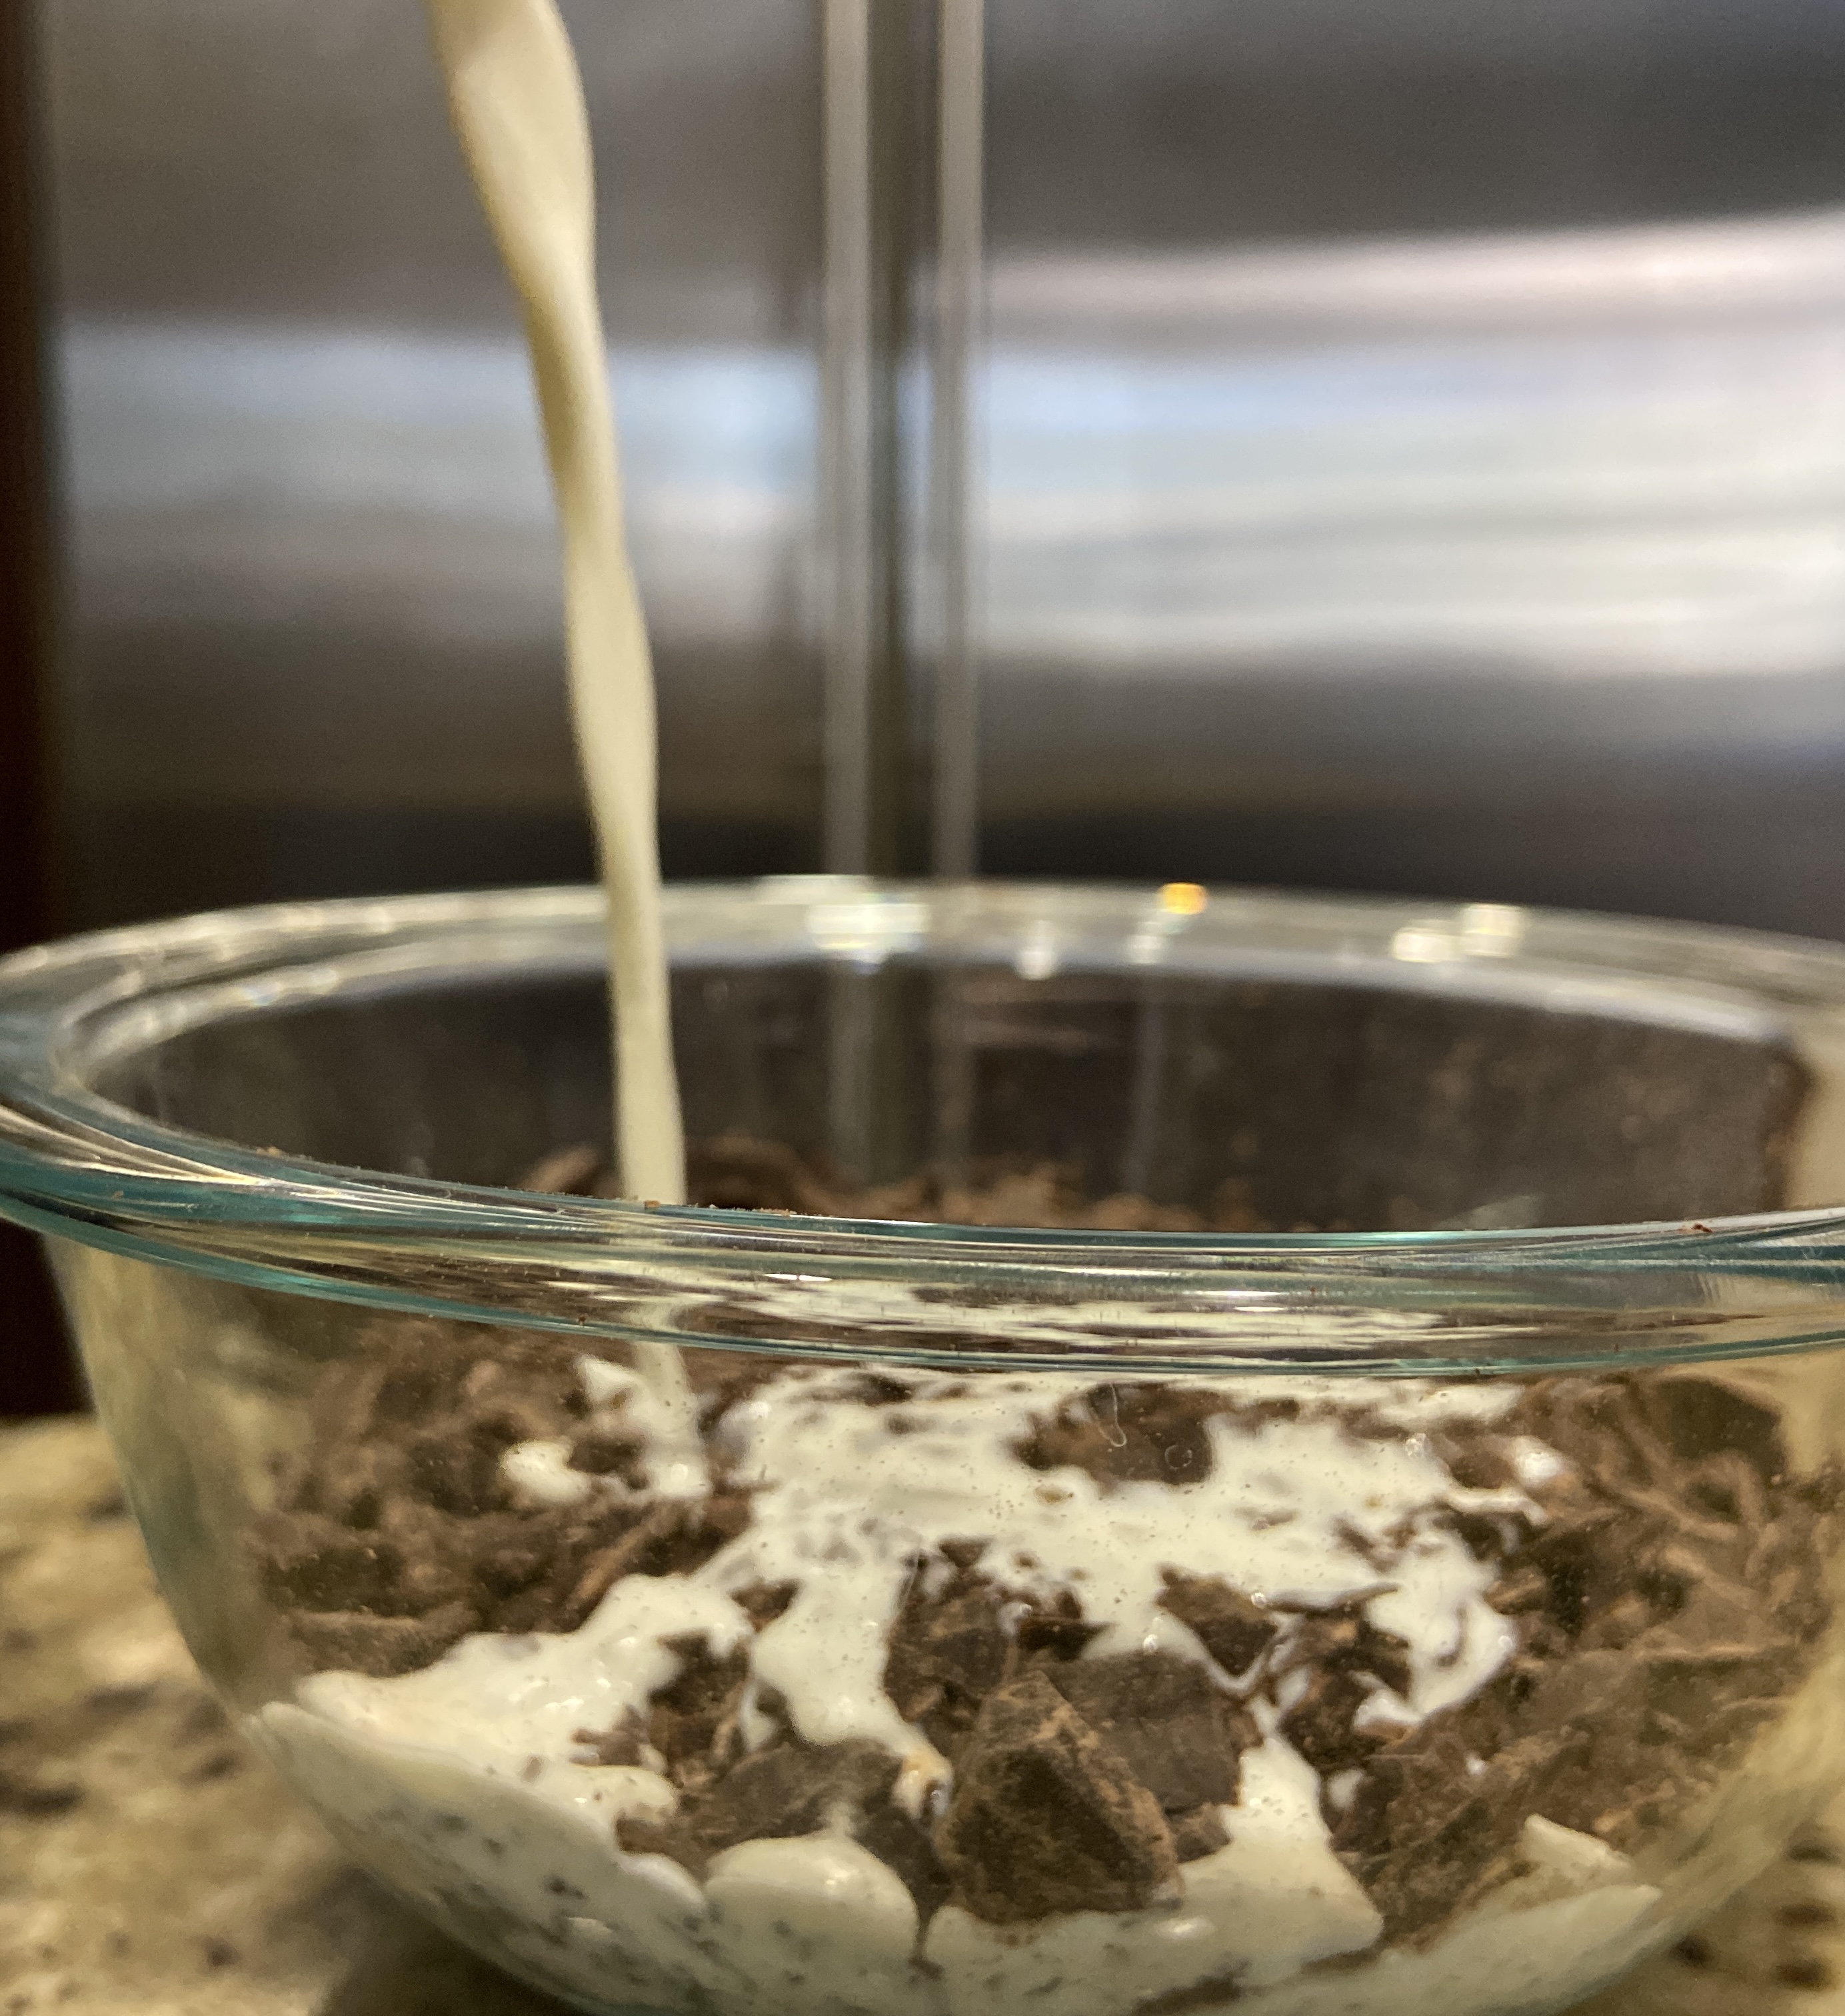
  • 1/2 cup Heavy Cream

How to make Ganache:

  1. Chop the two chocolates and put them in a microwaveable bowl.
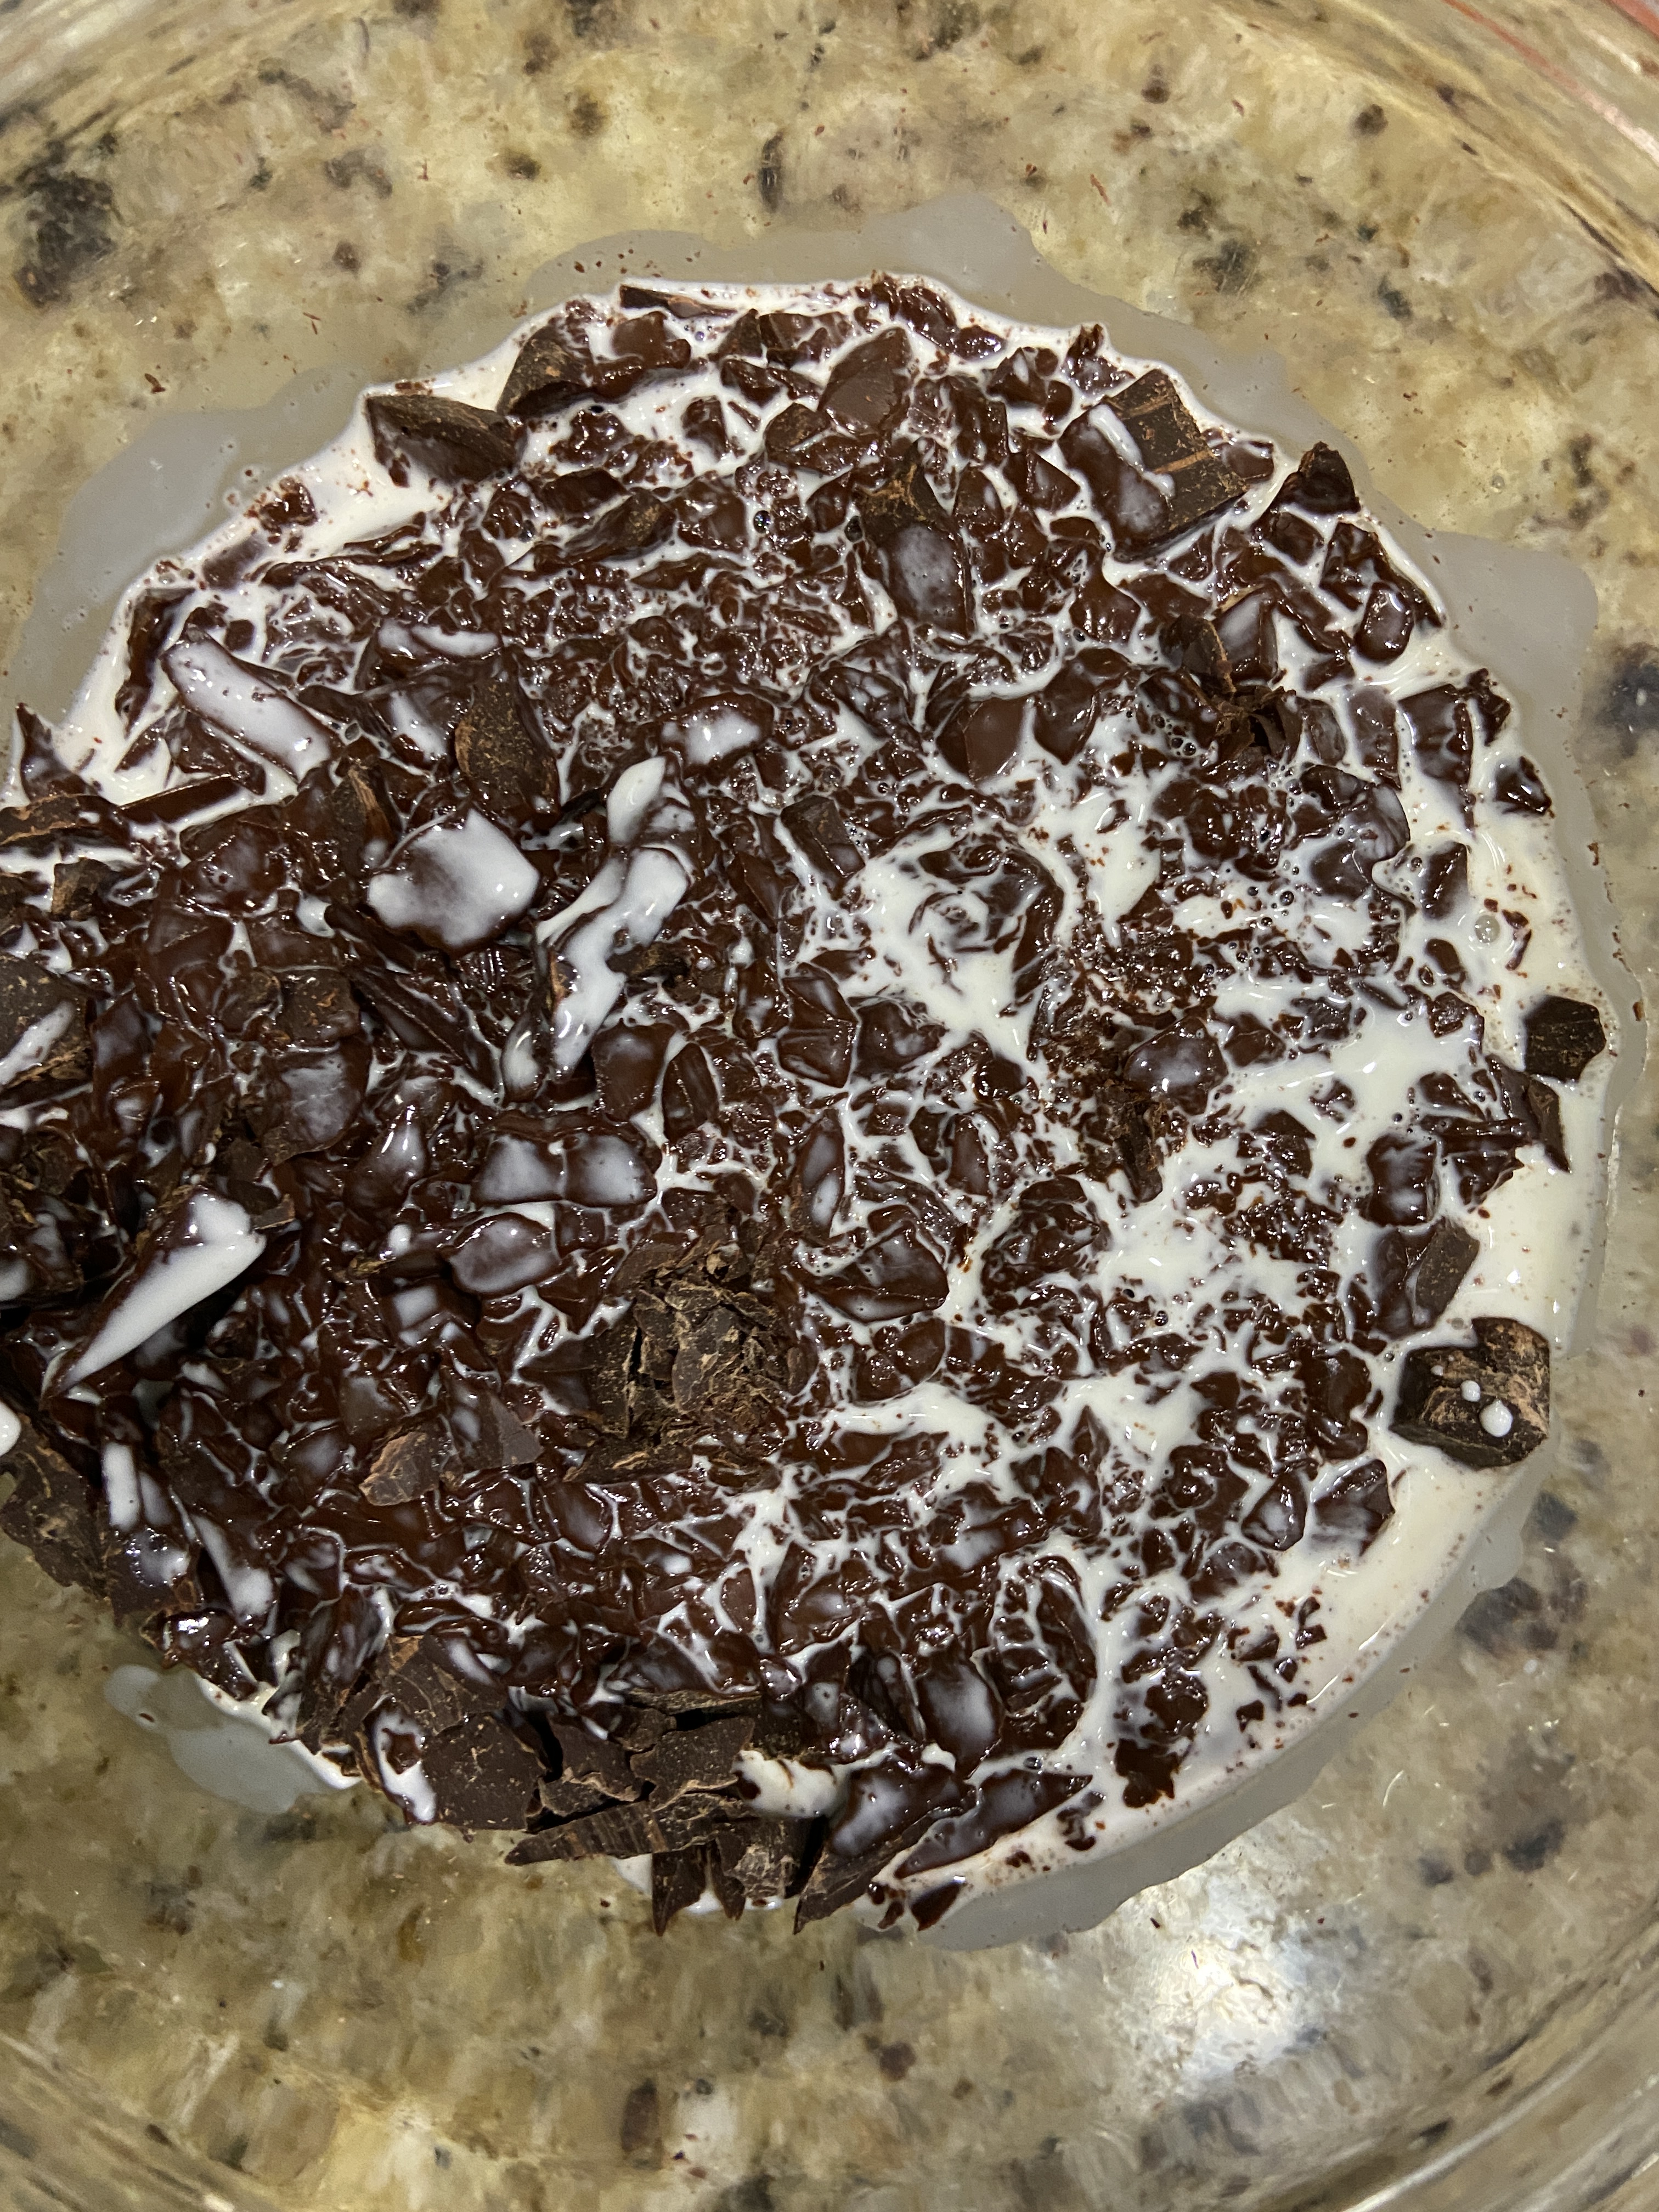
  2. Heat up the heavy cream for around 25 seconds and pour it over the chocolate.
  3. Stir the chocolate and cream around until smooth (you may need to microwave it for a few seconds to melt any bigger chunks of chocolate).
  4. Once the ganache is smooth, refrigerate the ganache for 2 hours.

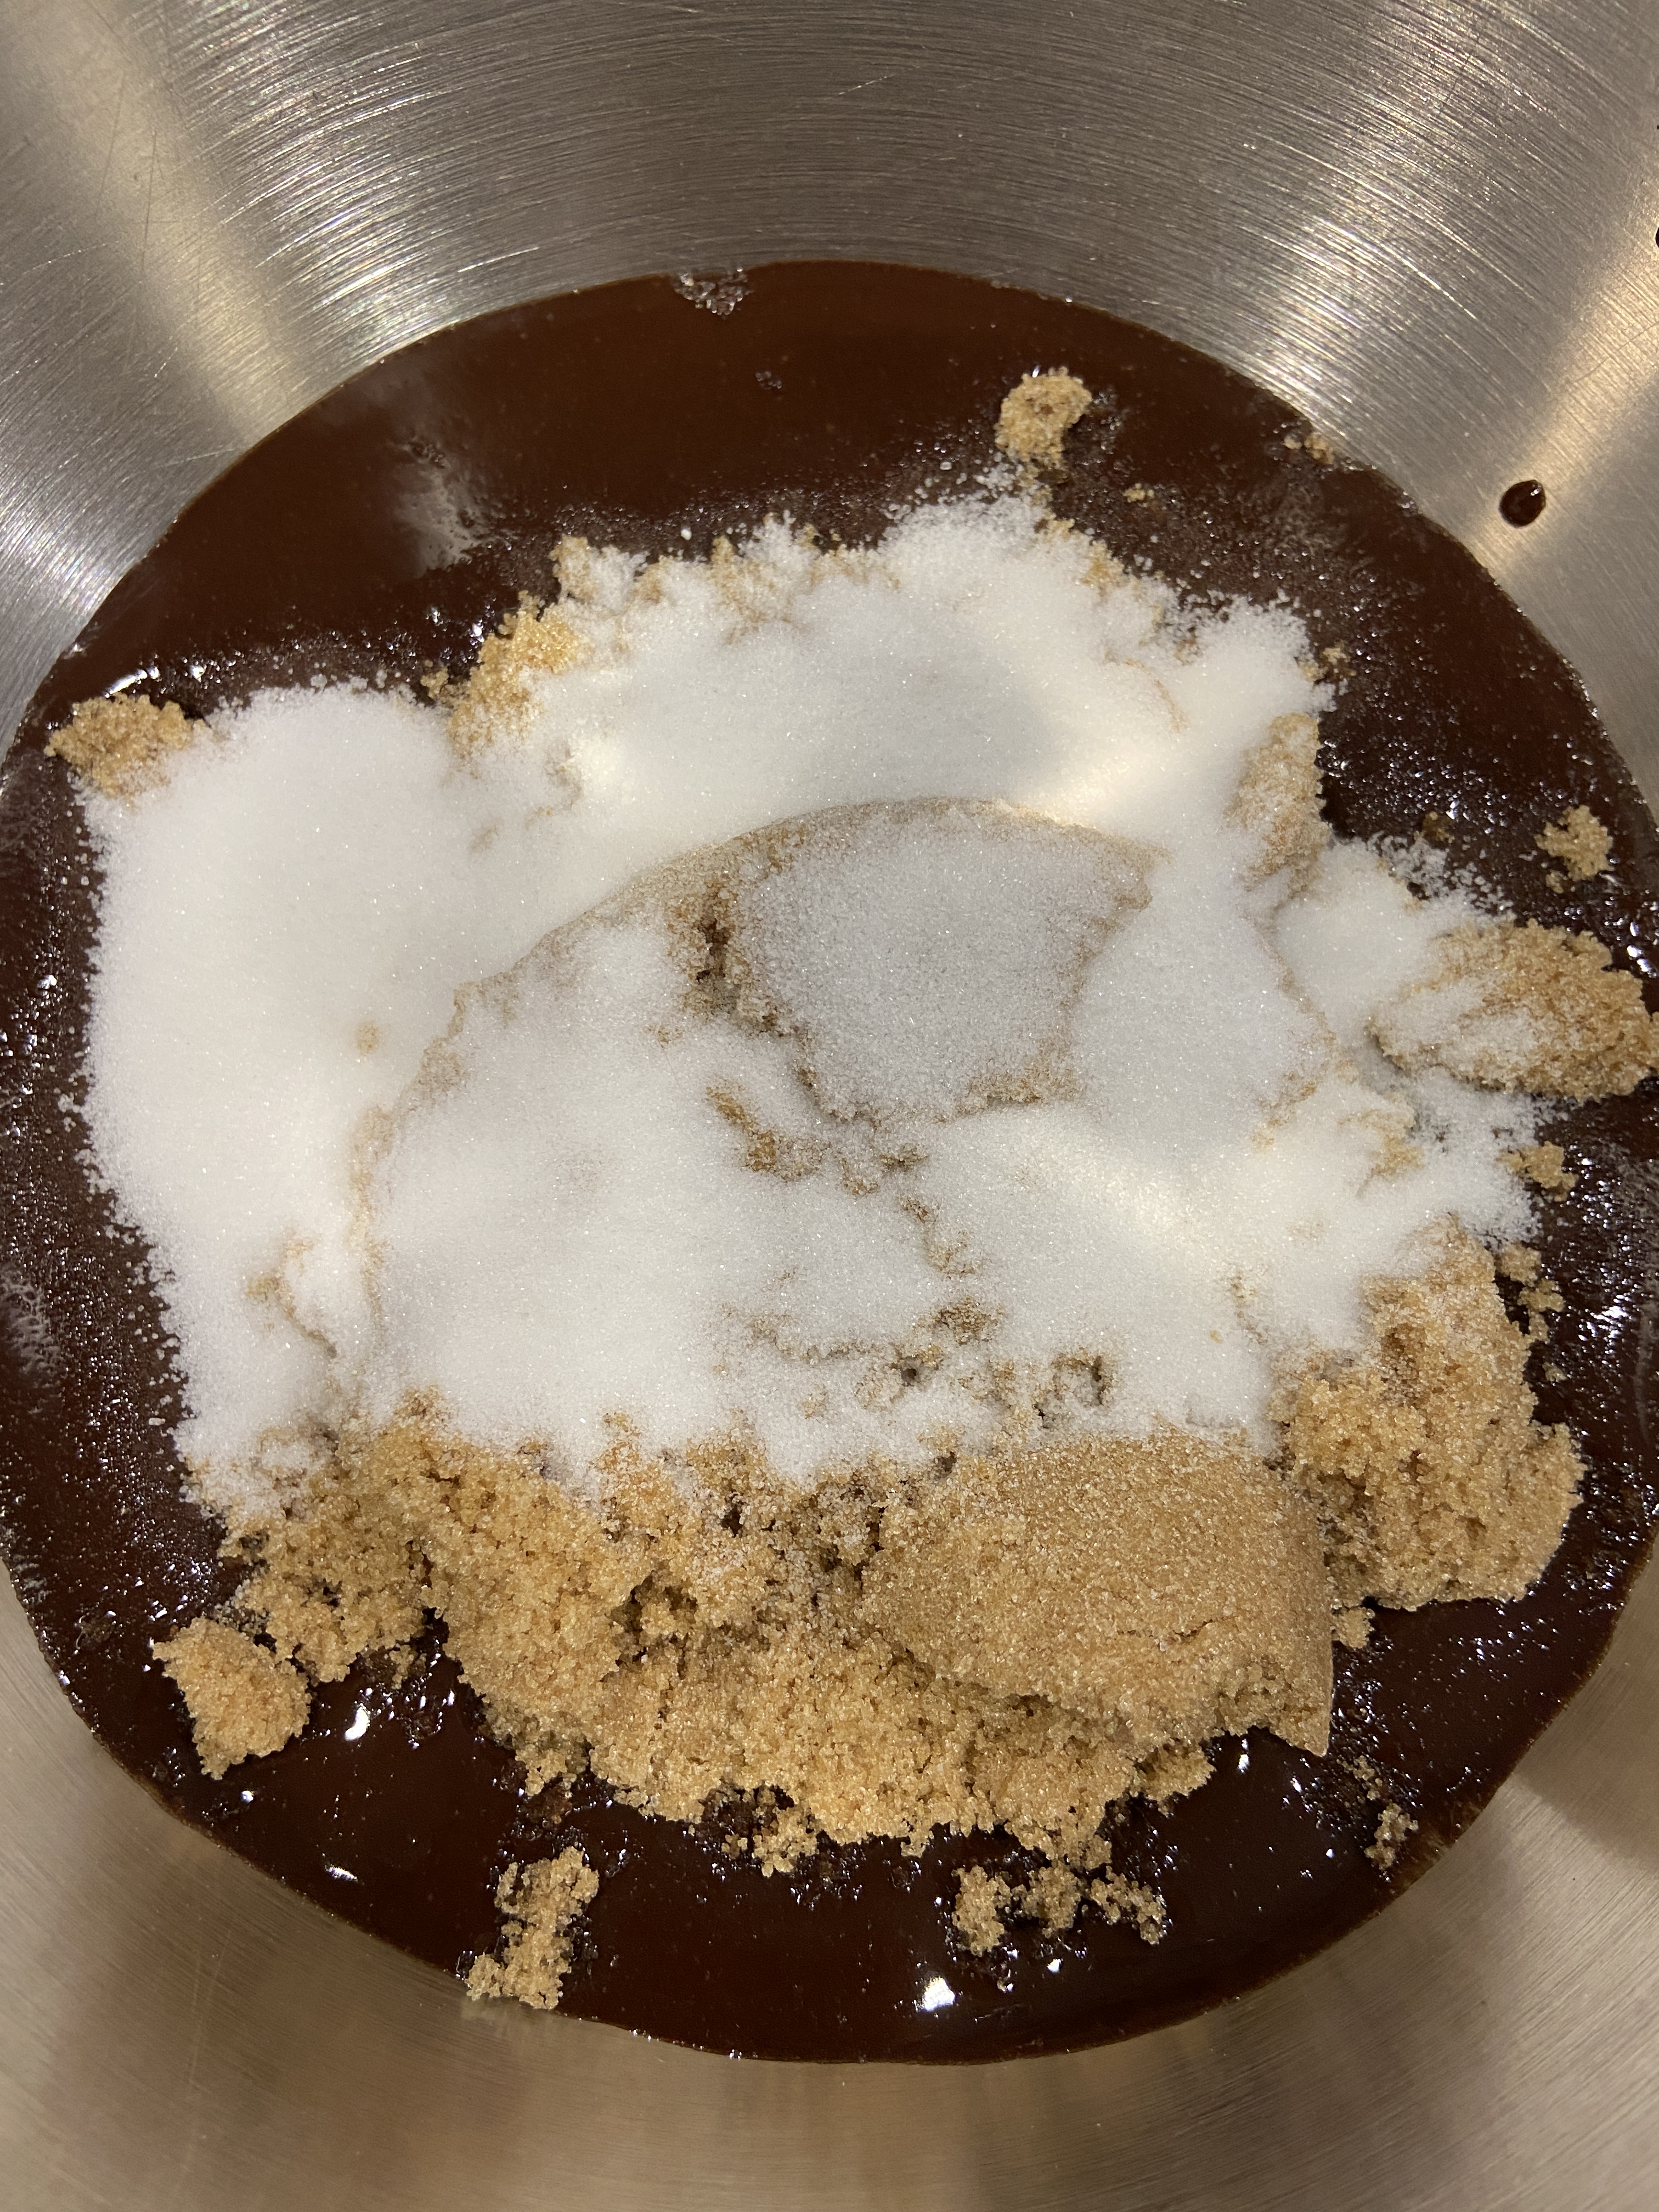
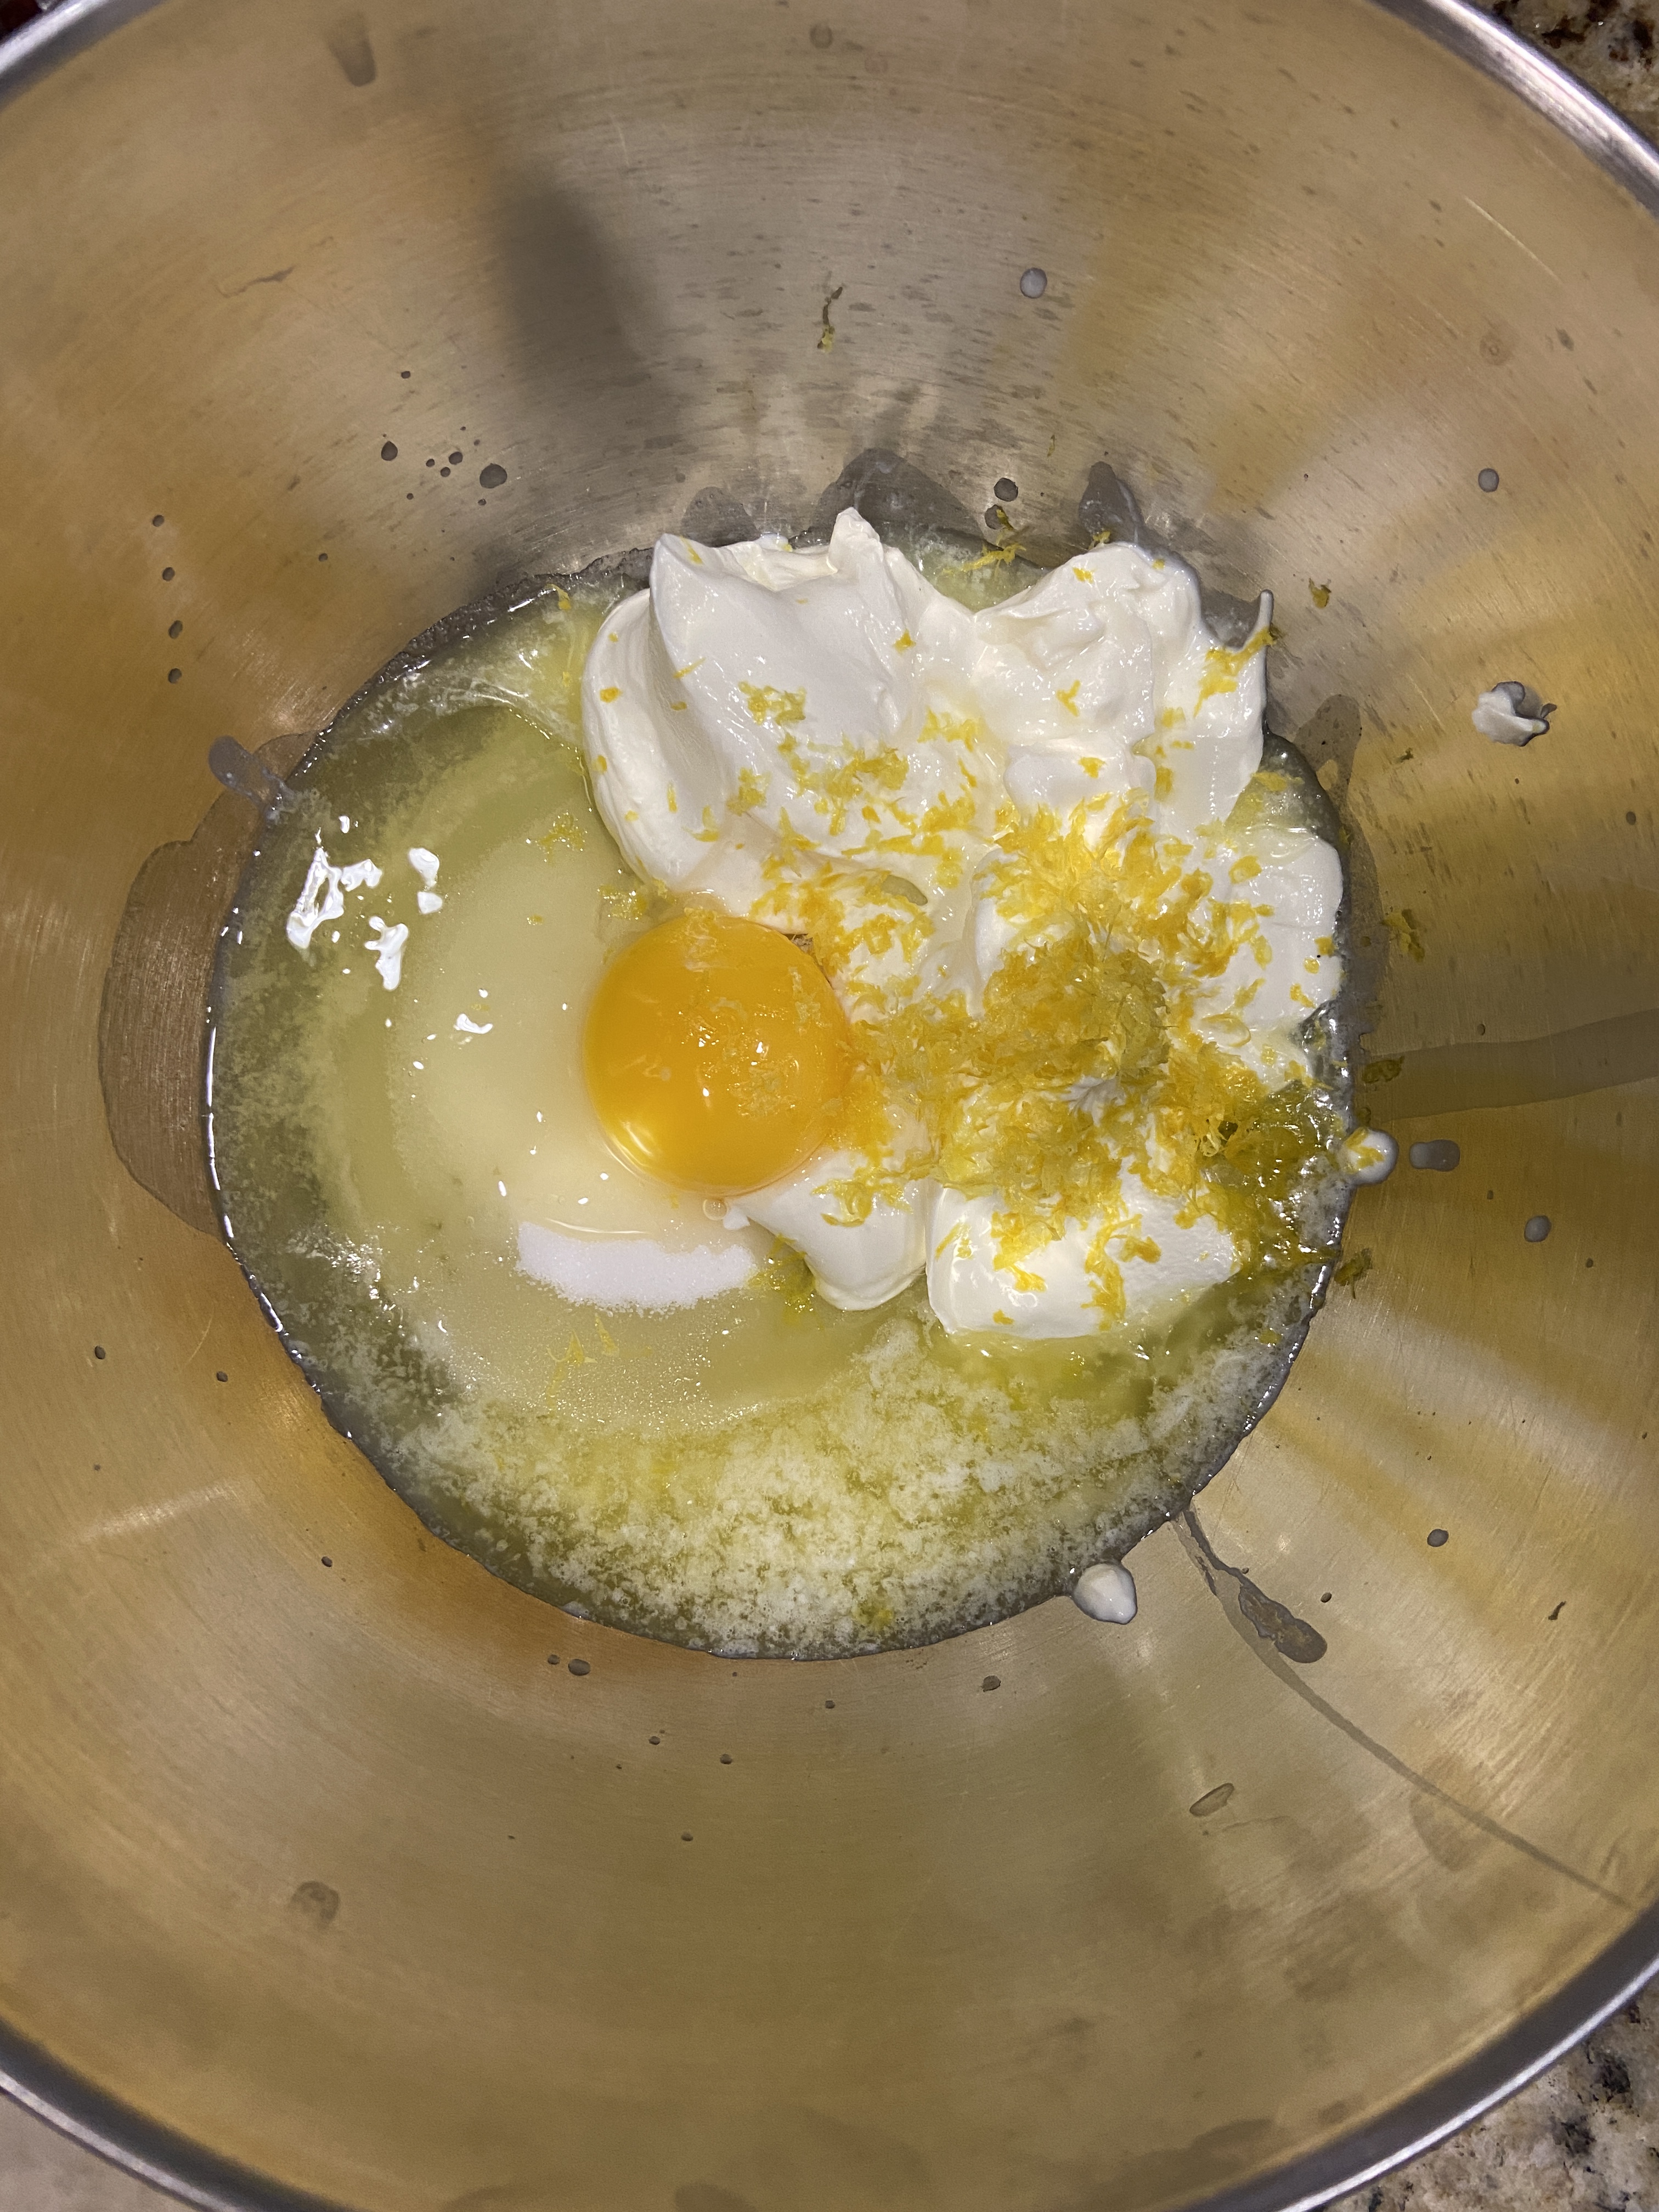
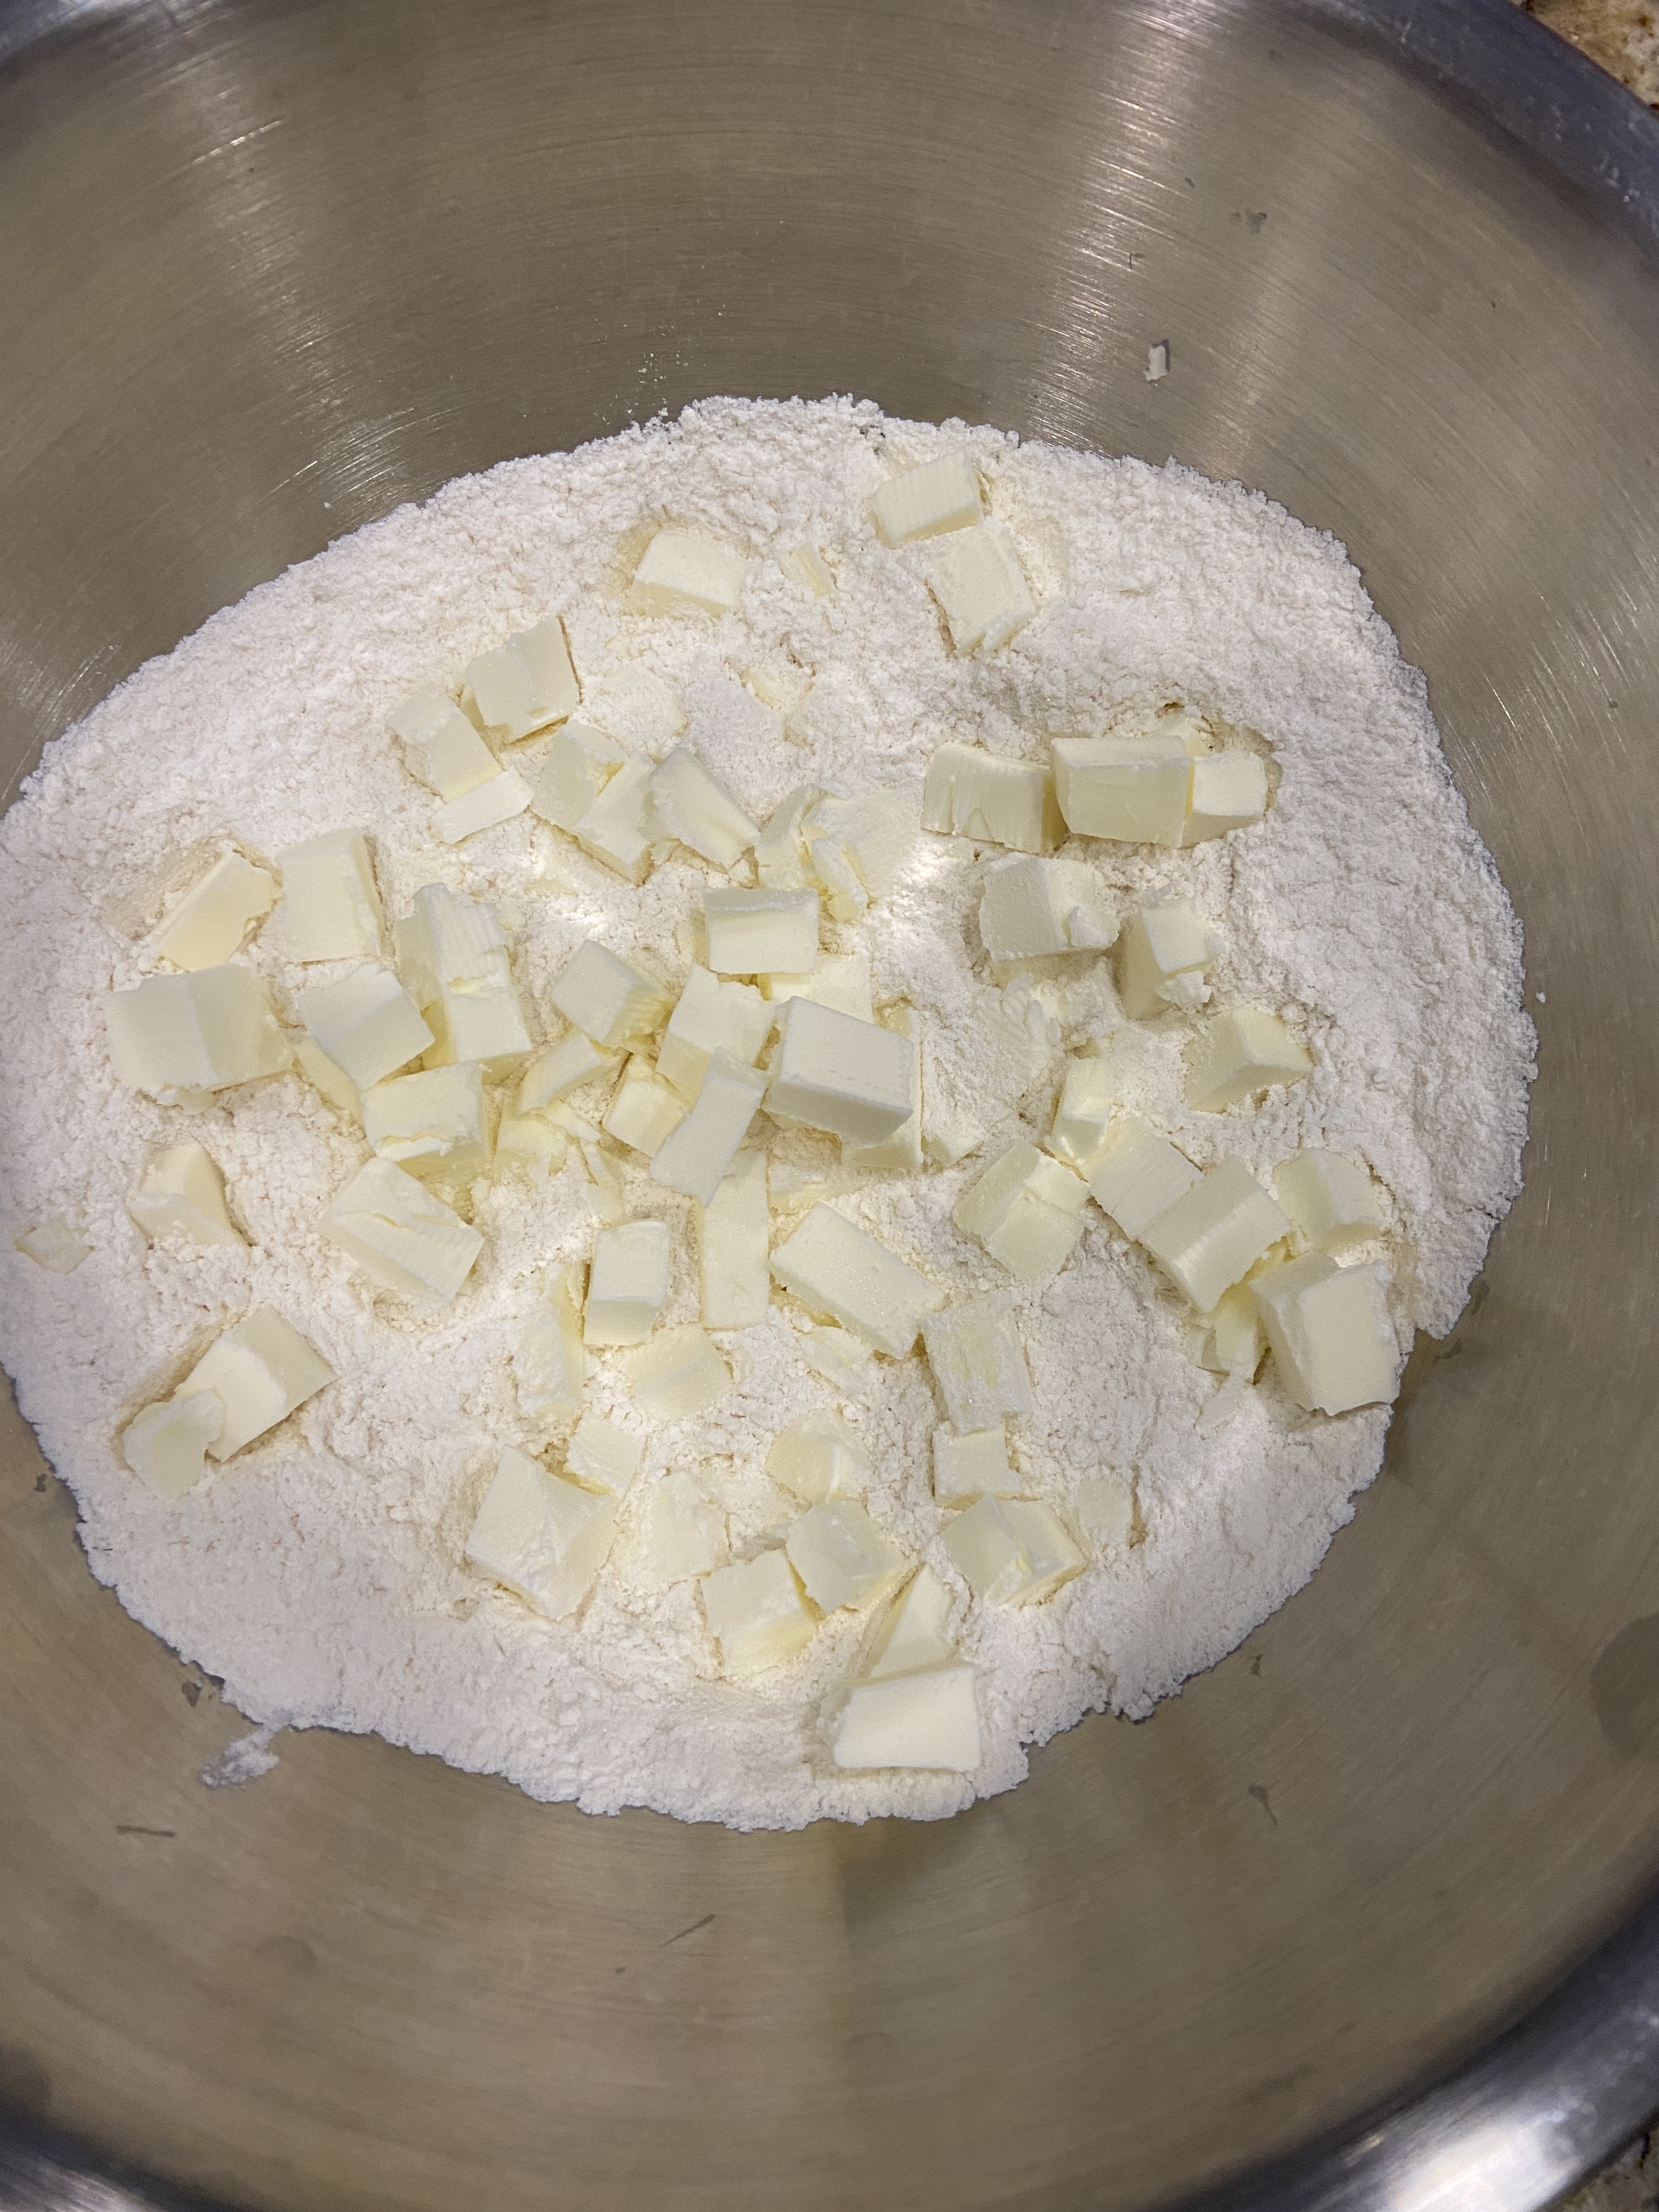
Ingredients for Dough:

  • 3 and 1/4 cup Bread Flour
  • 1/2 teaspoon Kosher Salt (or 1/4 teaspoon Sea Salt)
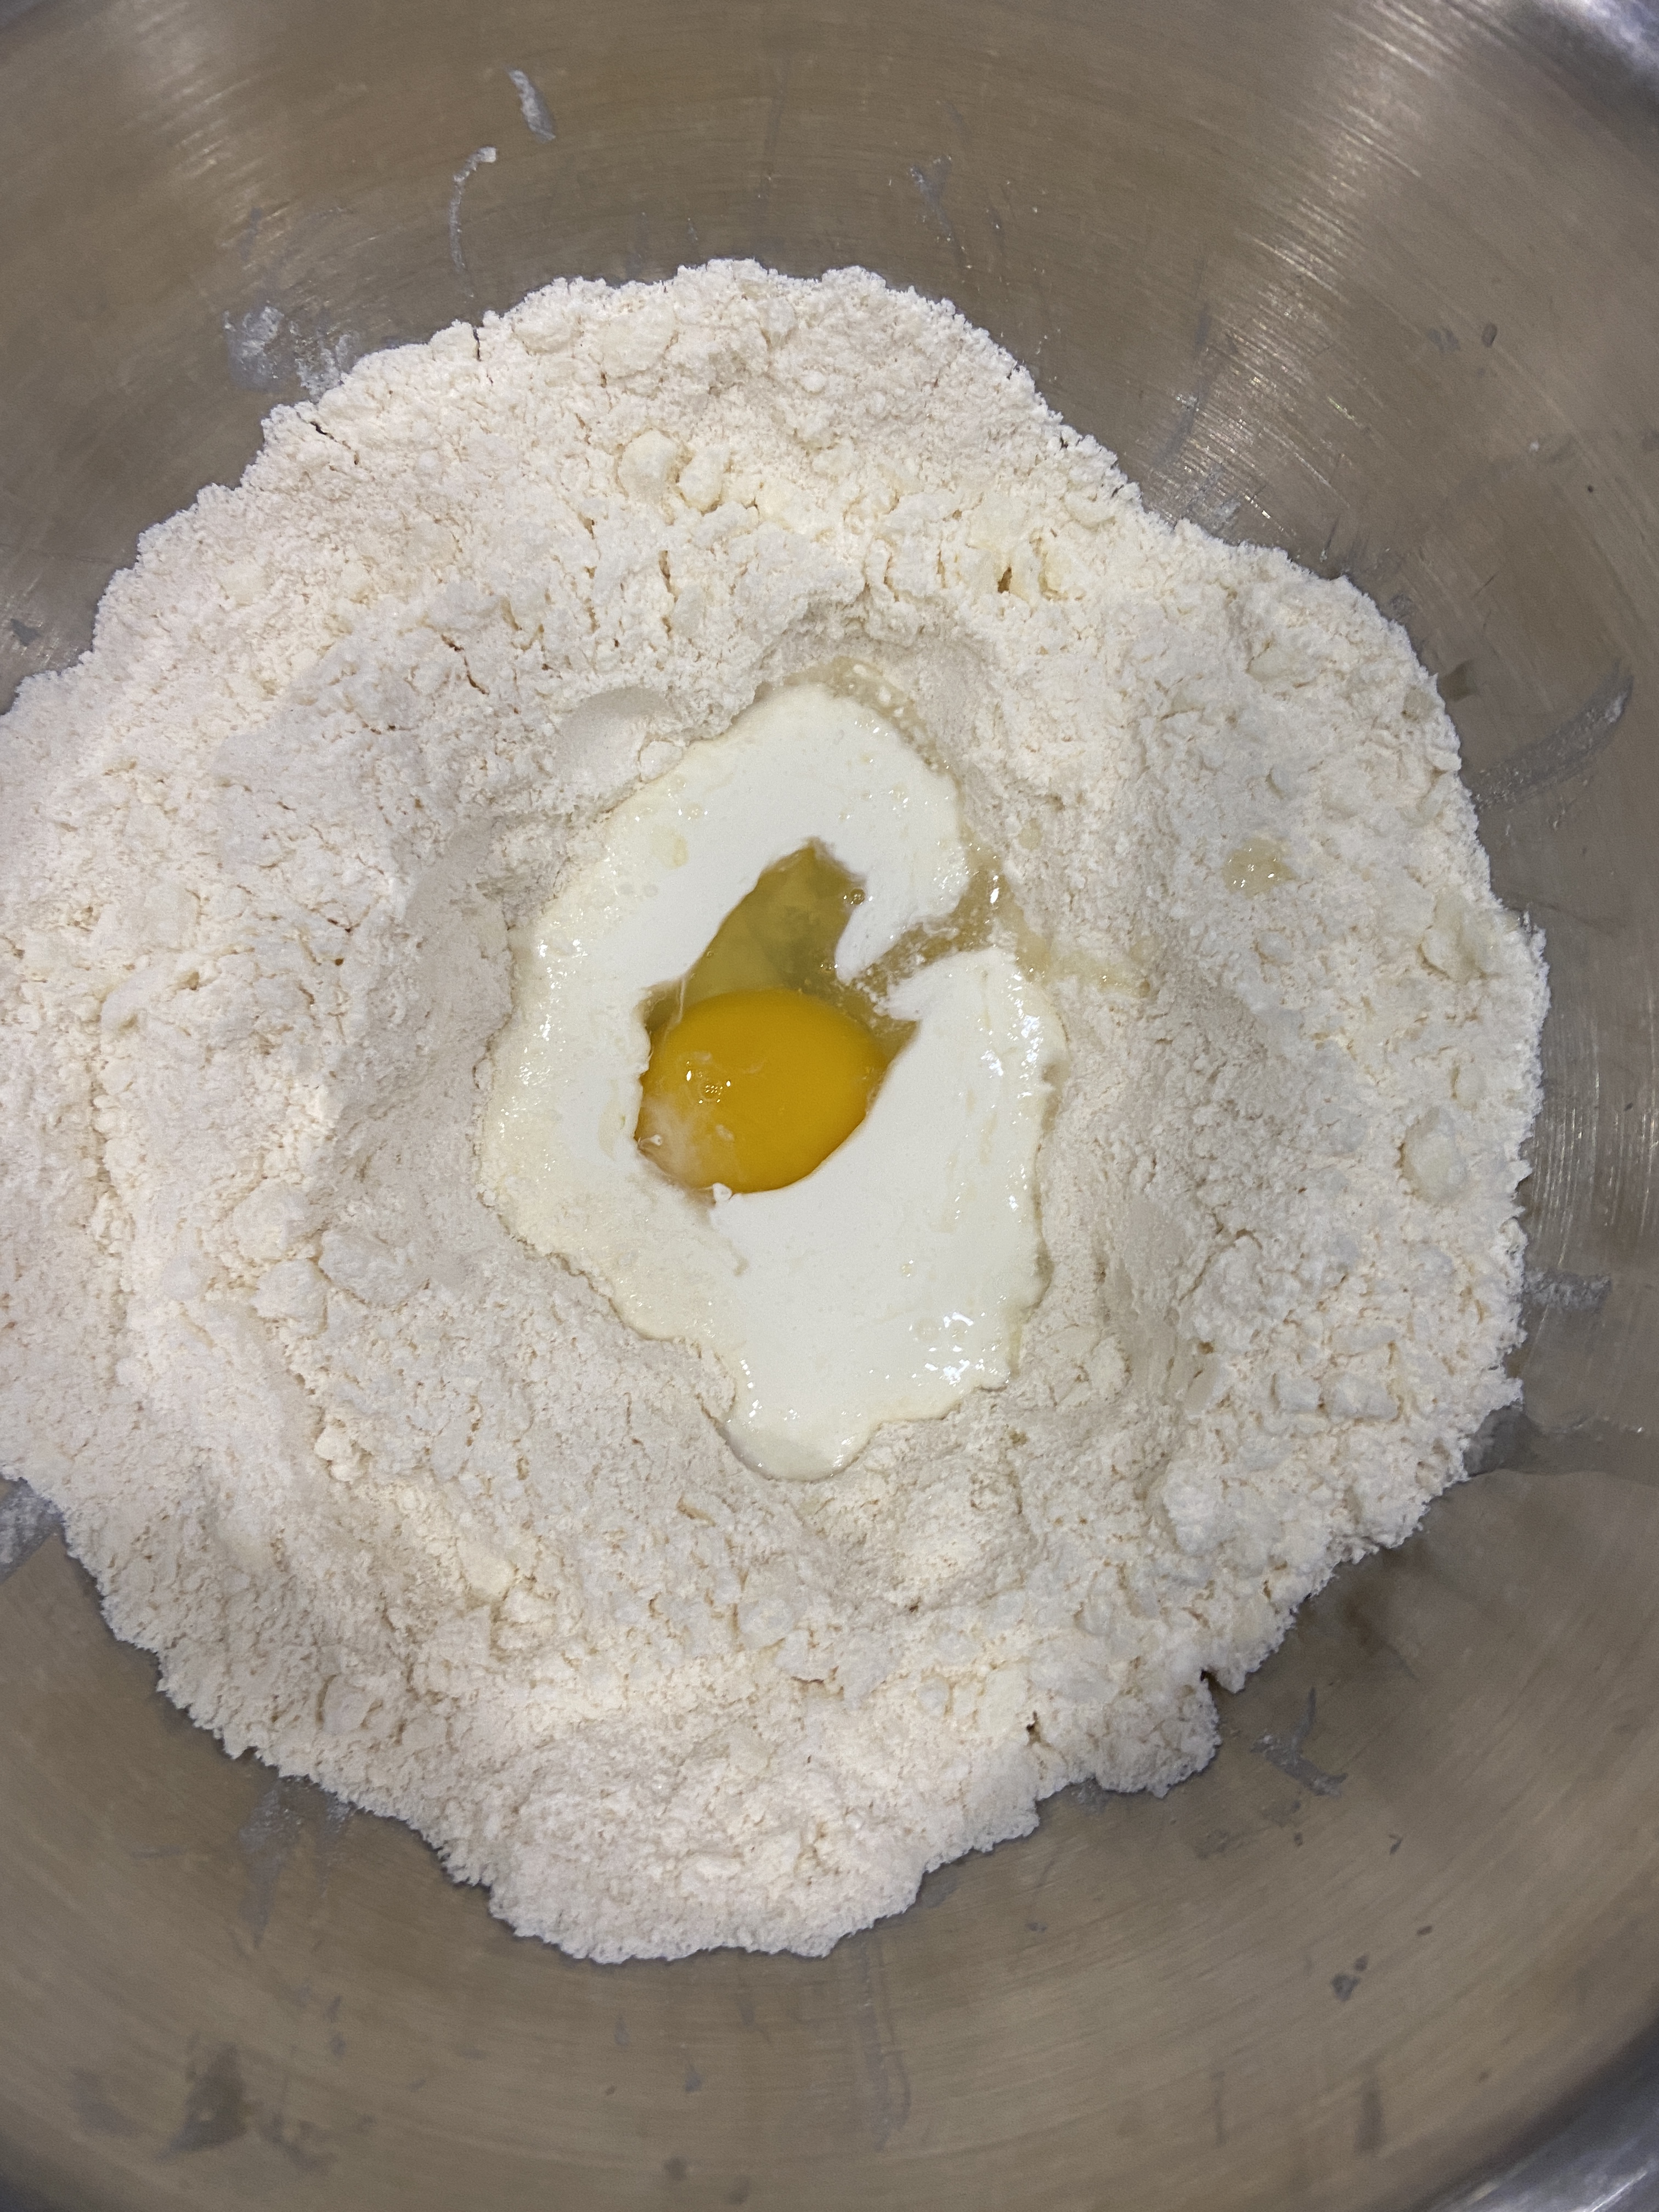
  • 3/4 cup boiling Hot Water
  • 1/3 cup Cold Water

How to make Dough:

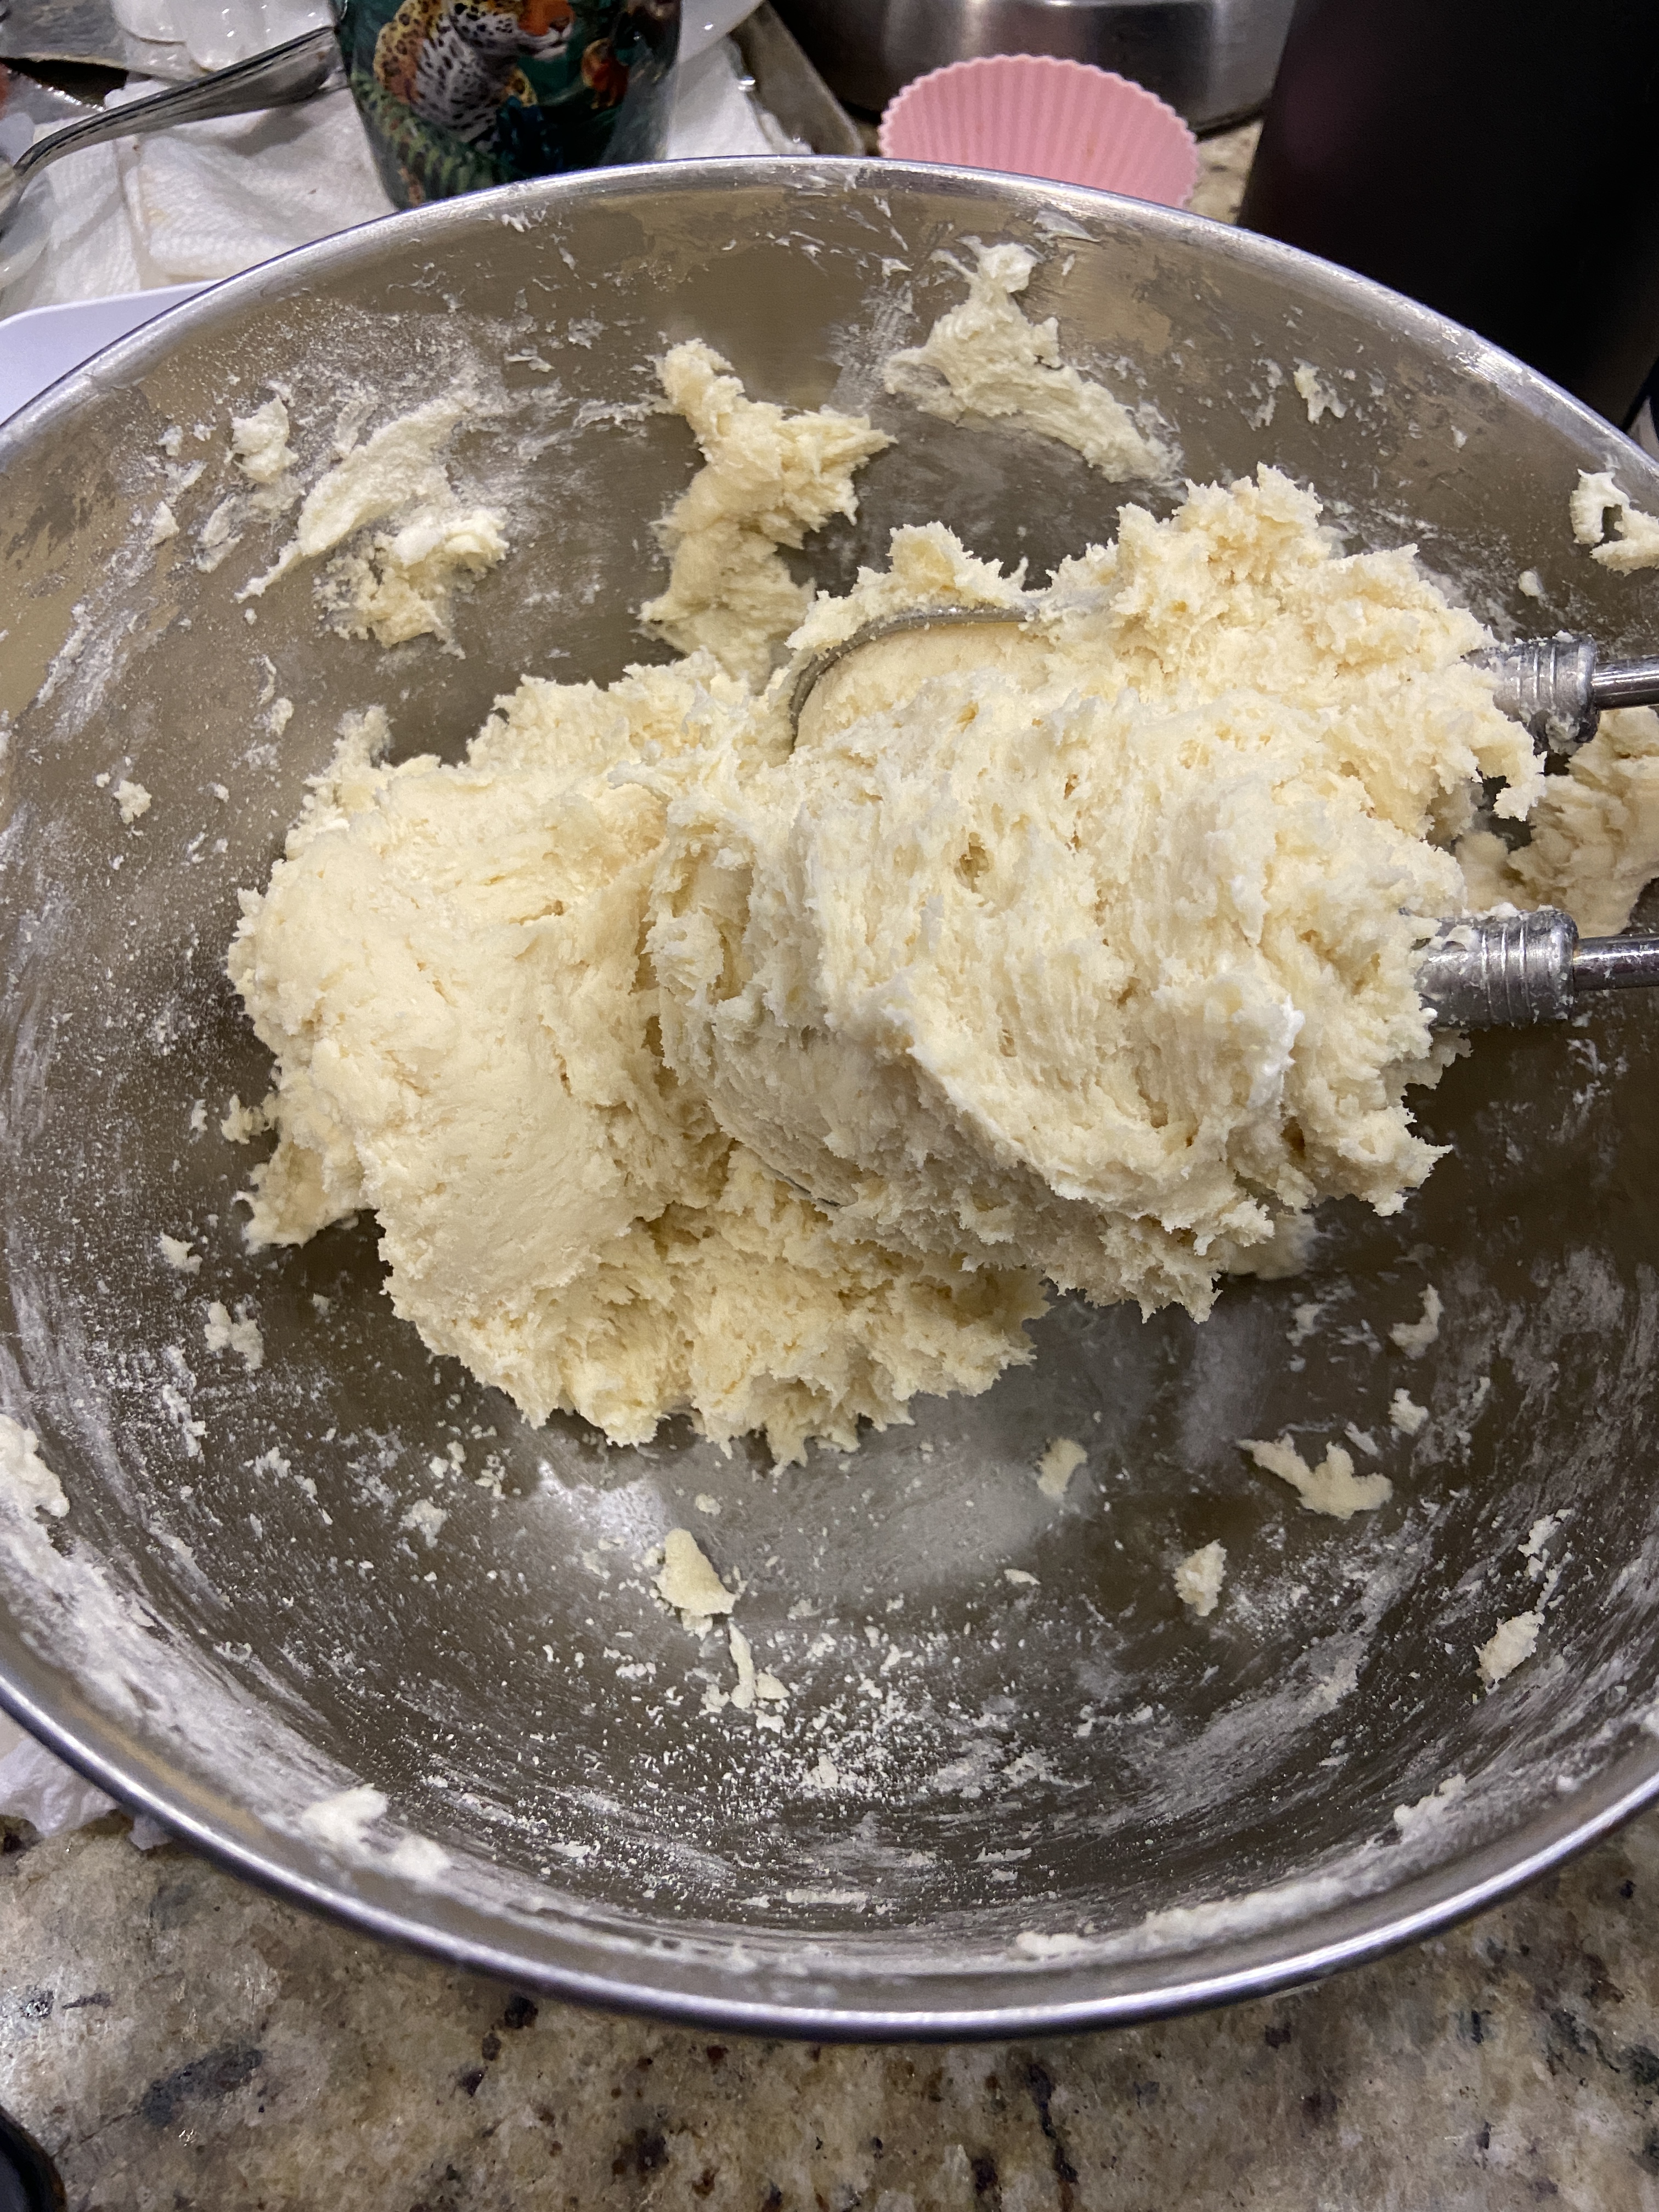
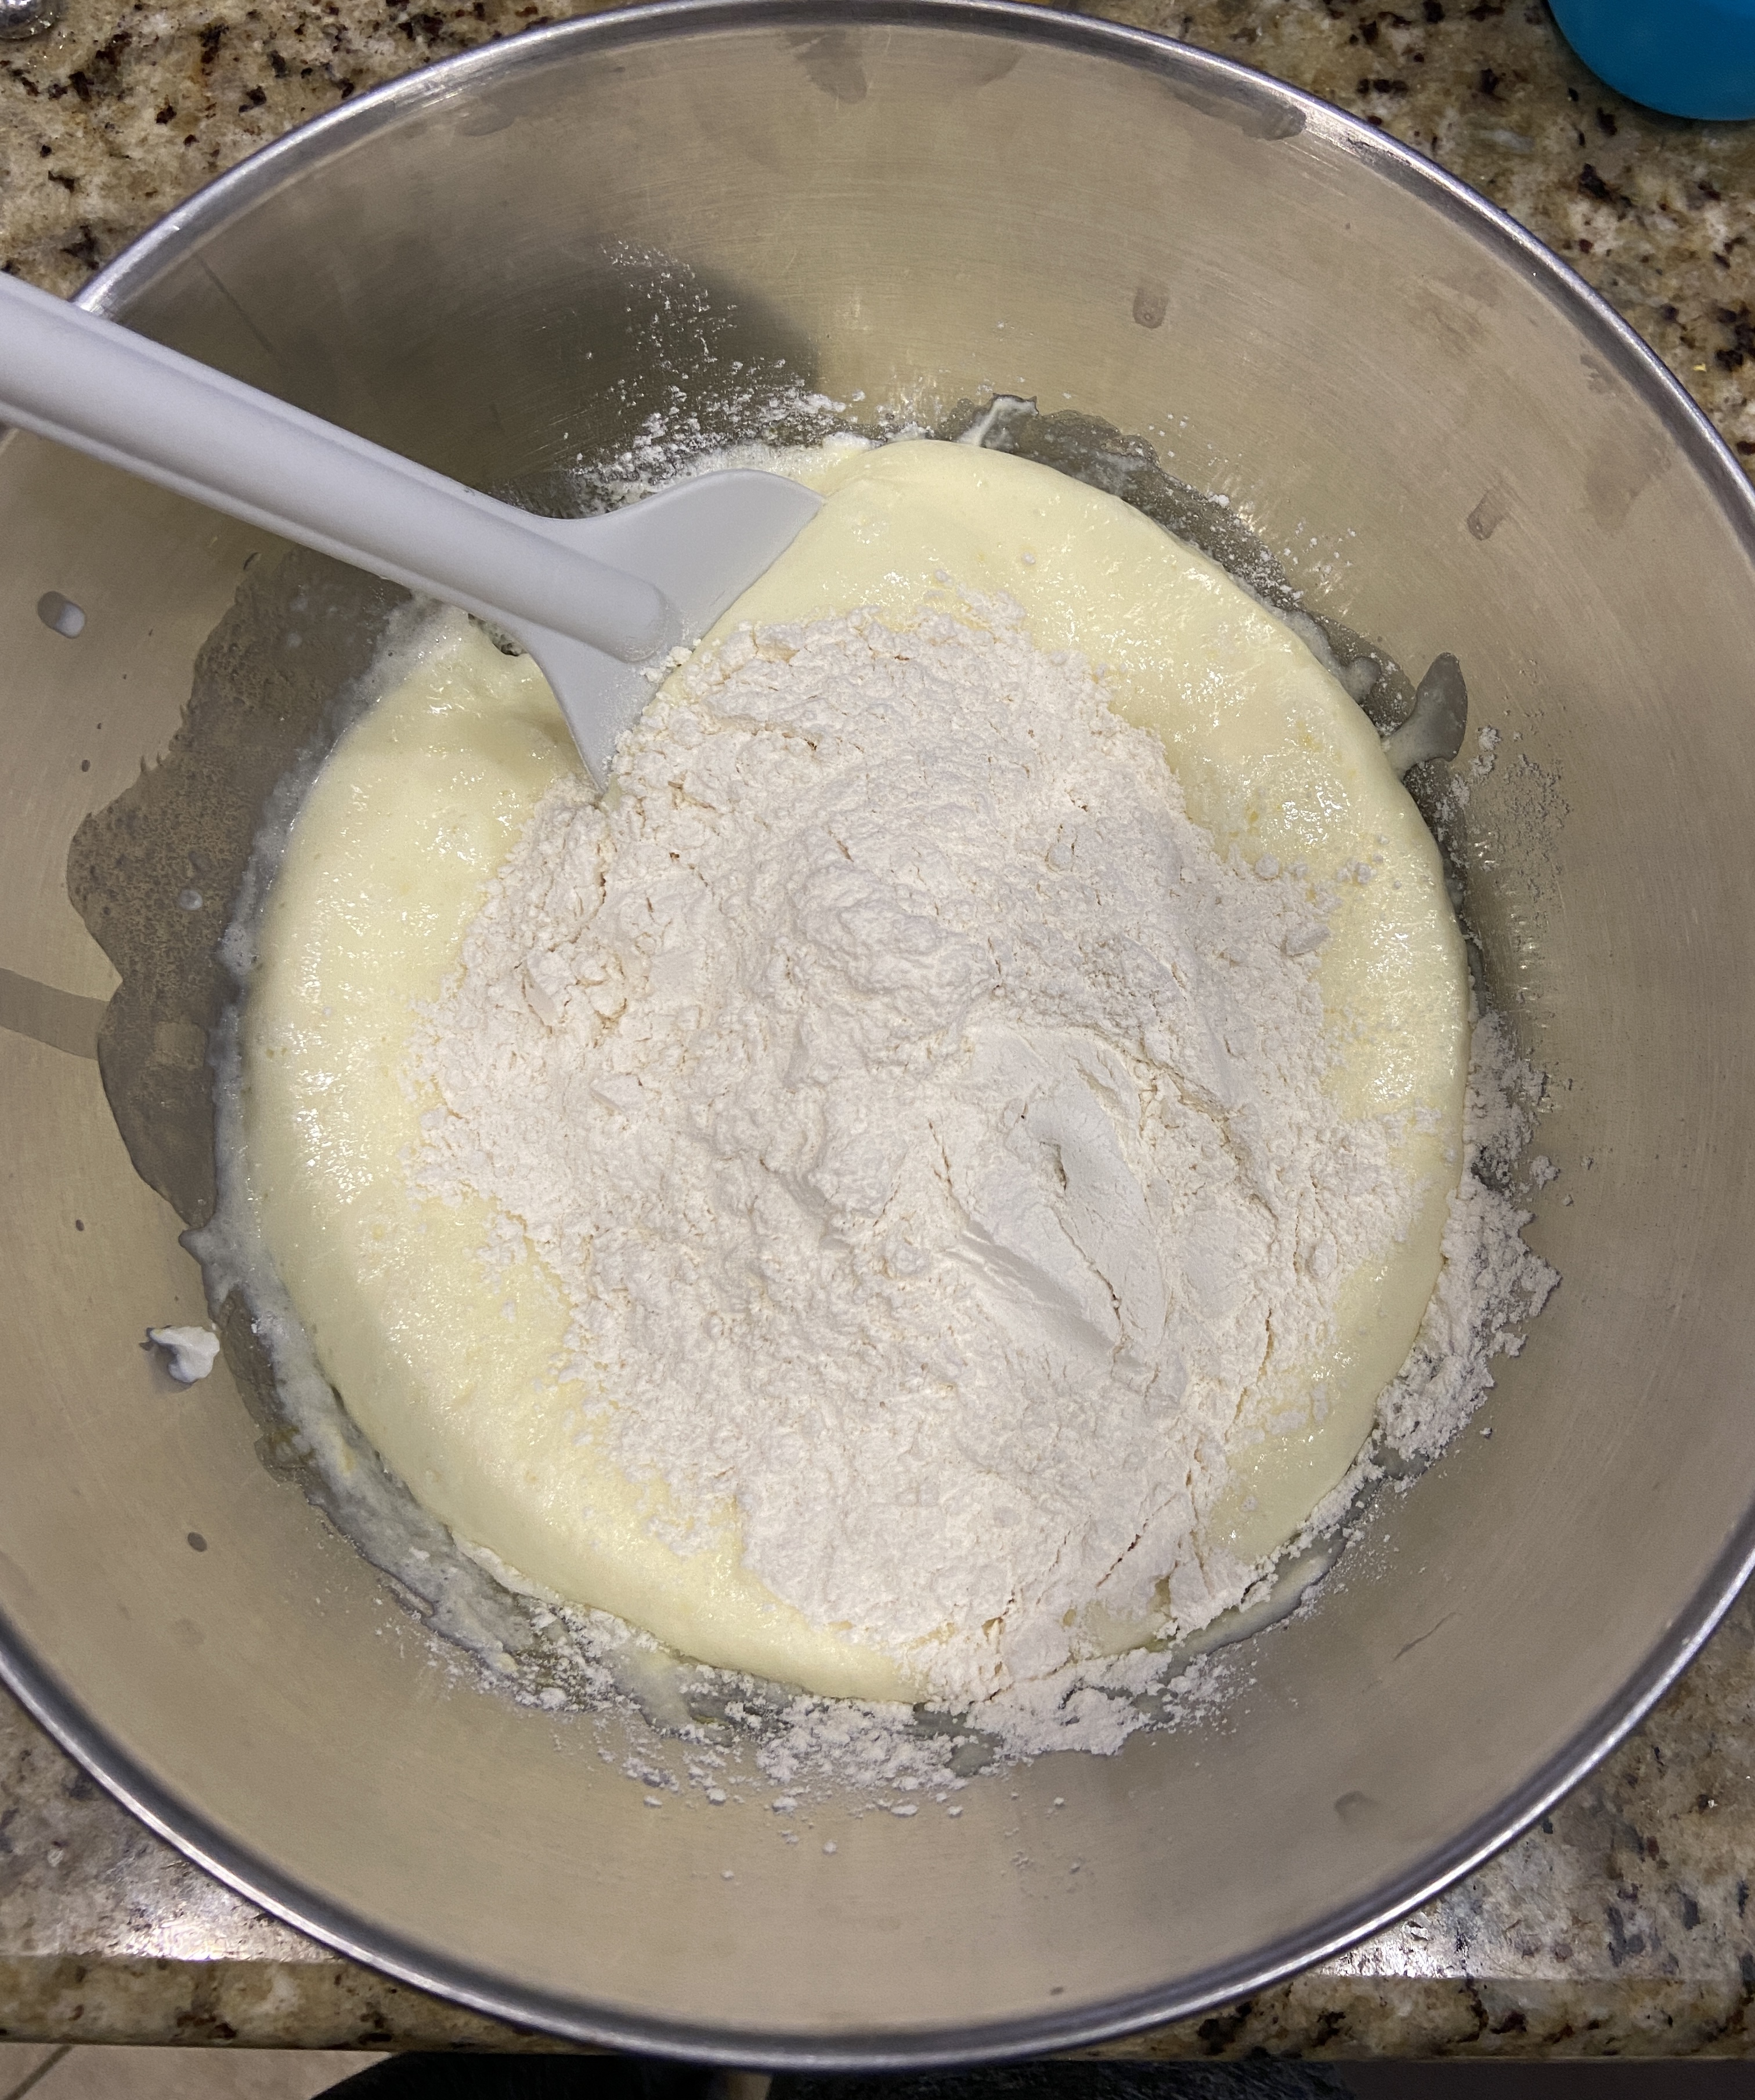
  1. In the bowl of a kitchen mixer (like a KitchenAid), mix the flour and salt with a paddle attachment.
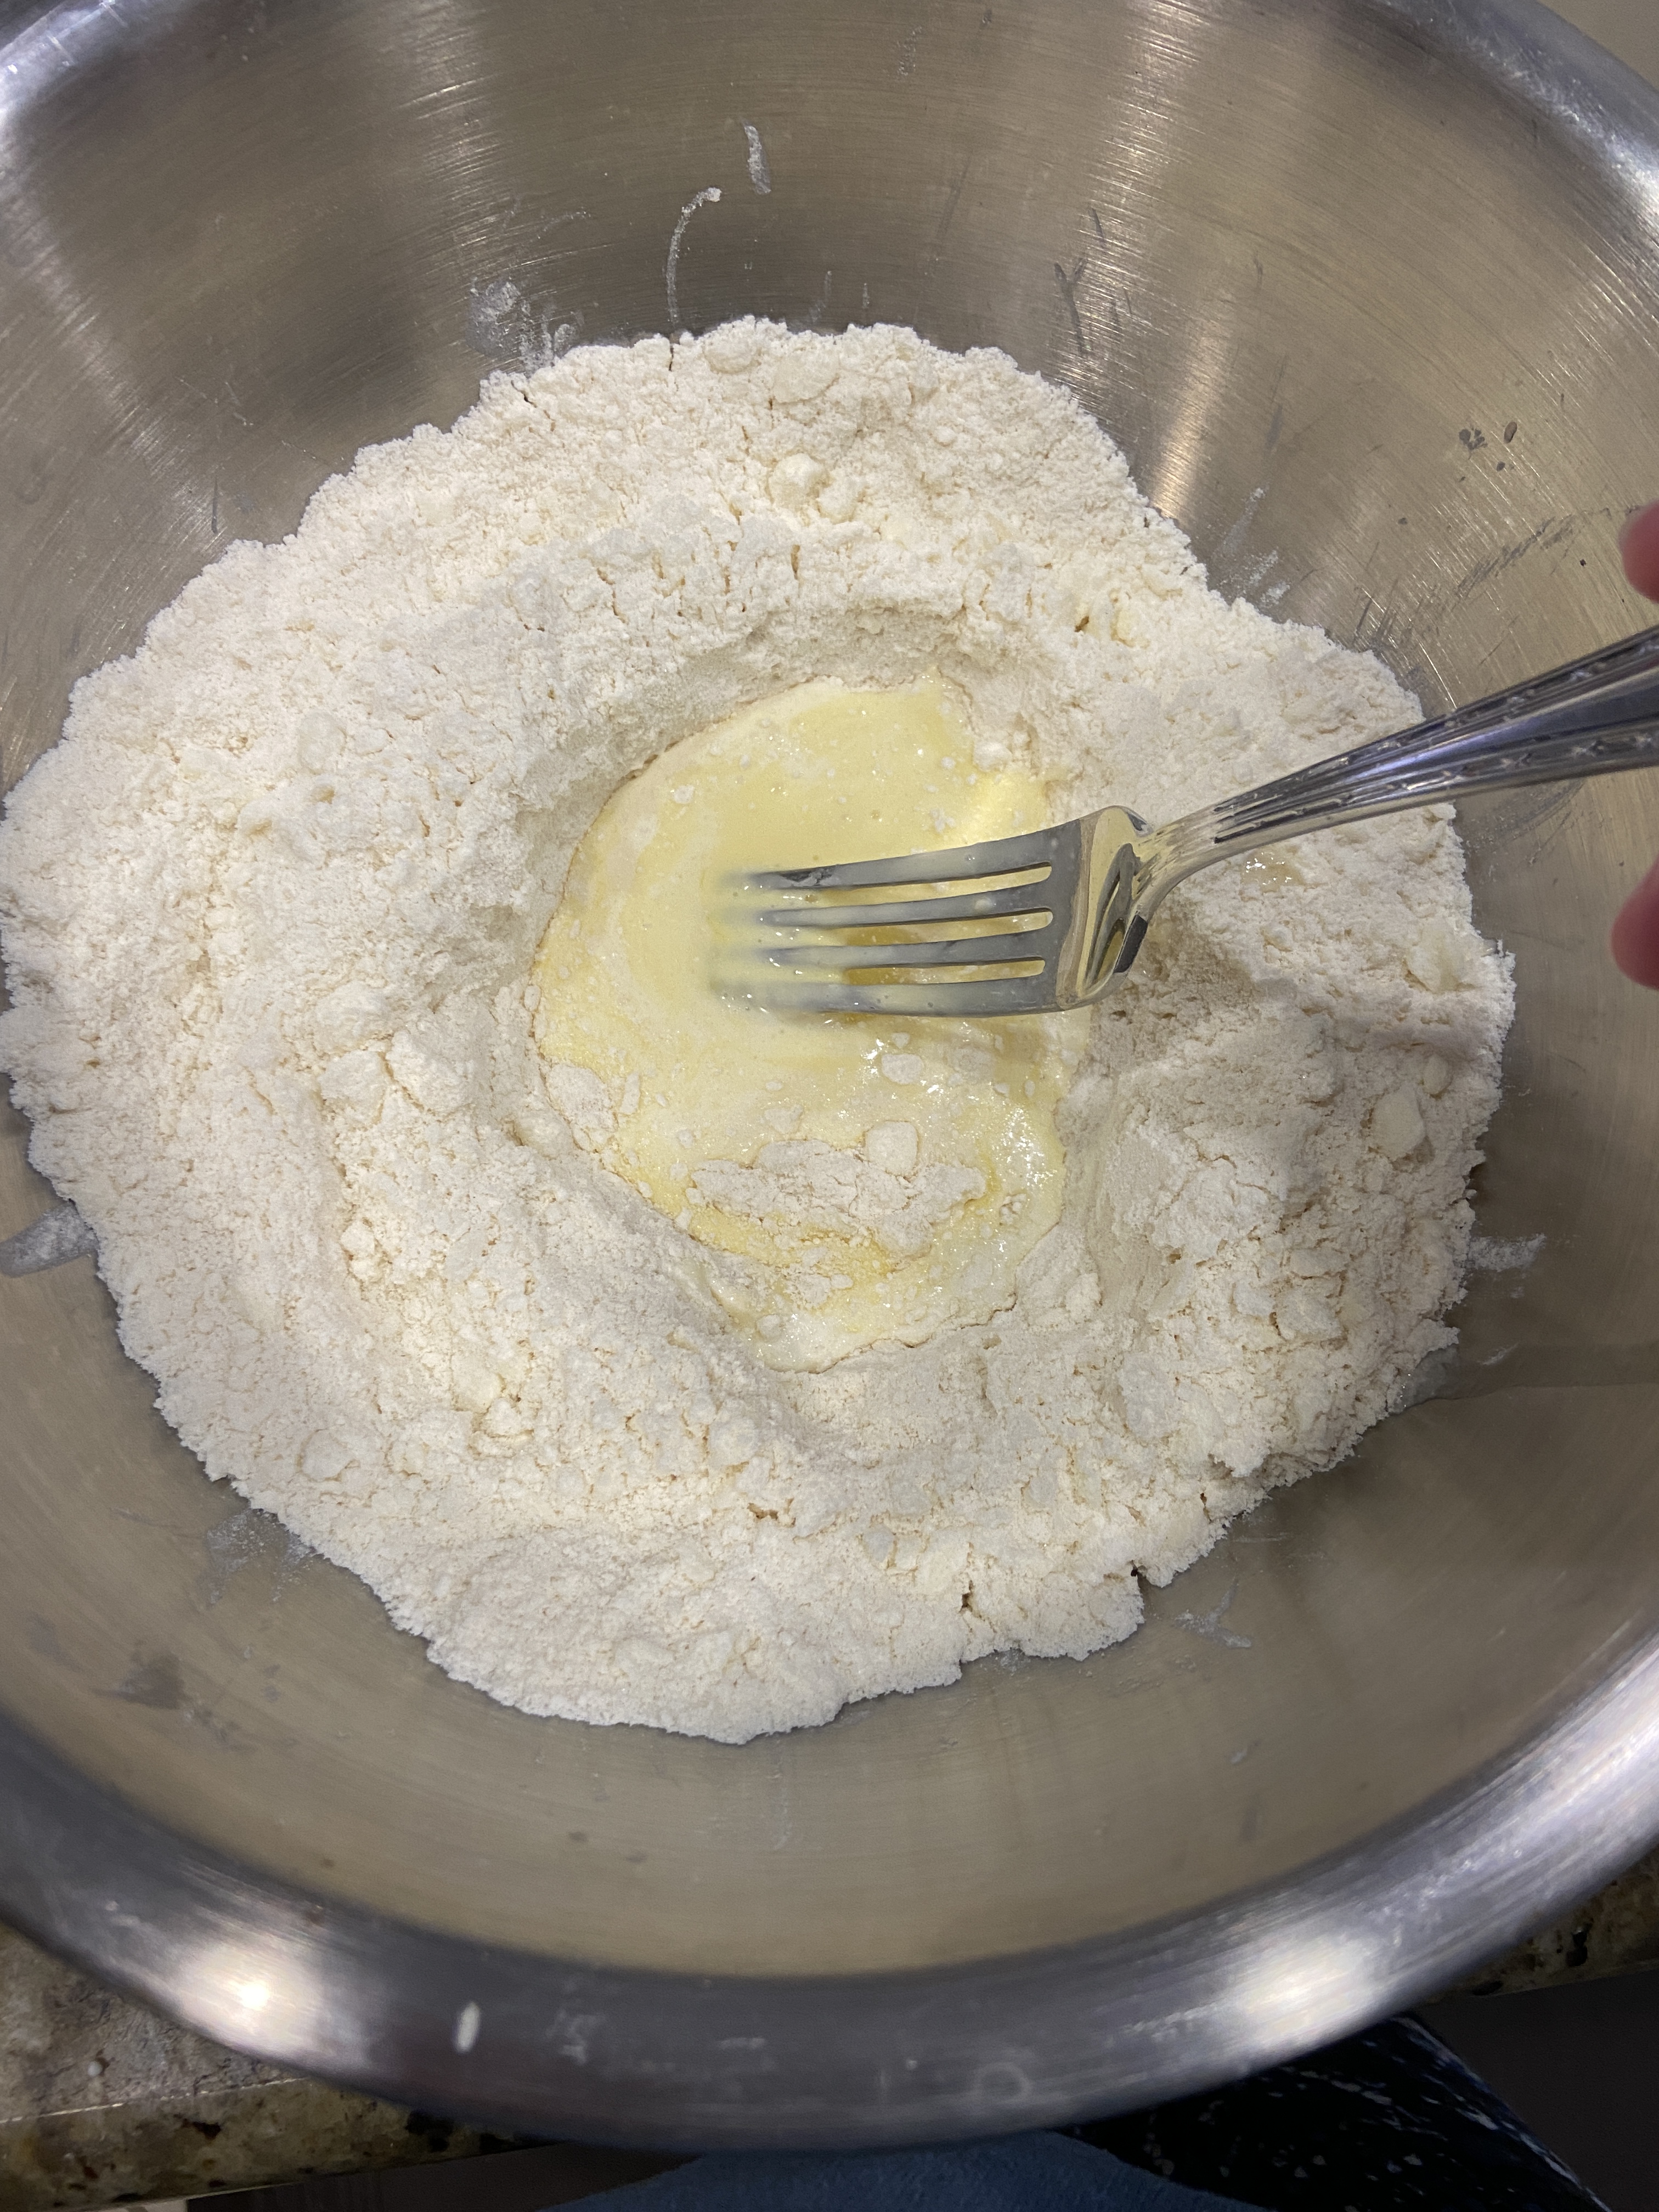
  2. Next, add in the hot water and blend it by pulsing. Add the cold water and pulse on and off to mix it in.
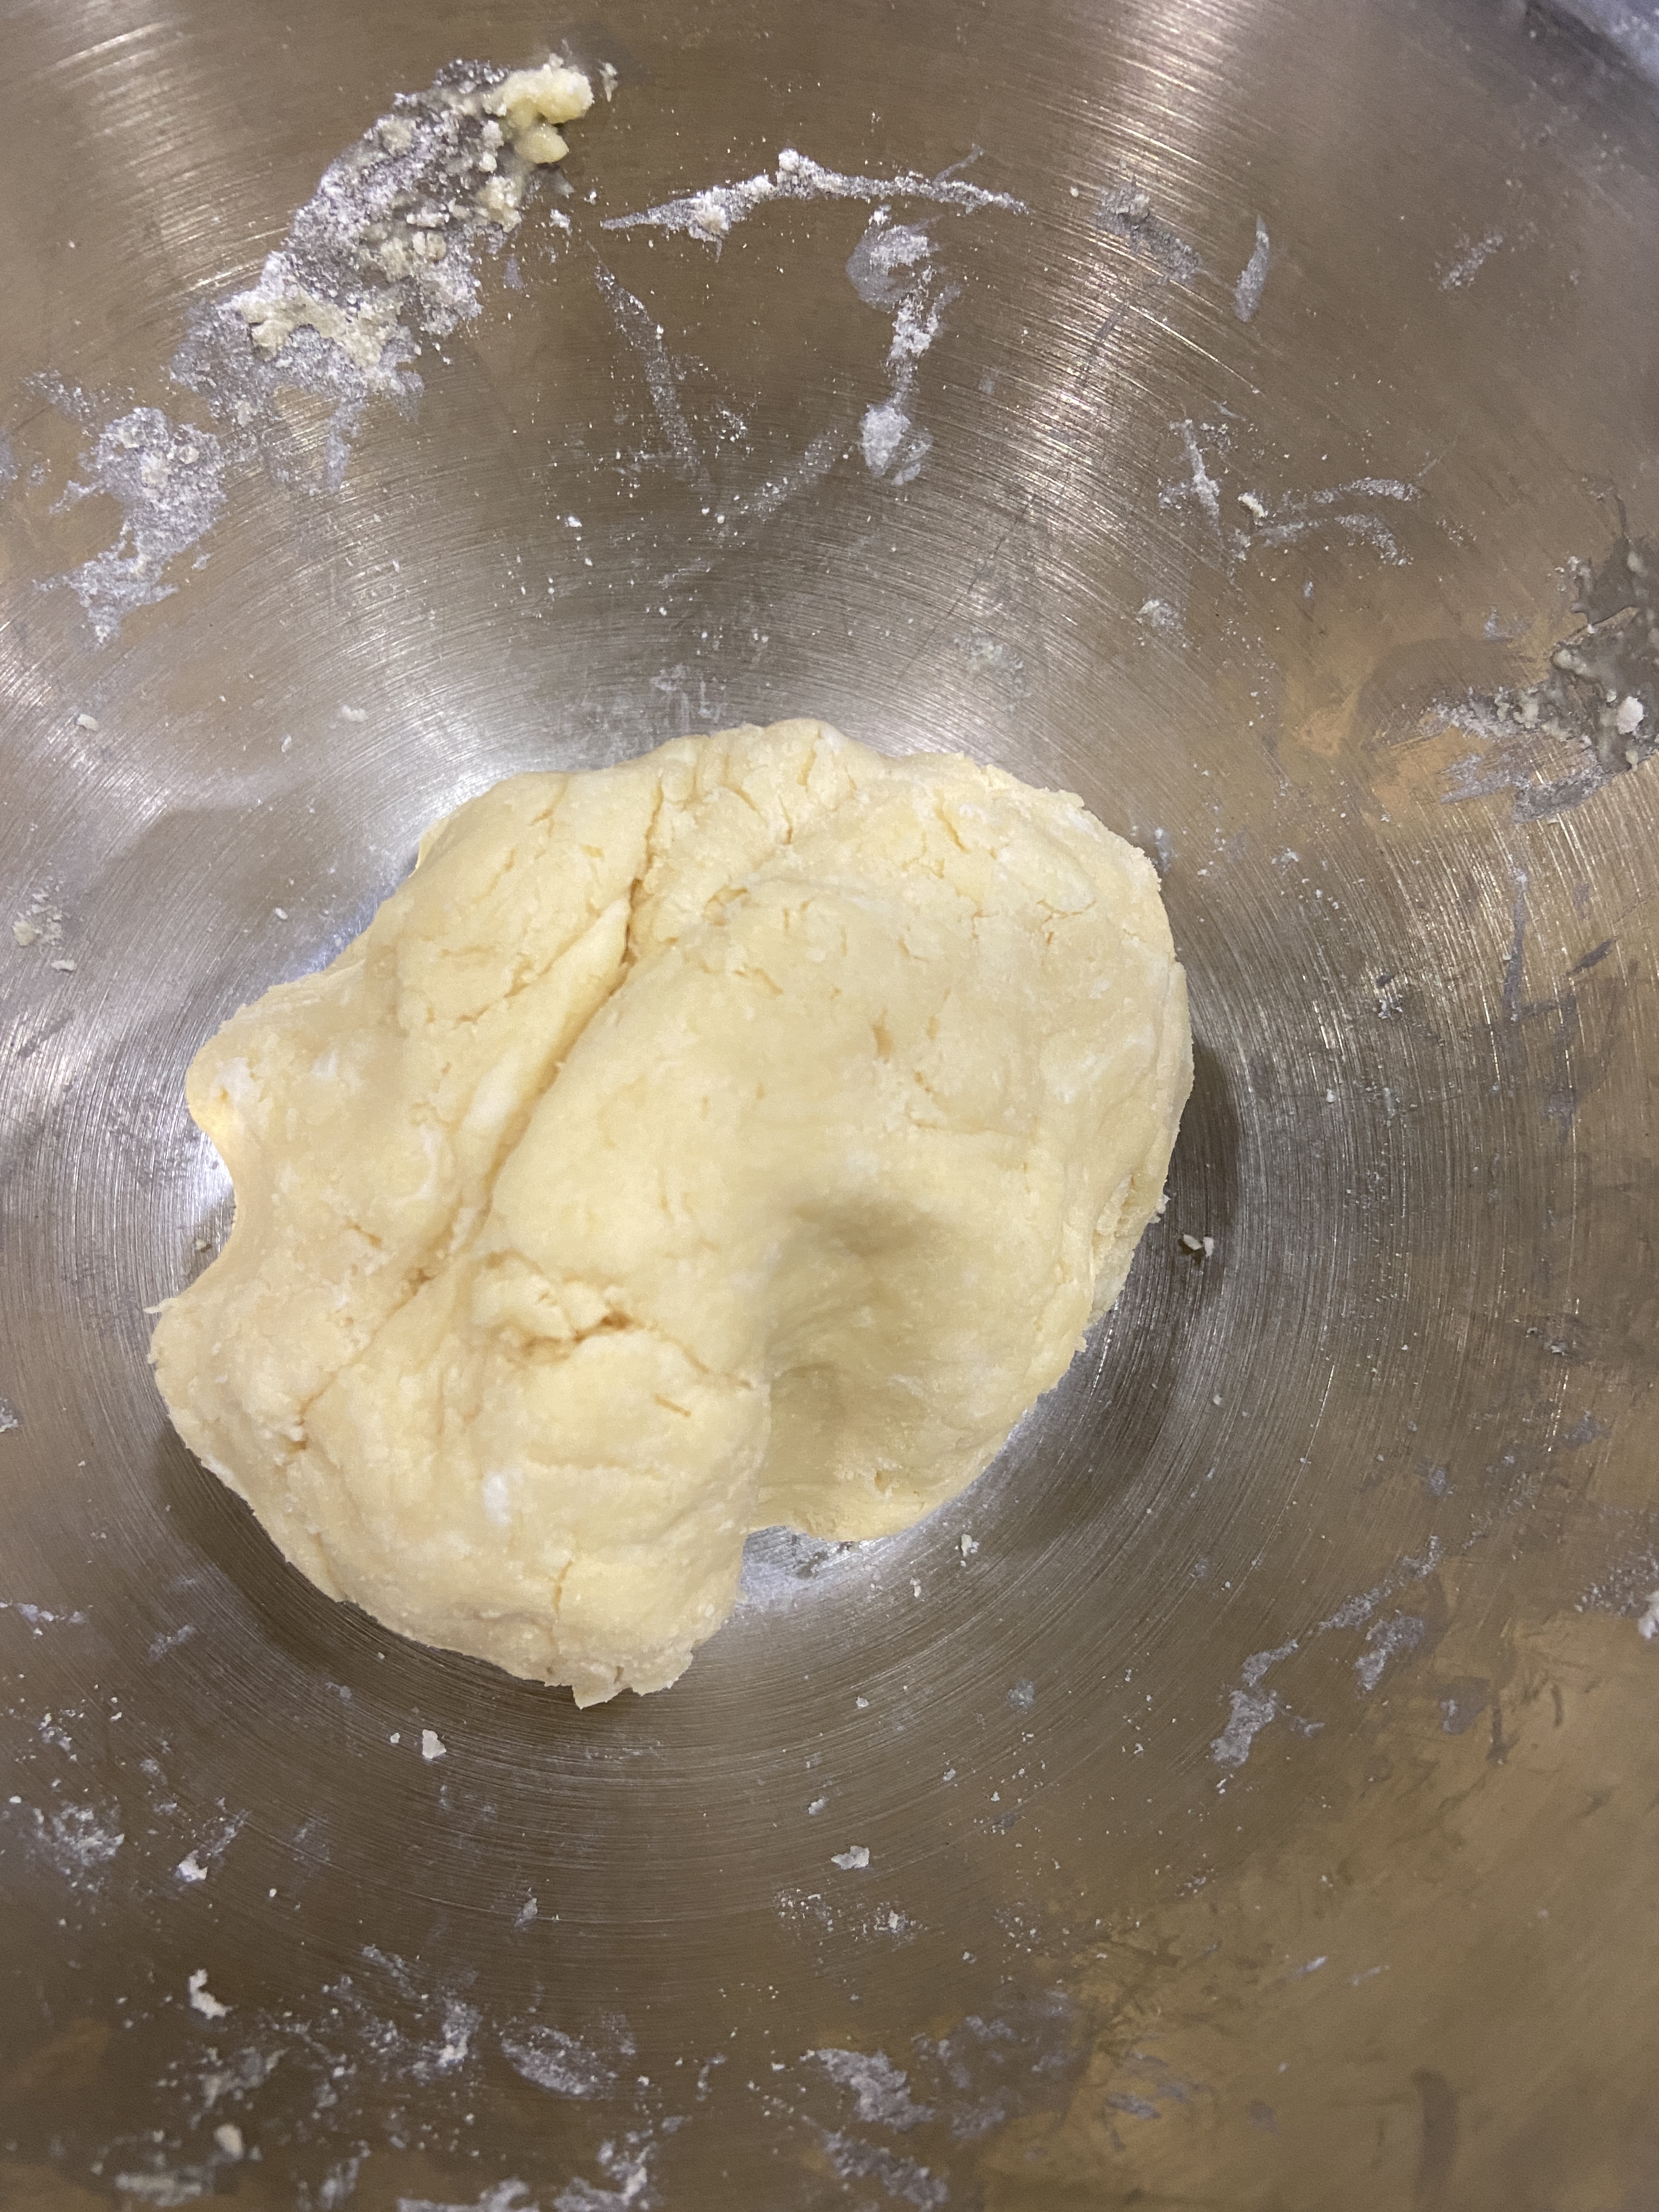
  3. Replace the paddle attachment with a dough hook, and knead it for 10 minutes. The dough will be pretty smooth.
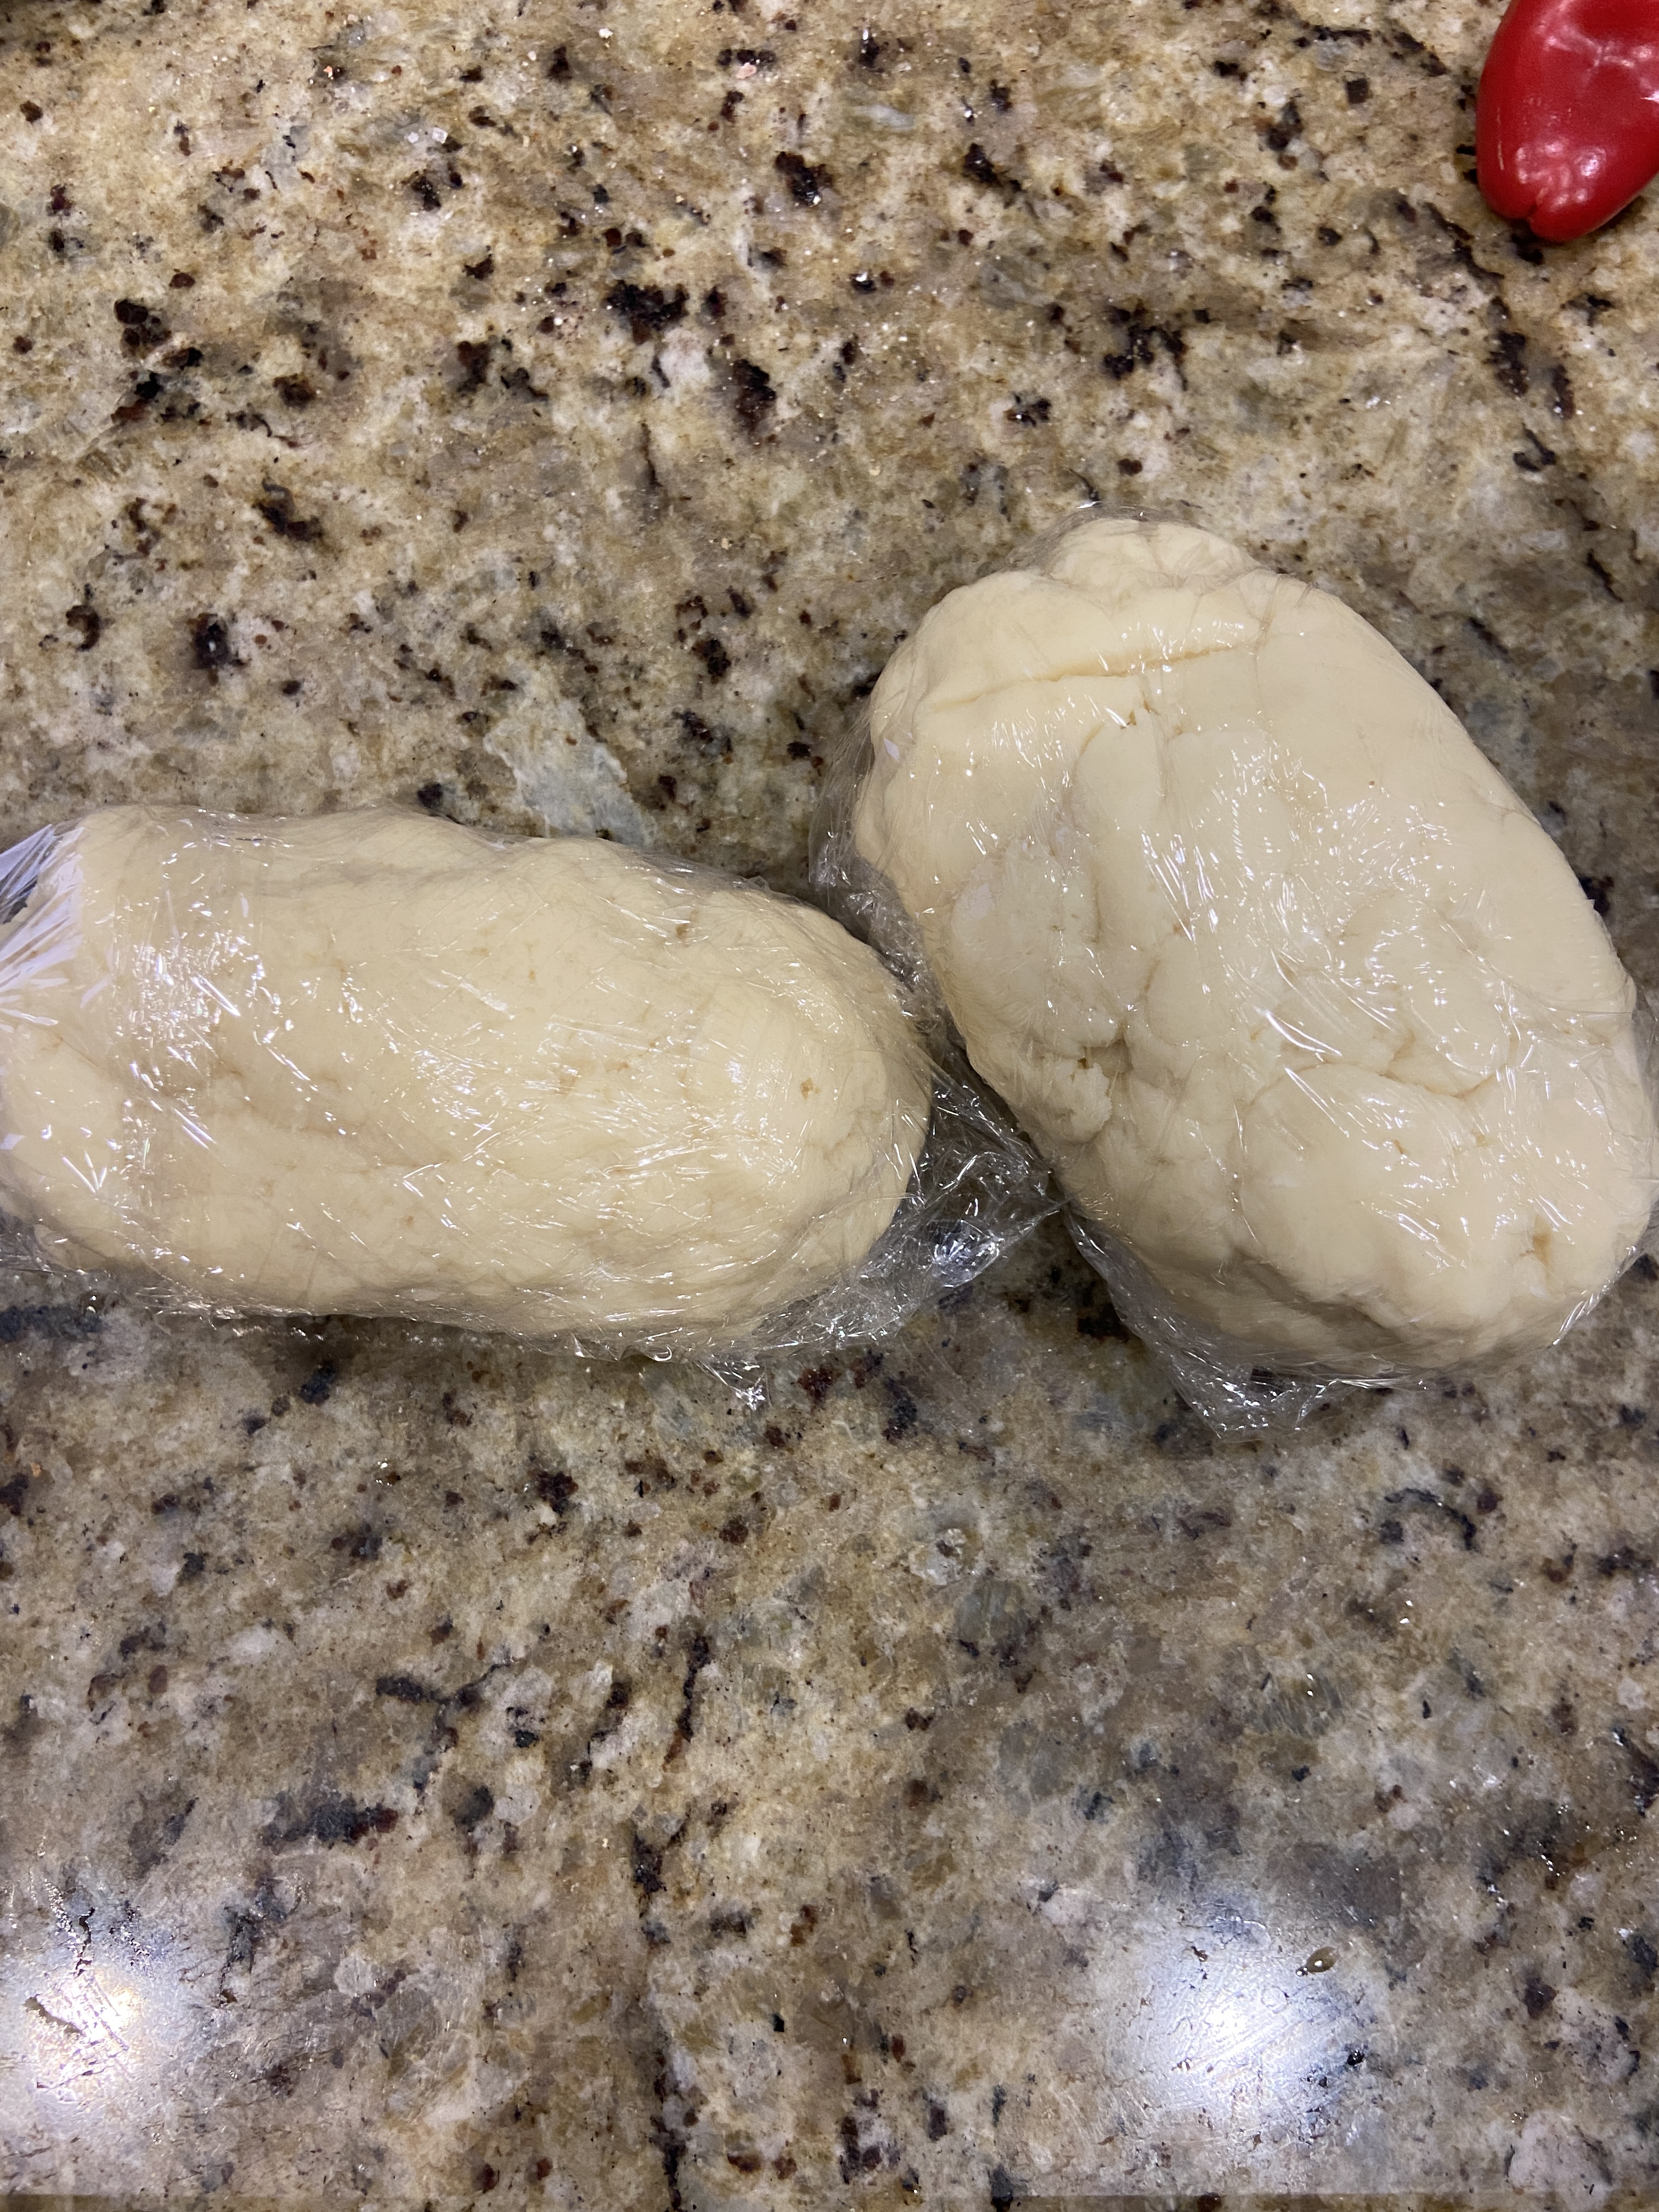
  4. Take the dough out of the mixer and shape it into a ball with your hands. Lightly dust it with flour, wrap it in plastic wrap, and refrigerate it for 20 minutes.

How to assemble/bake the Chocolate Xiao Long Bao:

  1. Take the ganache and the dough out of the fridge.
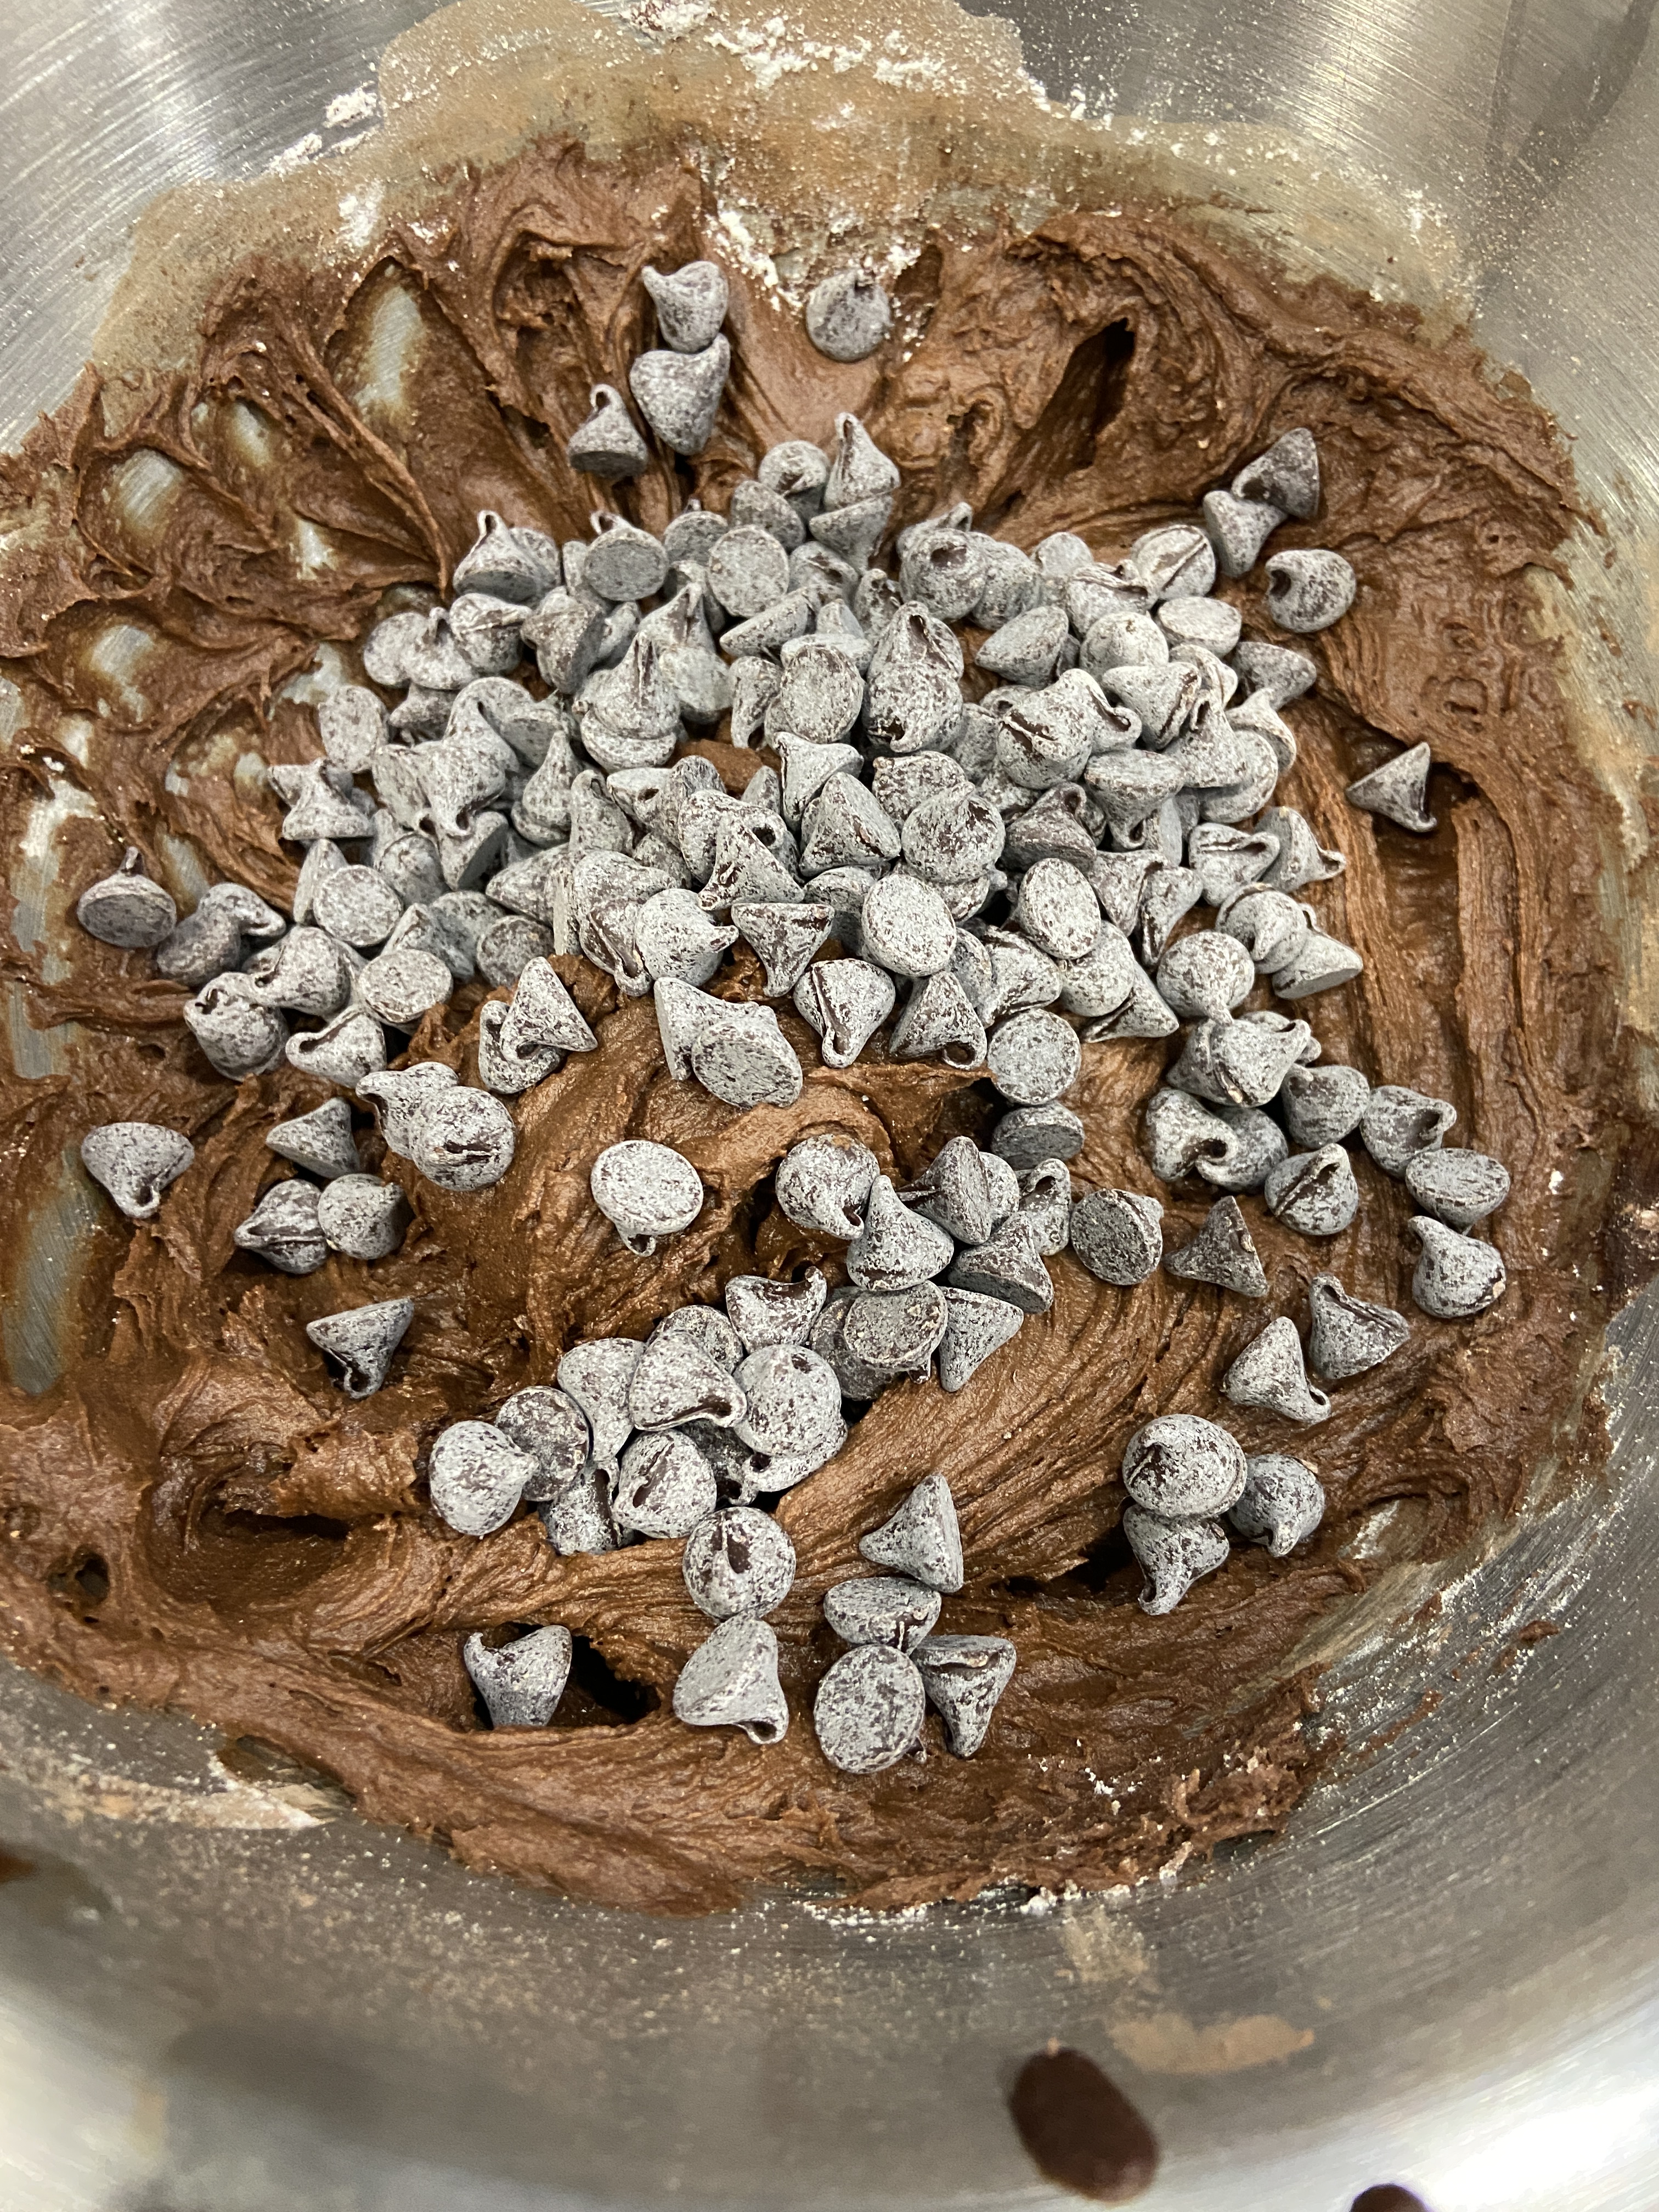
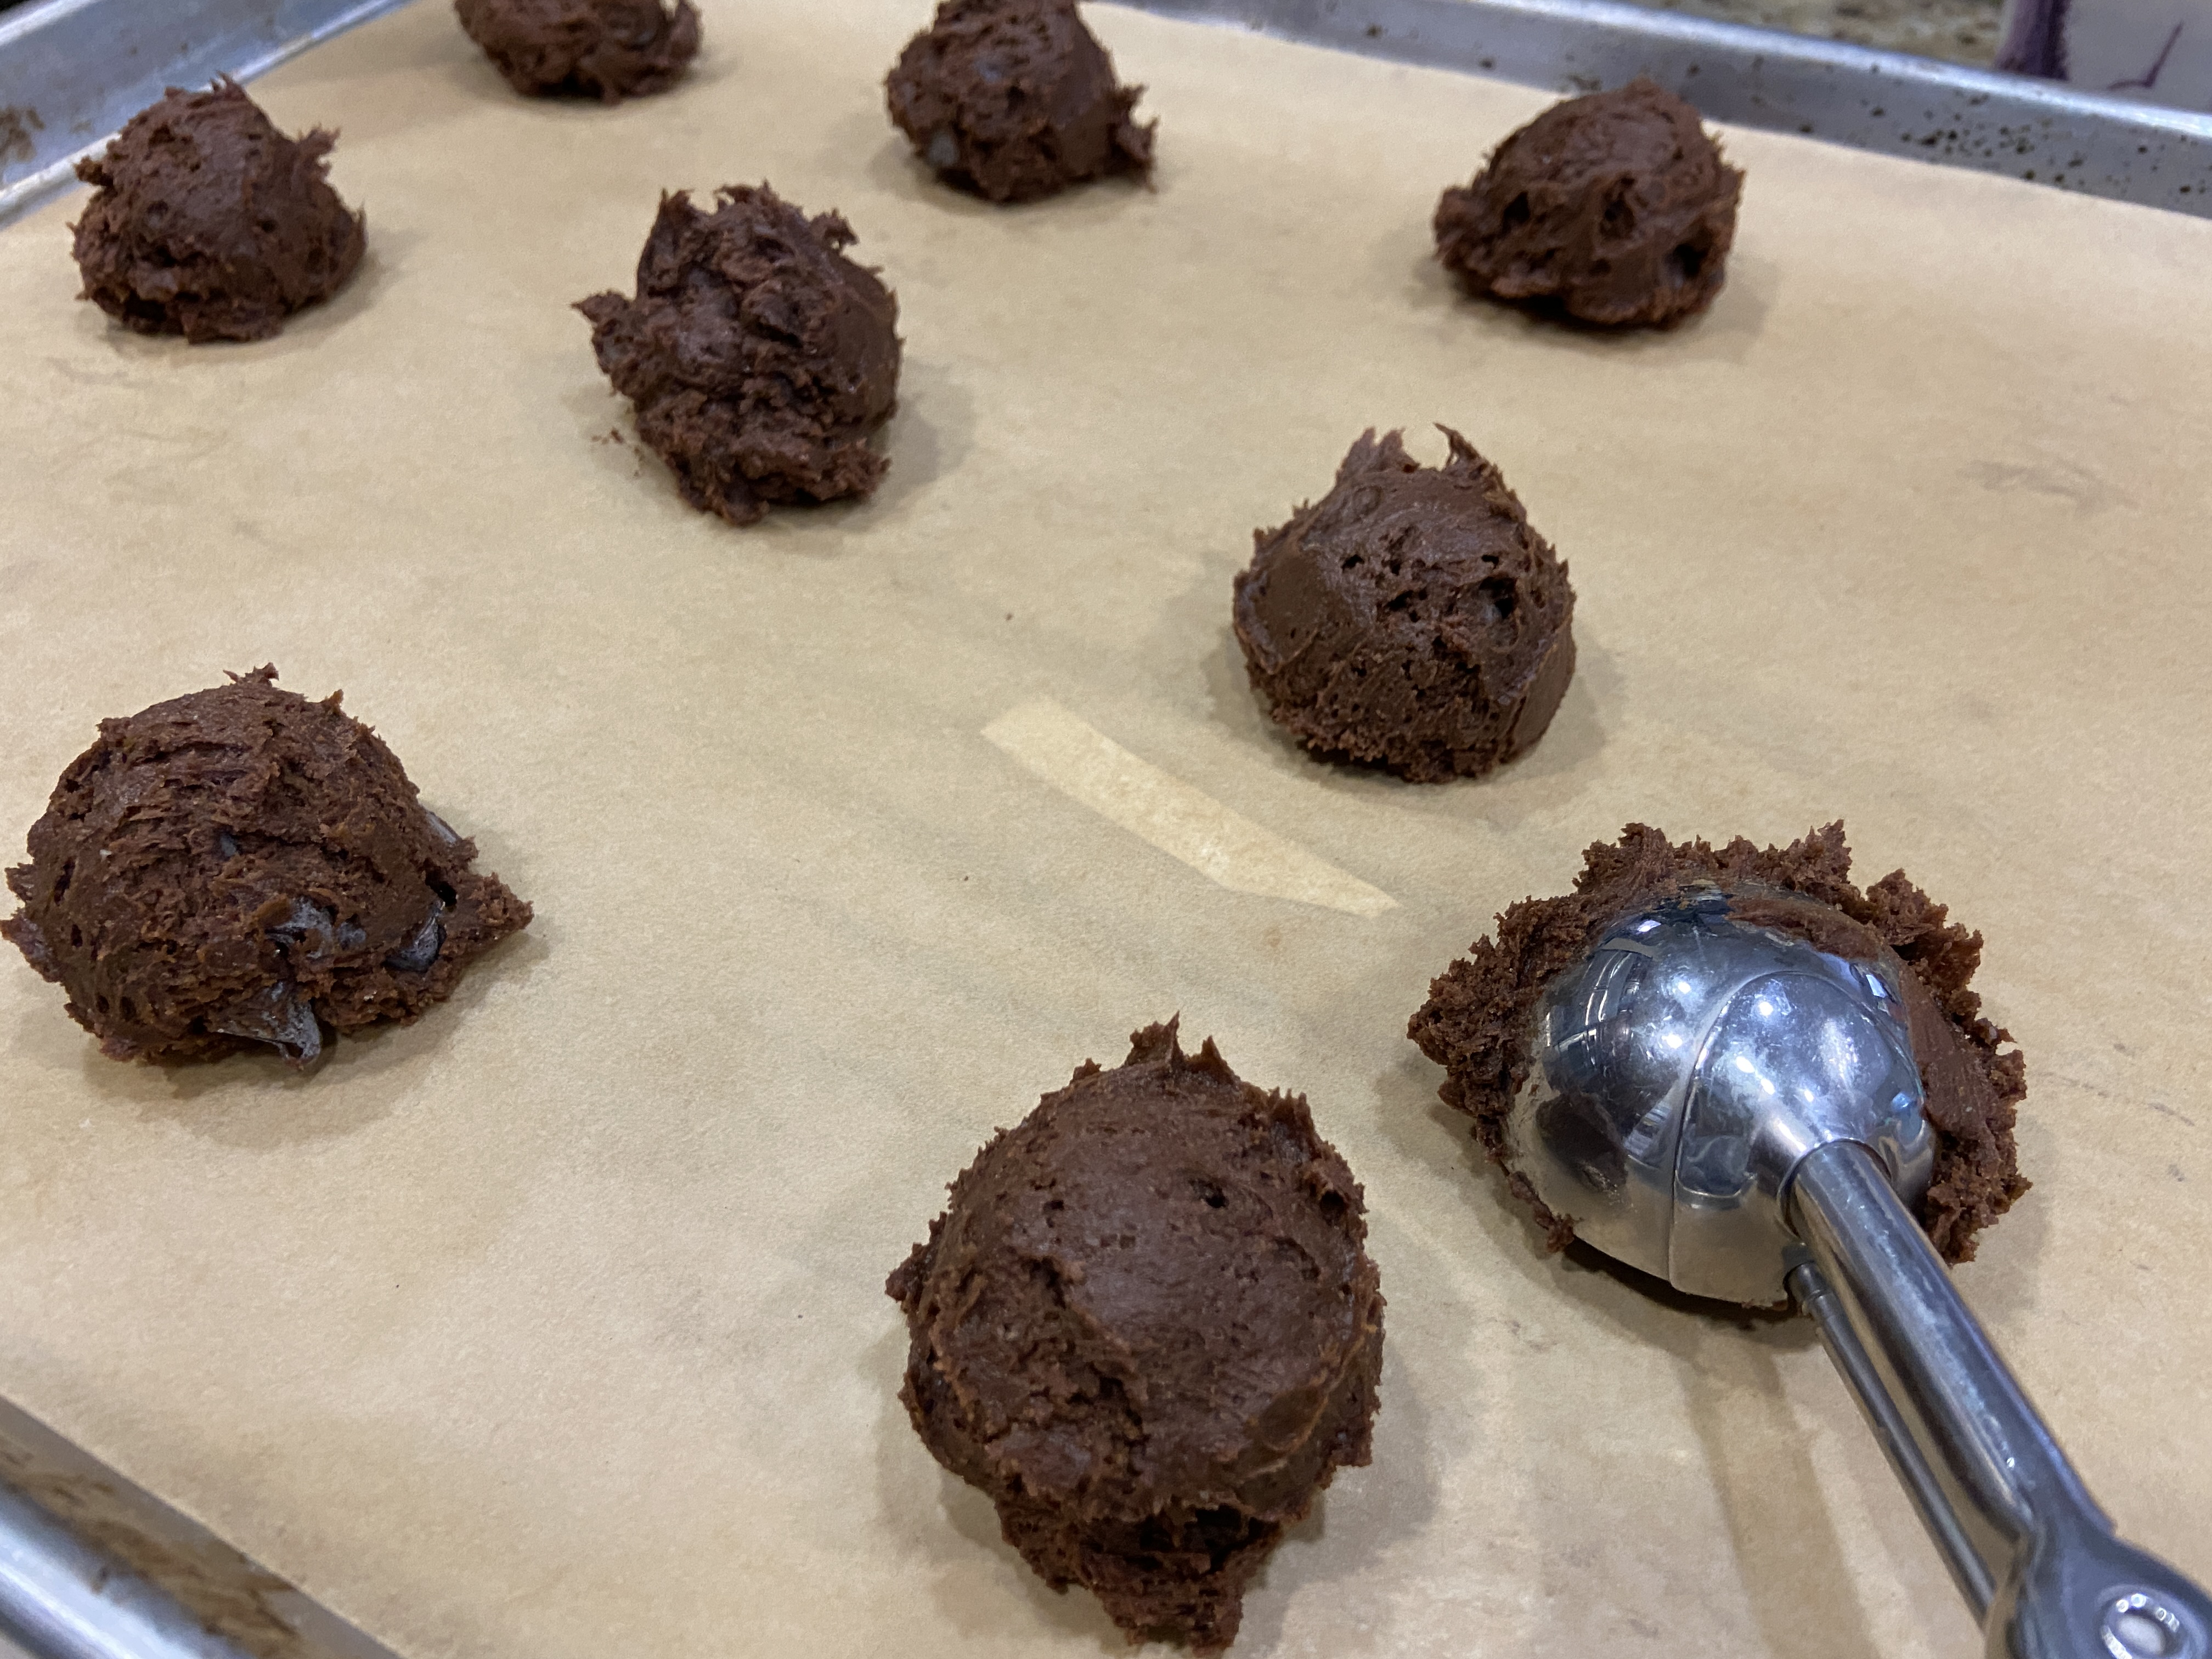
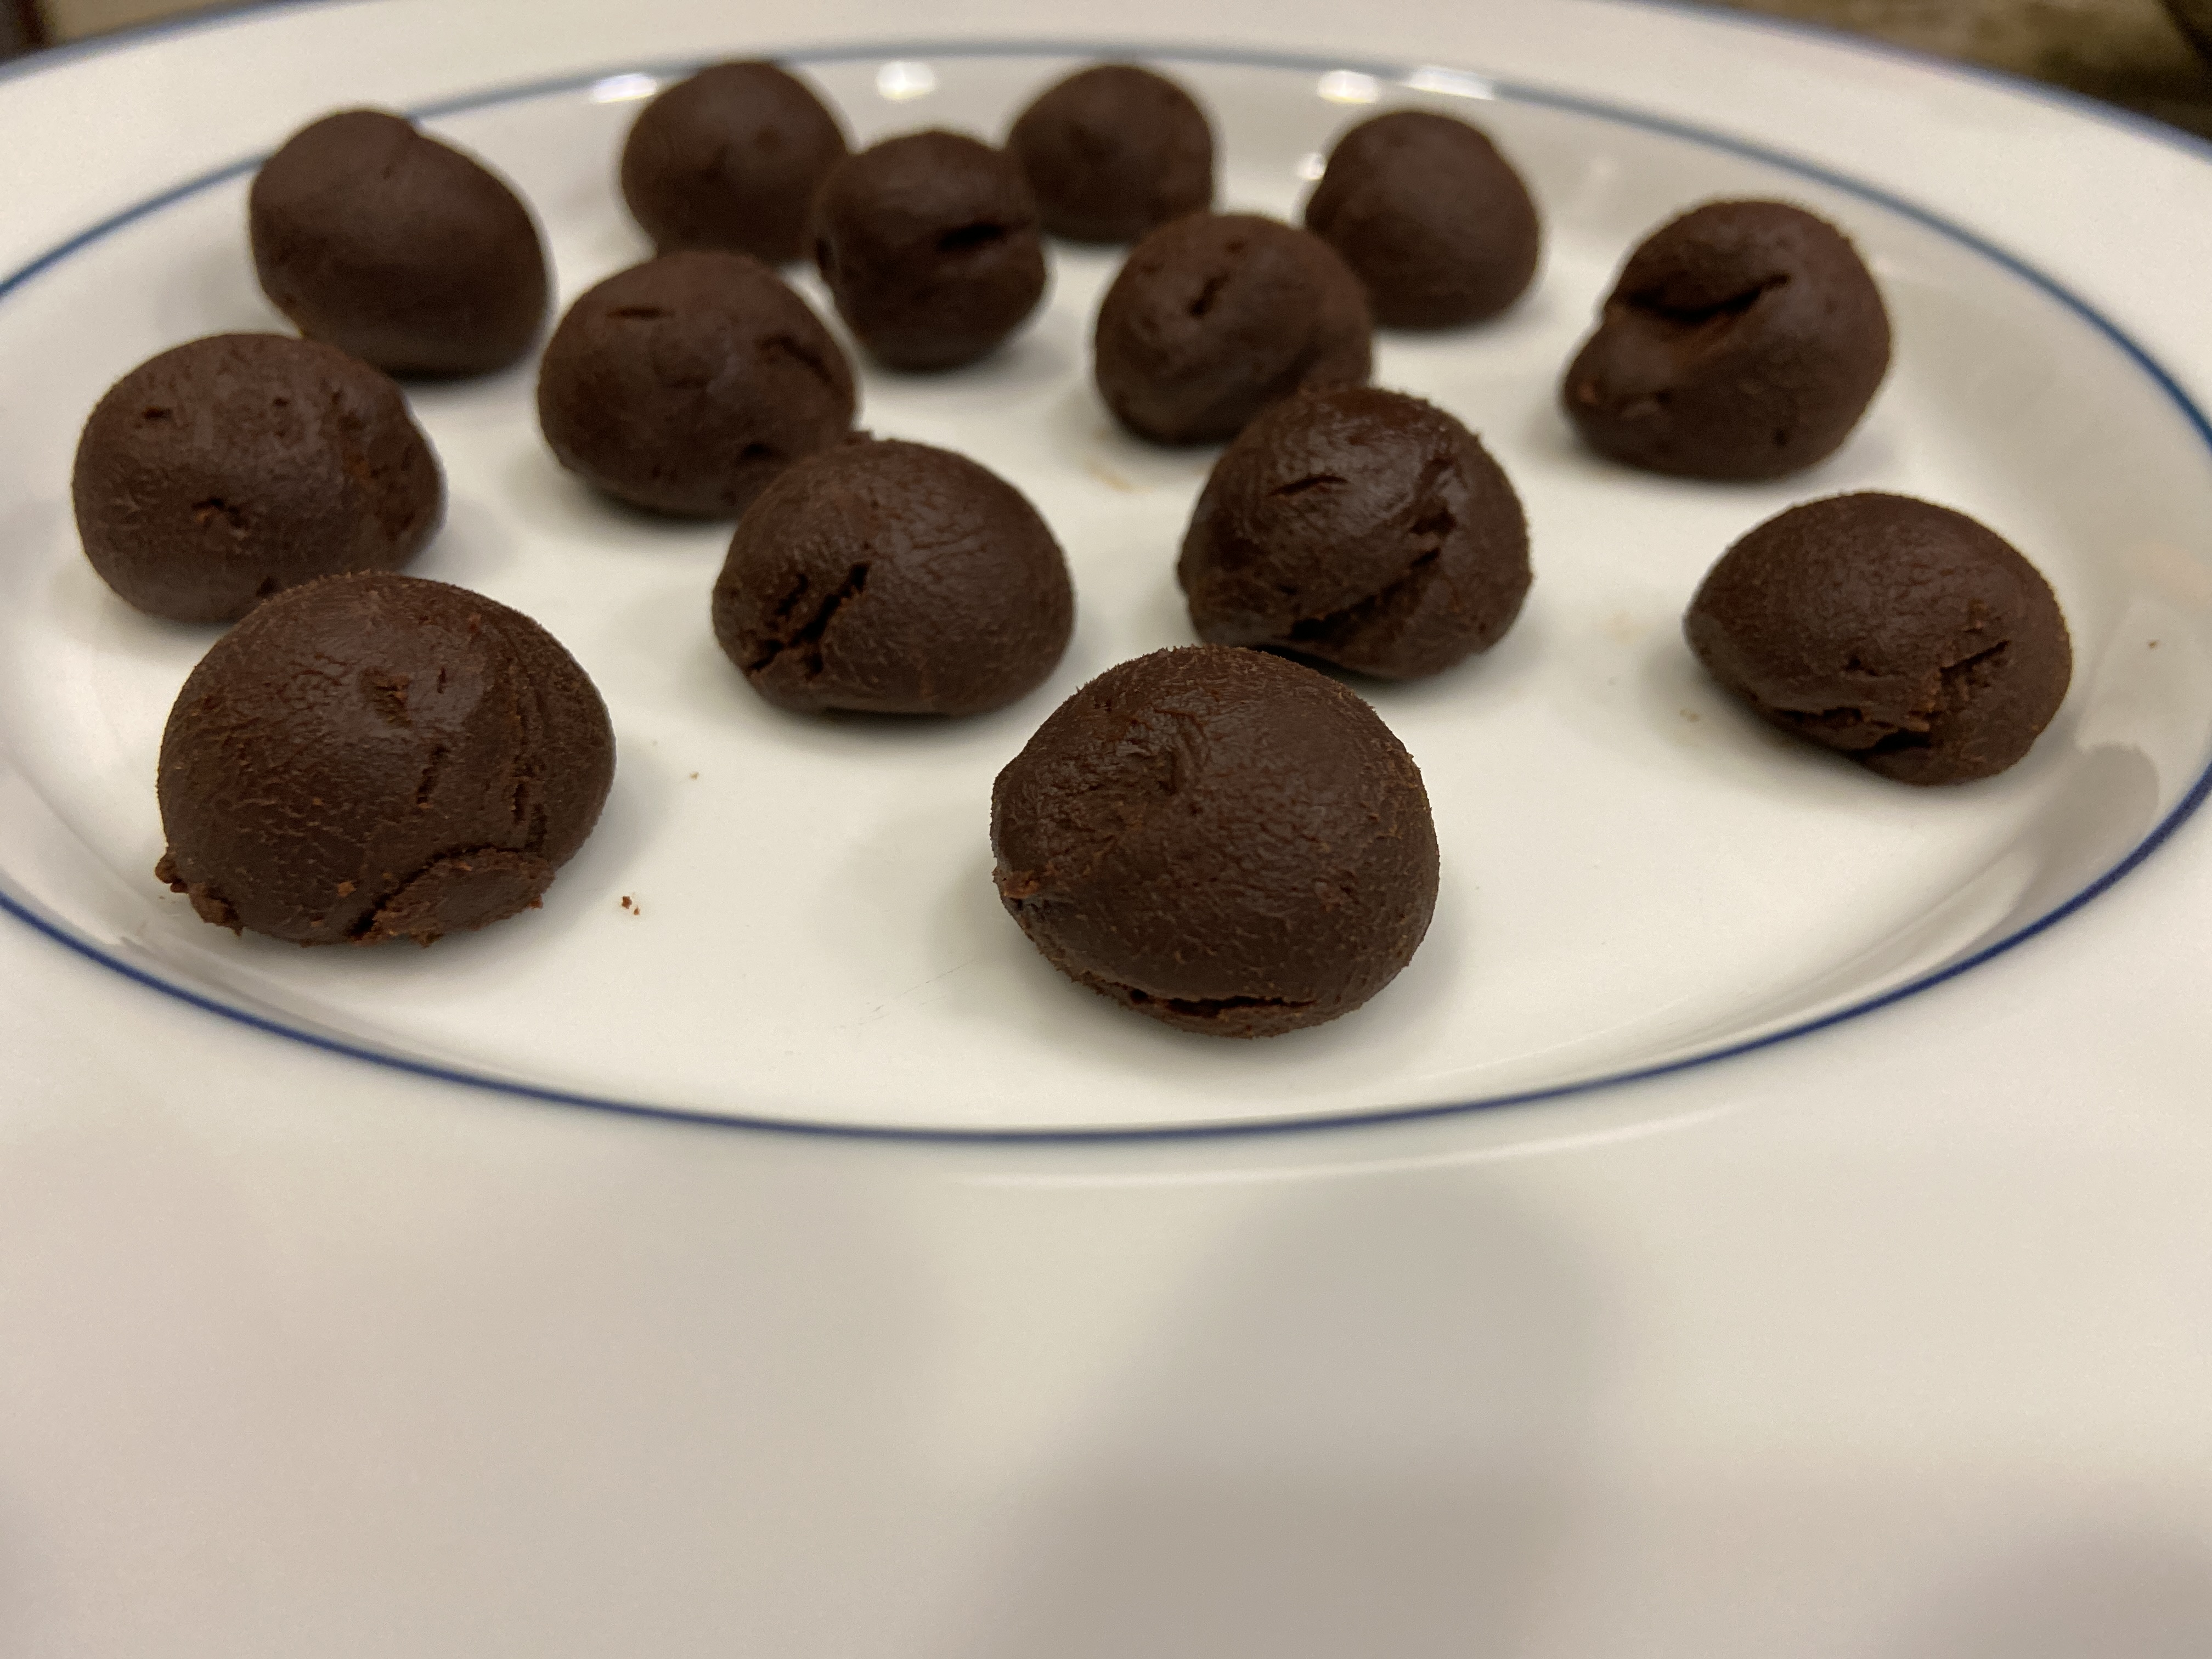
  2. Scoop the chocolate ganache into small balls using a teaspoon melon baller, roll the balls with your hands to smooth them out.
  3. Place them back in the fridge to let them sit/firm up for a few minutes.
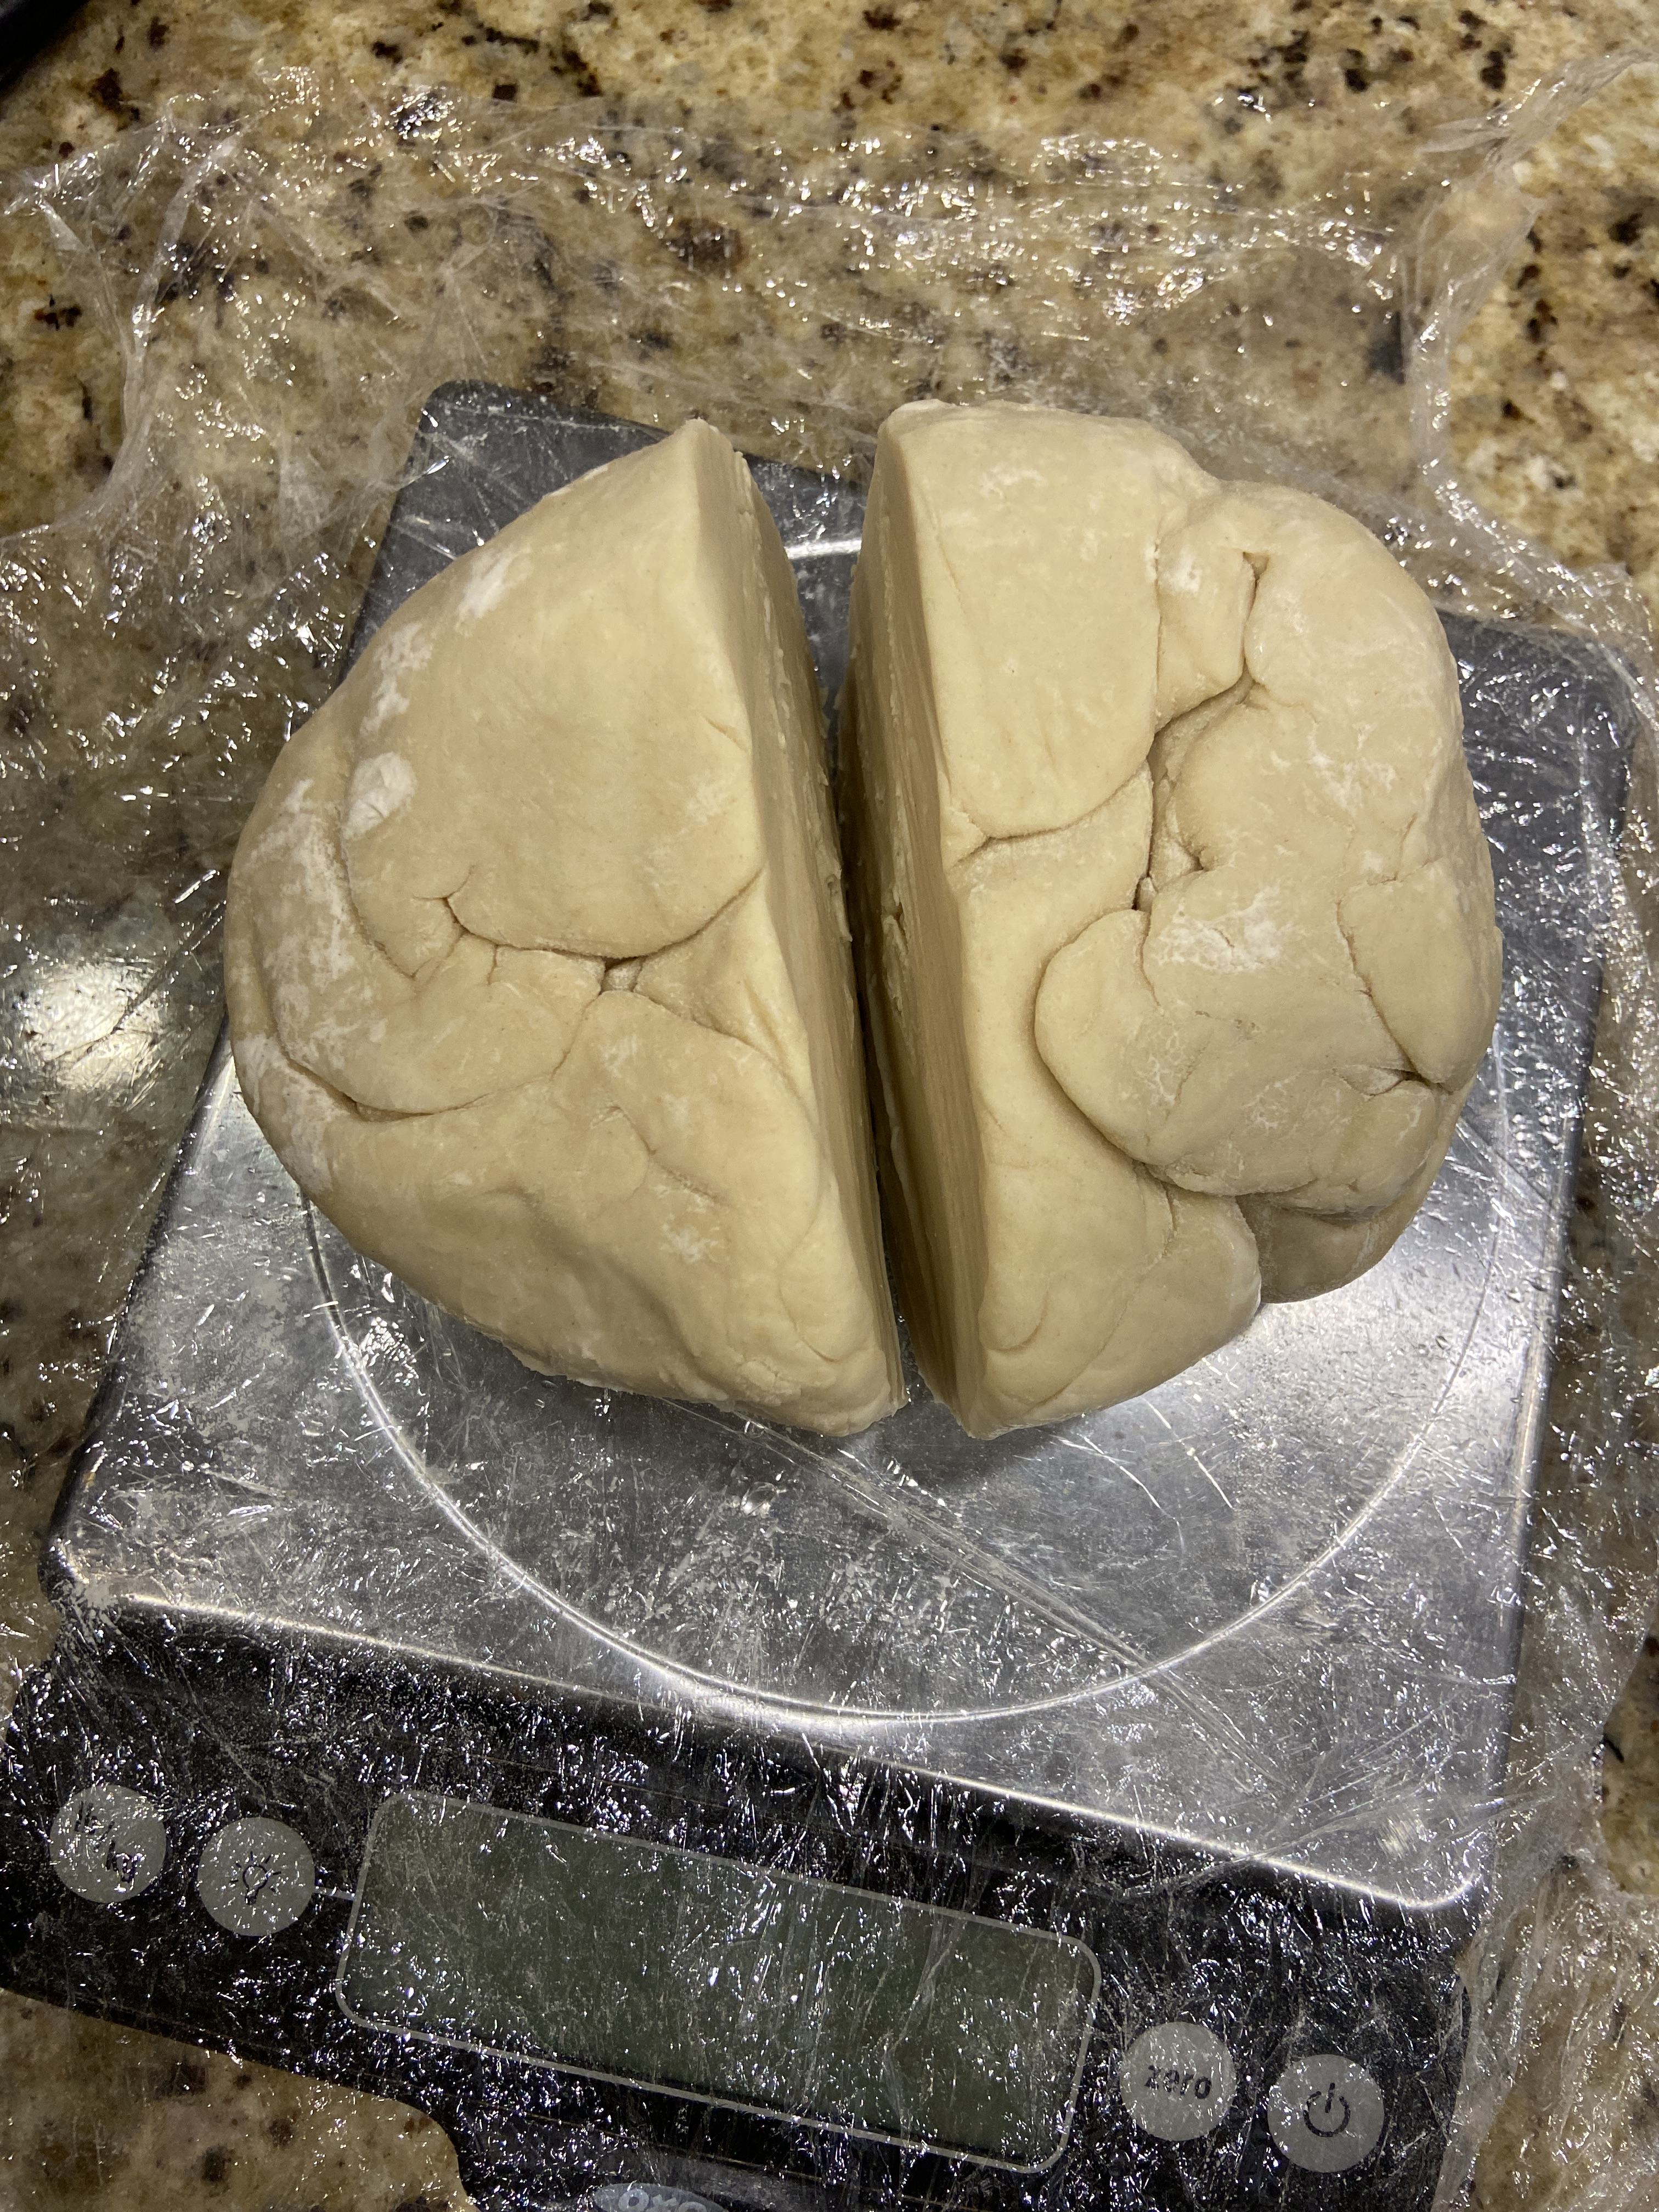
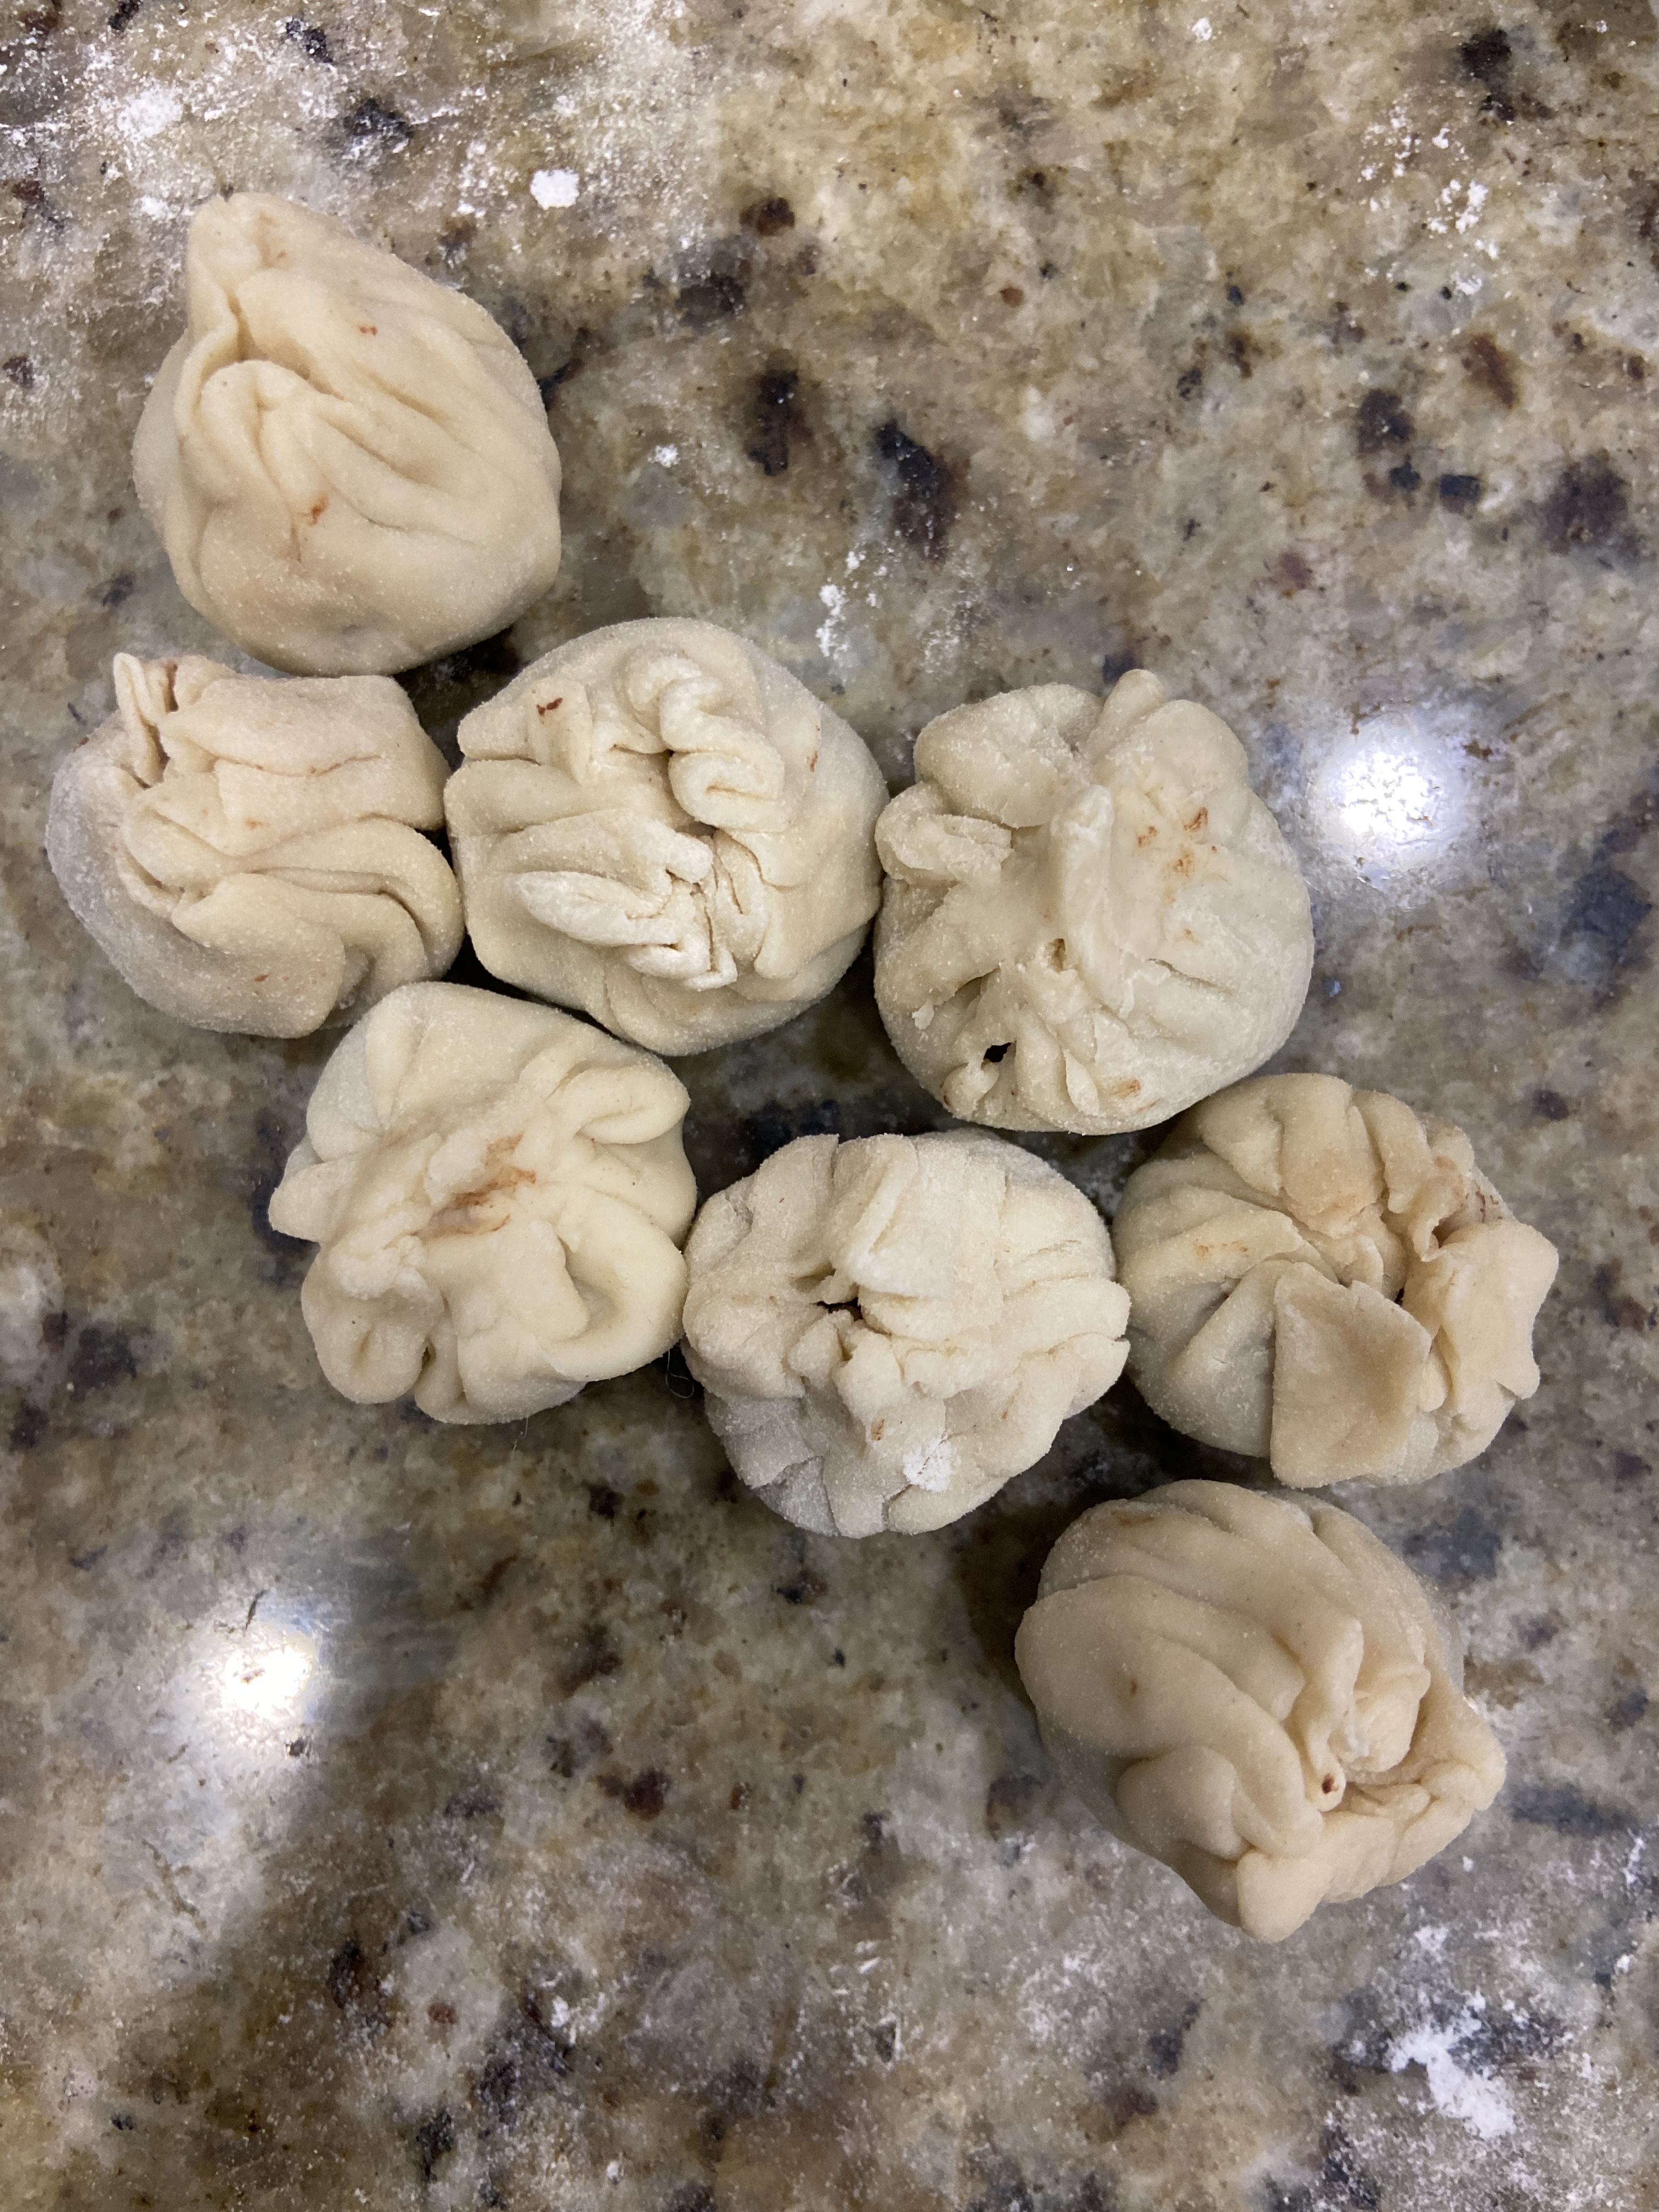
  4. Divide the dough into two equal pieces. Roll one of the pieces into a long log and cut it into pieces (weighing 5-6 grams).
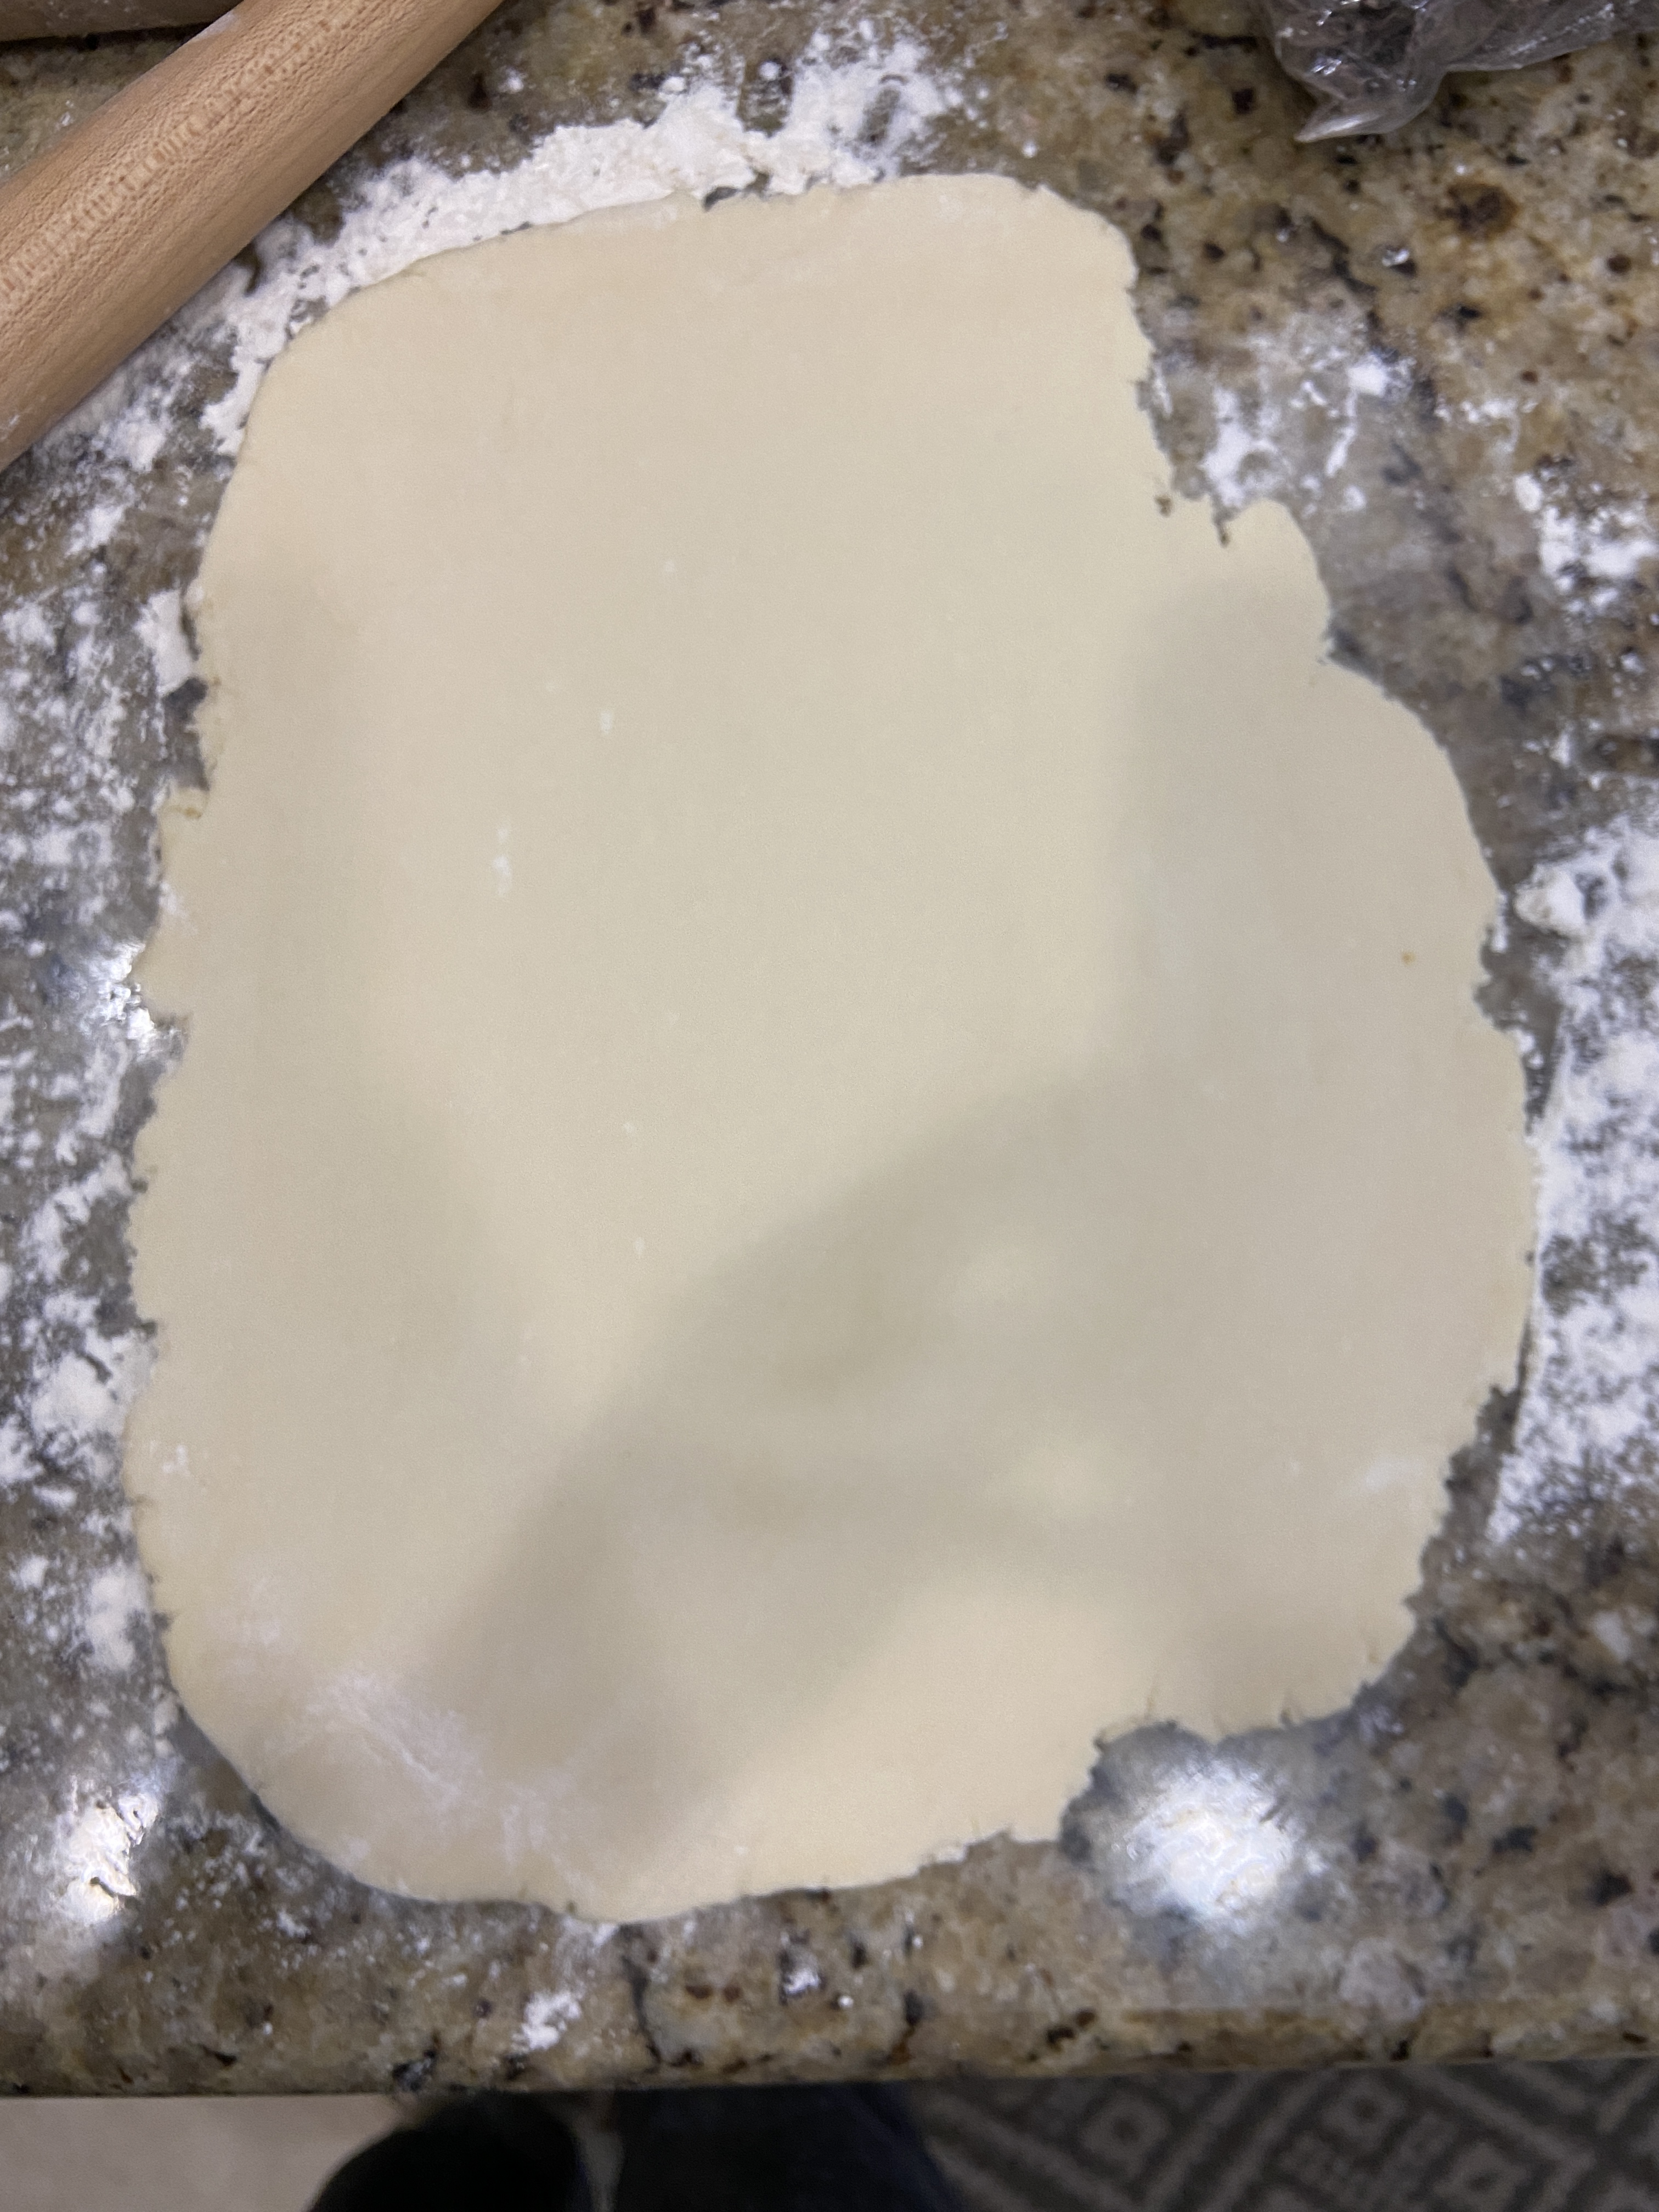
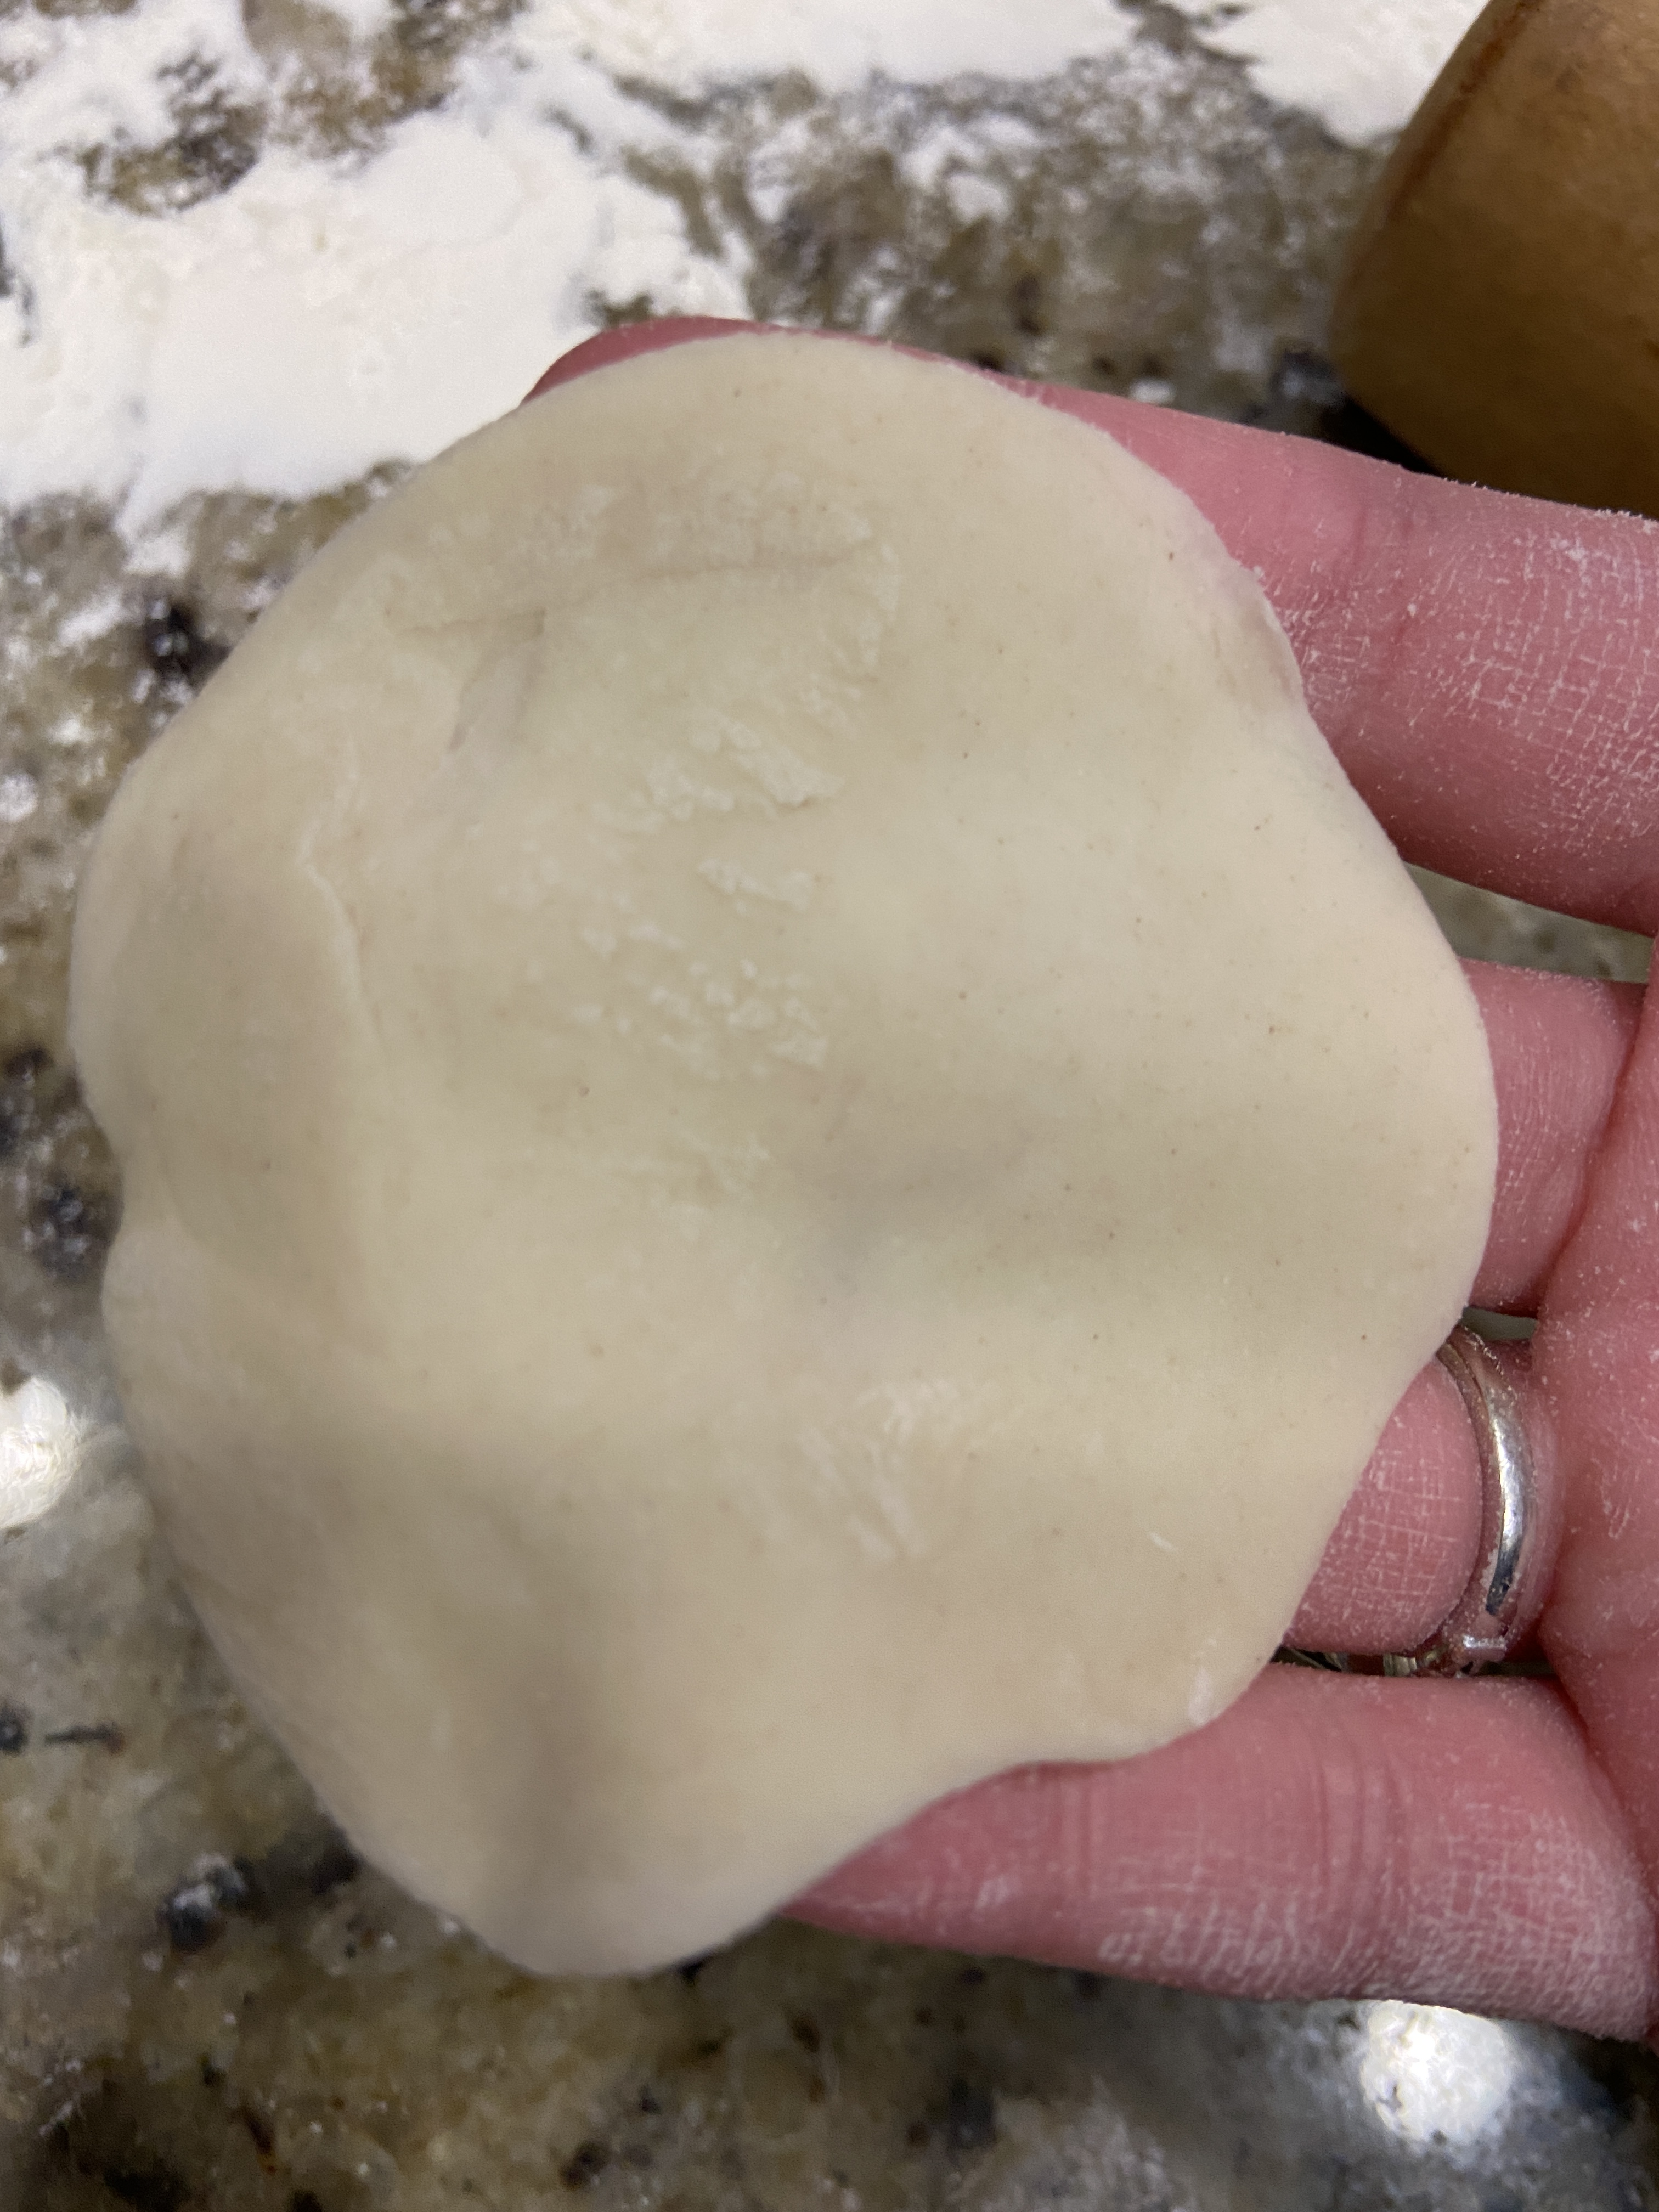
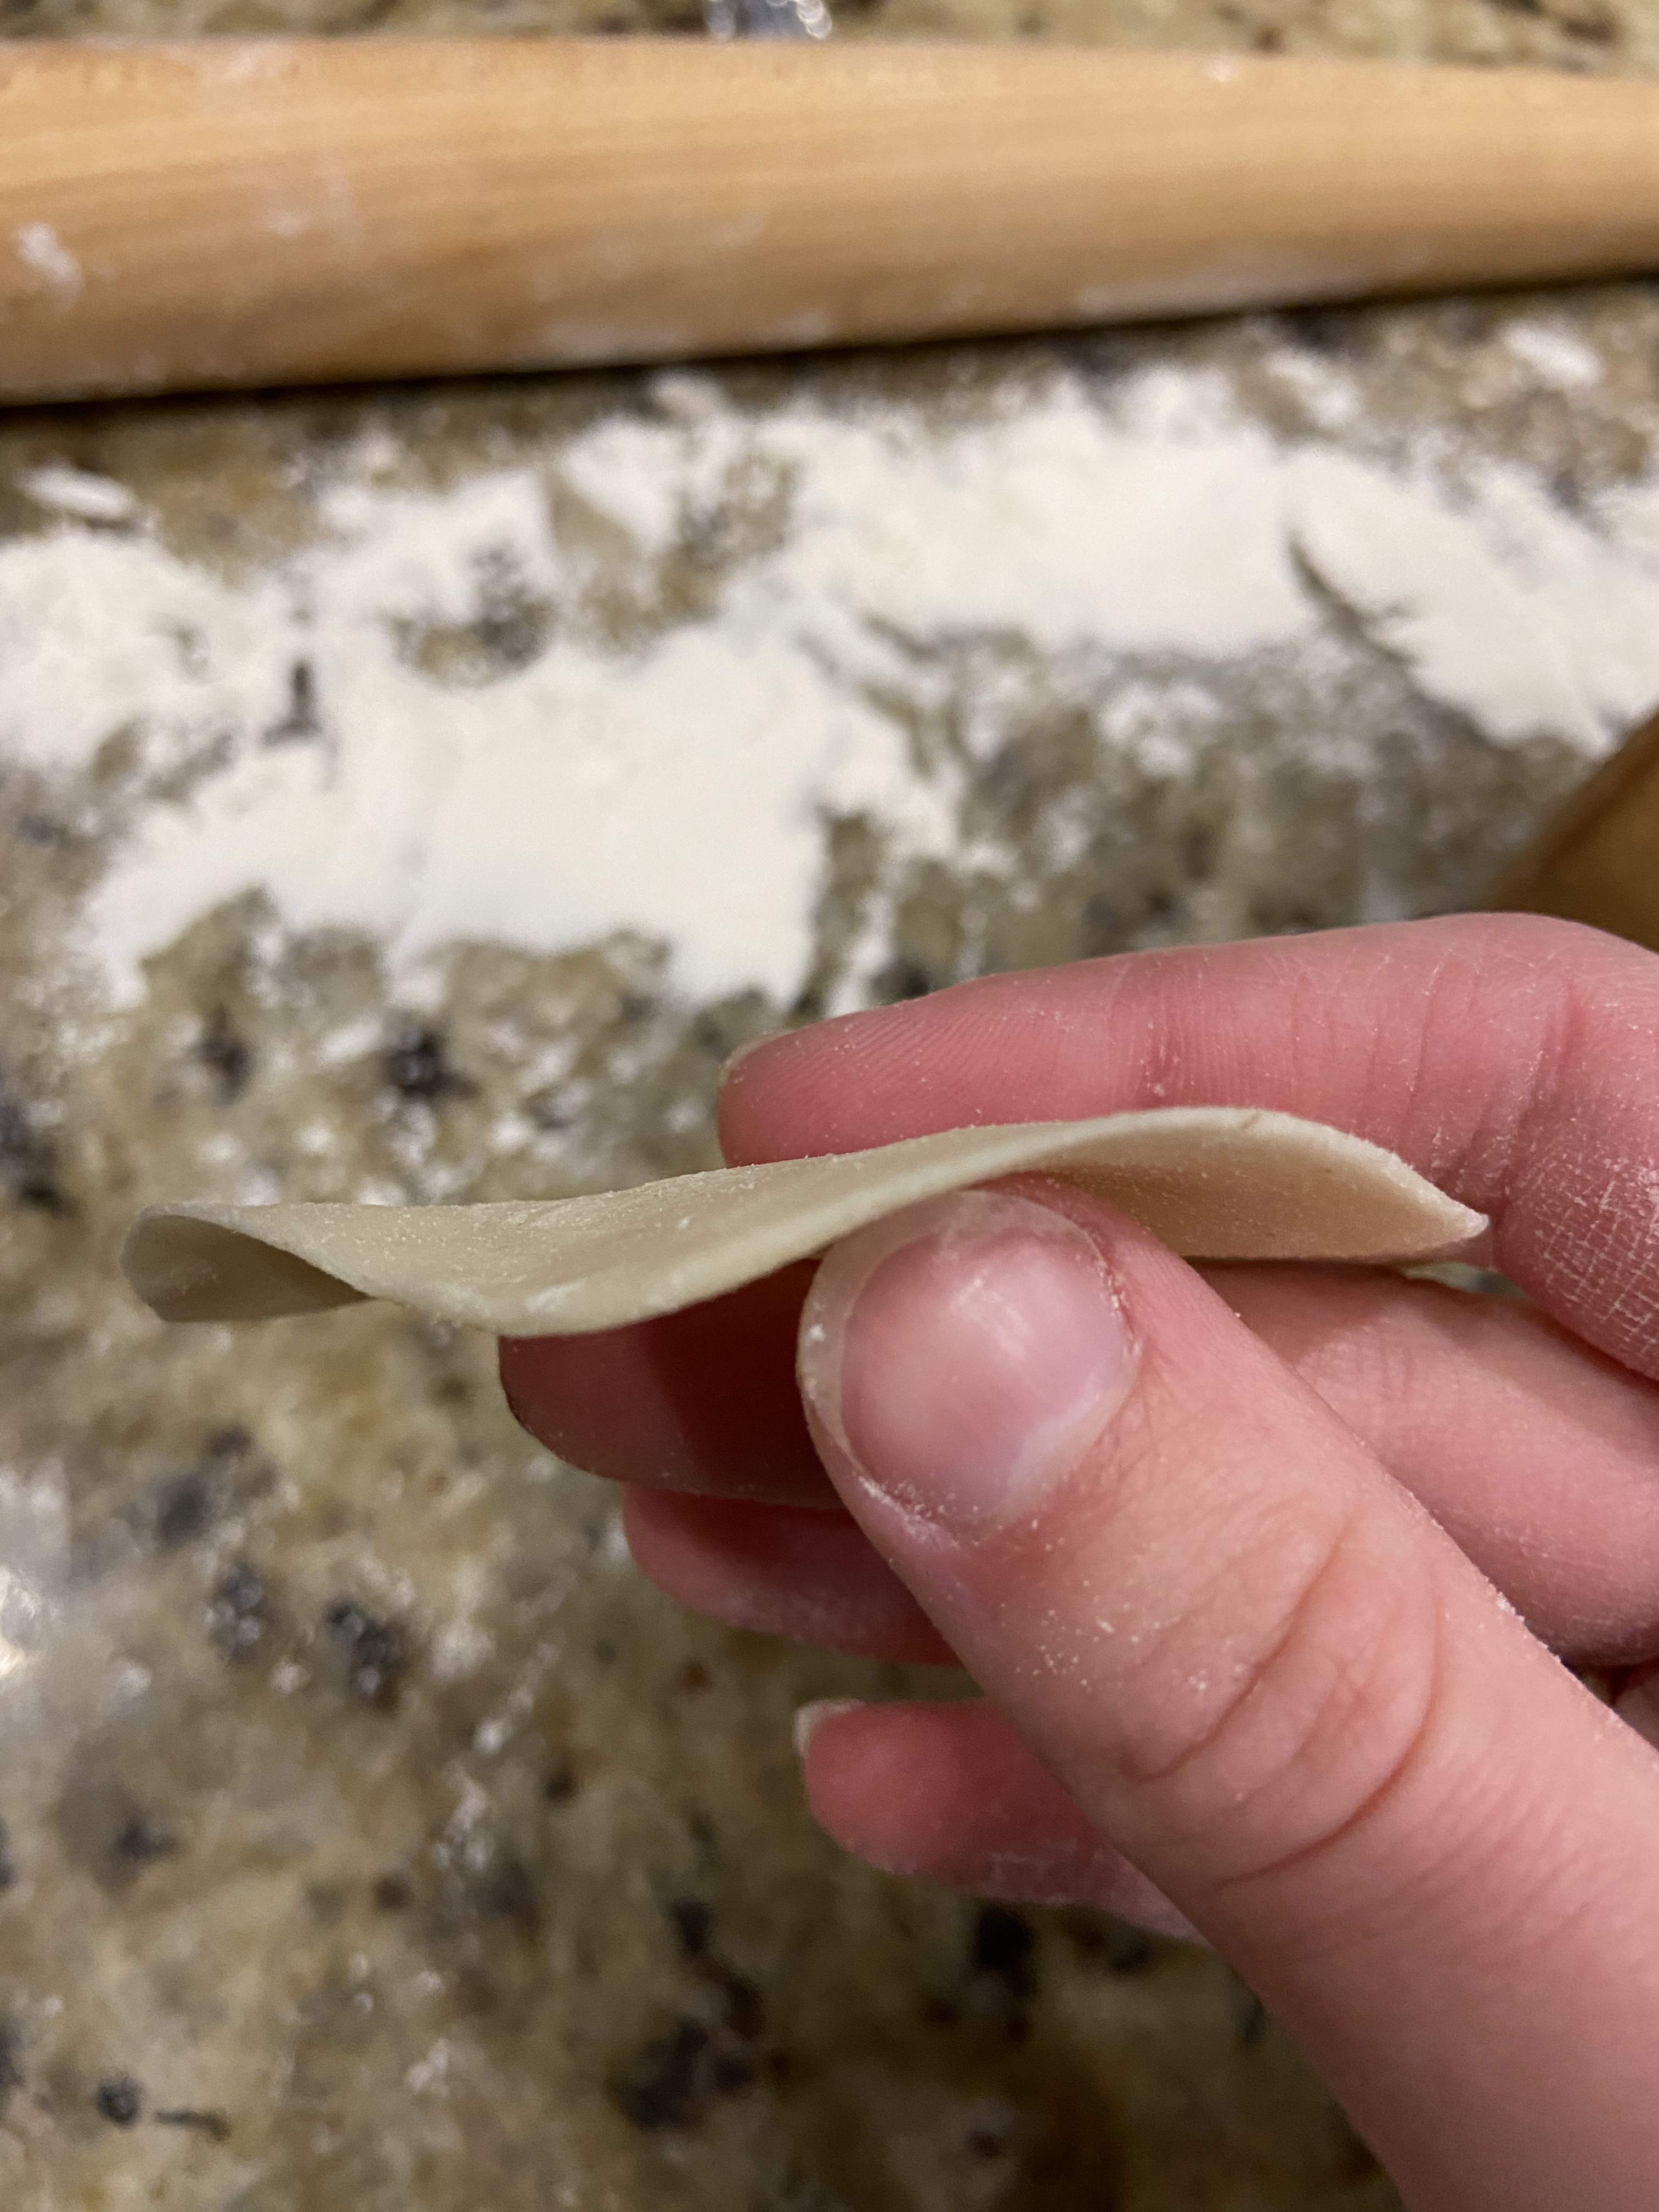
  5. Roll the pieces into balls and then roll them into 3” inch rounds with a rolling pin. They should be paper thin, very delicate.
  6. Take the ganache balls out.
  7. Place a ganache ball into one of the 3” inch rounds and pinch pleat the round around the chocolate. https://video.search.yahoo.com/search/video?fr=uh3_news_vert_gs&p=XIAO+LONG+BAO+foling+video#id=2&vid=ddf8cbe2ab50aee821dbeda8cfe9f74e&action=view. This video is helpful for doing the pinch pleating.
  8. Repeat the process of putting the chocolate in the dough and pinch pleating it all together for the rest of the ganache and dough. The recipe will yield a little more dough than needed.
  9. Steam the xiao long bao : line a steamer with a piece of parchment paper (placed at the bottom) that has holes poked into it (you can do that with a small knife). You definitely want to use parchment paper…I tried it without, and the buns tore on the bottom/some chocolate spilled out. Put some of the chocolate buns on the parchment paper – evenly spaced apart – and steam them for around 5 to 6 minutes.
  10. These chocolates need to be eaten right away, so make sure to only steam as many as you are planning to eat.
  11. Enjoy!

OMG Brownie Cookies!

January 29, 2021 || By: Hope F

It’s a nice stormy day here and that always calls for sweet, chocolate-y treats with a nice drink of hot cocoa, tea, coffee, etc. These are the perfect treat for this type of day. They are decadent, gooey, chocolate-y, and delicious! If you can think of any other great adjectives to go along with these cookies, they probably will work (and let me know)! The only other description that I can think of for these cookies is that you will literally say “OMG these are cookies??! They completely taste like brownies!” Which is because…this is a brownie recipe that Smitten Kitchen adapted into a cookie! You MUST MUST MUST make these cookies and you will definitely thank me and all of your friends will be jealous 😉

Recipe: Prep Time – 40 min, Cook Time – 11/13 min

Ingredients:

  • 1 stick Unsalted (or salted) Butter
  • 4 ounces (115 grams) Unsweetened Chocolate (I just used dark chocolate), chopped
  • 1 cup (190 grams) Brown Sugar
  • 2 tablespoons (25 grams) Granulated Sugar
  • 2 large Eggs
  • 3 teaspoons Vanilla Extract
  • 1/2 teaspoon Baking Soda
  • 1/2 teaspoon fine Sea or Table Salt
  • 1/2 cup (45 grams) Unsweetened Cocoa Powder (I used cocoa powder from Trader Joe’s)
  • 1 cup (130 grams) All-Purpose Flour
  • 2/3 cup (115 grams) Chocolate Chips or Bitter- or Semisweet Chocolate Chunks

How to make OMG Brownie Cookies:

  1. Melt your butter and unsweetened chocolate in a bowl for 30 sec intervals. Take the bowl out before before the chocolate is fully melted, you’ll be able to stir it all together and the chocolate will eventually melt. (This took about 45 sec of microwaving, 30 seconds, mix – with a fork – and then 15 sec).
  2. Whisk the sugars into the butter/chocolate mixture, the eggs (one at a time), and then the vanilla. Next, add in the baking soda and salt. Sift in the cocoa powder (if it’s lumpy- it usually is!). Add in the flour as well. Mix until just combined.
  3. Add in the chocolate chips/mix them in.
  4. Refrigerate the dough for 30 min, this helps it to not spread too much (any more and it will be hard to scoop, but you could just warm it up a little if that happens).
  5. Preheat the oven to 350° F and line a pan with parchment paper.
  6. Scoop the cookies onto the baking sheet and place them evenly apart. (You can use whatever size scoop you want, I prefer smaller ones so that you get more cookies out of it.)
  7. Bake the cookies for 11-13 minutes. They’ll look under baked, but you should still take them out if you want them gooey/fudge-y in the center. Or you could always bake them longer until a toothpick comes out clean (if you’re worried about them being under baked).
  8. You should let them cool for a few minutes, but if you’re like me…you can eat one right away 🙂

Note: The dough can stay in the fridge for a week, and in the freezer for over a week! You may have noticed that the chocolate chips were grey, but they’re fine, it’s just called “bloom” (Storing them in a warmer temperature).

Rugelach Pinwheels

January 28, 2021 || By: Hope F

I last made these years and years ago with my mom, except they were in the traditional form of rugelach. Recently, I was perusing google, in search of something fun to bake, and I came across these! Naturally, I thought back to when my mom and I made them and how I loved them, so I decided to make them! They are a little more time consuming than regular cookies, but they are worth it (just a lot of refrigerating time). Rugelach usually has berry preserves, raisins, nuts, etc. This one has raspberry preserves and chocolate, since that combination is an all-time yum factor.

Recipe: Prep Time – 4 hours, Cook Time – 20/25 min

Ingredients:

Dough:

  • 1 package (8 ounces) Cream Cheese, room temperature
  • 2 sticks Unsalted Butter (or salted), cut into small pieces, room temperature
  • 1/4 cup Granulated Sugar
  • 2 cups sifted Unbleached All-Purpose Flour
  • 1/4 teaspoon Coarse or Kosher Salt

Filling:

  • A few spoonfuls of Raspberry Jam/Preserves (seedless is best)
  • Mini Chocolate Chips or Finely chopped chocolate

Topping:

  • 1/4 cup Granulated Sugar

How to make Rugelach:

  1. Preheat the oven to 350° F and line a cookie sheet with parchment paper.
  2. In a large bowl, cream the butter and cream cheese with a hand mixer until light and fluffy. Then add the flour and salt, and mix until just combined.
  3. Divide the dough into 2 equal pieces, wrap in plastic wrap, and place in the refrigerator for 2 hours.
  4. On a lightly floured surface, roll out the first piece of dough into a rough rectangle, about 12 inches wide. Spread a thin layer of jam evenly over the dough and sprinkle on the chocolate chips. Starting at one of the long sides, roll the dough into a tight log and wrap it in plastic wrap again. Do the same with the other piece of dough. Refrigerate both for 1 hour.
  5. Slice the chilled logs into about 1/4 inch pieces. Then, roll each cookie in the sugar topping and then place it on the cookie sheet. Space them evenly apart (about 2 inches) in case they spread more than expected.
  6. Bake them for 20-25 minutes, or until they’re lightly browned on top. If any of them have unraveled at the tips/edges, you can press that back onto the cookie and it will re-stick. Let the cookies rest for 2 minutes before eating/transferring to a cooling rack.
  7. They can be stored in an airtight container (at room temp) for up to 2 weeks.
  8. Enjoy!

Marvelous Mixed Berry Muffins

January 26, 2021 || By: Hope F

These are literally the best muffins I have ever had! They would be great any time of year, whether in summer when you like things fruity, or in winter when you need a taste of summer! This recipe was originally a blueberry muffin recipe, but why do only blueberry when you can do blueberries and raspberries 🙂 Anyone who knows me, knows that I am a fruit addict, and I will probably stay addicted to these muffins.

Recipe: Prep Time – 20 min, Cook Time – 25/30 min

Ingredients:

  • 5 tablespoons (70 grams) Salted or Unsalted butter (most recipes use unsalted, but I used salted and the muffins were great anyway)
  • 1/2 cup (100 grams) Sugar
  • Grated zest from 1/2 a Lemon (I didn’t really measure it, I just cut a lemon in 1/2 and zested one of the halves)
  • 3/4 cup Sour Cream
  • 1 large Egg
  • 1 and 1/2 teaspoons (7 grams) Baking Powder
  • 1/4 teaspoon Baking Soda
  • 1/4 teaspoon fine Sea or Table Salt
  • 1 and 1/2 cups (195 grams) All-Purpose Flour
  • 1 and 1/2 cups Blueberries and Raspberries (I used 3/4 cup of blueberries and 3/4 of raspberries). I would use fresh berries since they are nice and plump and you don’t have to defrost them.
  • Brown Sugar, a pinch for the top of each muffin (you could also sub in turbinado or raw sugar for extra crunch)

How to make the muffins:

  1. Preheat the oven to 375° F and line a muffin tin with liners or a nonstick spray.
  2. Melt the butter in a big bowl and mix in the sugar, zest, sour cream, and egg until the batter is smooth.
  3. Then, mix in the baking powder, baking soda, and salt until it’s all combined.
  4. Next, fold in the flour and berries.
  5. Divide the batter into the muffin cups and sprinkle a good amount of brown sugar on top of each.
  6. Bake them for 25/30 minutes, or until golden and a toothpick inserted comes out clean (other than berry juice!).

Note: Most recipes say that the berries aren’t good the next day, and part of what they say is true. The berries are always better as soon as they’re out of the oven, but they’re also fantastic heated up for 15-20 seconds in the microwave.

Mini Quiches

January 25, 2021 || By: Hope F

My sister and brother-in-law bought this mini muffin silpat for my mom and I for Christmas, and me – loving anything and everything mini – has been looking for something to bake in it! This morning, I wanted something savory for breakfast, but also something different. Then, I looked to the box that the silpat came in, and I saw savory muffins. These made me think of quiche! It was perfect to do these with the silpat from my sister, because on Christmas, we would always have breakfast quiche! Anyway, these little quiche are the perfect breakfast, lunch, or dinner treat! This recipe is adapted from Add a Pinch.

Recipe: Prep Time – 5 min, Cook Time – 20/30 min

Ingredients:

  • 4 large eggs beaten
  • 1/3-1/2 cup heavy cream or milk
  • Salt and pepper
  • 3/4 cup grated cheddar cheese

Fillings:

  • Spinach, chopped
  • 2 mini Red/Yellow Peppers, chopped
  • Some Jalapeño, chopped
  • A slice of Red Onion, chopped
  • 2 cloves of Garlic, chopped
  • 2 slices Turkey (or real) Bacon, cooked and chopped

How to make mini quiche:

  1. Preheat the oven to 375° F and put your silpat on a baking tray, or (if not a silpat) use a mini muffin tray and butter it or spray it with nonstick cooking spray.
  2. Whisk your eggs and cream (or milk), add salt and pepper (plus seasonings of your choice), and then stir in the cheese.
  3. Once this mixture is complete, pour it into your silpat or tray 3/4 of the way full. These rose a little, but then sank again, so when I make these again, I would suggest adding in some baking powder to make sure they stay risen.
  4. After the batter is poured in, add your filling. Stir your batter and filling around a little to make sure it is all well mixed.
  5. Now, cook your mini quiches for 20/30 minutes. Mine needed to be cooked for 30 minutes because I like them well done.
  6. Enjoy!

Note: These can be stored in a sealed container in the freezer for up to 2 months. Then, reheated in the microwave for 20-40 seconds.

Cinnamon Sugar Scones

January 24, 2021 || By: Hope F

So, who doesn’t love cinnamon sugar? I mean, it’s absolutely fabulous! You can have it in hot chocolate, milk teas, and more. It’s perfect for early mornings too. Imagine living in a nice house in the mountains, you have a cup of tea or coffee as the birds are chirping and the morning is misty, and these fresh scones come out of the oven. They would be AMAZING! I wish I were there now 😉 This recipe is from Smitten Kitchen, adjusted a little. Please try these, they are so good!! Note: These scones are better right out of the oven, so plan on having them as soon as you make them. If you re-heat them, they will be more dry…

Recipe: Prep Time – 15 min, Cook Time – 15/20 min

Ingredients:

  • 1 3/4 cups (230 grams) all-purpose flour, plus more for counter
  • 6 tablespoons (75 grams) granulated sugar (3 in batter, 3 sprinkled)
  • 1 tablespoon baking powder
  • 1/2 teaspoon fine sea salt
  • 8 tablespoons (115 grams) unsalted butter, cold, diced
  • 1/4 cup (60 ml) half-and-half (I didn’t have half-and-half, so I did 2 tablespoons of milk and 2 tablespoons of heavy cream)
  • 1 large egg
  • 2 teaspoons ground cinnamon, divided

How to make scones:

  1. First, preheat the oven to 350° F and put parchment paper on a baking sheet/tray.
  2. Get out a medium/large bowl and put your dry ingredients in it and mix them around.
  3. Add the diced butter to the bowl and either pinch it with your fingers, or cut it with a pastry blender until it is all mixed and in small pieces (like cornmeal).
  4. Make a small hole/clear area in the batter, and proceed to pour the half-and-half (or the milk and heavy cream) into that hole along with the egg. Use a fork to gently mix it all around (in the hole), then – once it’s mixed in the hole – mix the batter and the liquids together.
  5. Knead the batter – with your hands – until it is a dough ball.
  6. Sprinkle some flour onto your baking area and roll out the dough into a 10×6 rectangle.
  7. Sprinkle 1 tablespoon of sugar and 1 teaspoon of cinnamon on your rectangle. Then fold the dough in half.
  8. Roll the dough out again into an 8×6 rectangle and sprinkle the last 2 tablespoons of sugar and last teaspoon of cinnamon on the dough. Now fold it one more time.
  9. This part is a little tricky, but try to shape the dough into a 6 inch circle. Then cut it into 6 equal pieces.
  10. Place these pieces evenly onto the pan and finish them off with a last pinch of sugar on top.
  11. Put them in the oven for 15-20 minutes (mine took 20 minutes), or until they are golden brown on the edges.

Chocolate Peanut-Butter Cake

January 23, 2021 || By: Hope F

Tender, creamy, and delectably sweet are just a few adjectives that would perfectly describe this cake. This is one of my absolute favorites! Every year for my birthday (or half birthday!), my mom would ask me what type of cake I want, and every year I would drive her crazy by giving her the same answer: the chocolate peanut-butter cake. She would try to talk me out of it, but there was no persuading me. Then, in 7th grade, I met this girl named Giovanna, and we found out that we share birthday/half birthdays, AND we both love peanut-butter chocolate cakes! So suddenly, it became a tradition that on each birthday/half birthday, we would share a peanut-butter chocolate cake, and not even COVID can stop us from continuing this tradition (we are taking the necessary precautions and being safe of course). This recipe is from the book Sky High:  Irresistable Triple-Layer Cakes. This makes an 8-inch, three-layer cake, but I did two 8-inch layers, and two 6-inch layers for fun.

Recipe: Prep Time – 30 minutes, Cook Time – 30/35 min

Ingredients for Cake:

  • 2 cups (250 grams) all-purpose flour
  • 2 1/2 cups (500 grams) sugar
  • 3/4 cup (about 65 grams) unsweetened cocoa powder, preferably Dutch process
  • 1/4 cup dark cocoa powder (optional)
  • 2 teaspoons baking soda
  • 1 teaspoon salt
  • 1 cup (235 ml) neutral vegetable/canola oil
  • 1 cup (240 grams) sour cream
  • 1 1/2 (355 ml) cups water
  • 2 tablespoons distilled white vinegar
  • 2 and 1/2 teaspoons vanilla extract
  • 2 large eggs

How to make the Cake:

  1. Preheat the oven to 350° F and butter/line three 8-inch round pans. I would recommend to butter the pans and then put parchment paper (round) on them, that way you make sure the cake comes out easily.
  2. Sift all of the dry ingredients into a large bowl (you want to sift them so that there are no chunks/lumps in your cake) and mix them around. Then add in the oil and sour cream and mix everything thoroughly together. Note: You may be thinking – “Sour Cream, in a chocolate cake?!? Yuck!!” But believe me, I absolutely hate sour cream, and you do not taste it in the cake. It just gives the cake a nice tenderness, and you’ll adore that. After adding in the oil and sour cream, gradually add the water. Then, add the vinegar and vanilla. Lastly, mix in the eggs until everything is well combined. You may be looking at your cake batter and be thinking that it looks more like chocolate soup than chocolate cake batter, but actually, that means that you are doing everything right so far. This cake is really tender which is why it’s more watery than most.
  3. Now that you have the cake batter ready, pour it into the prepared pans. If you want to make sure that you are pouring an equal amount into the pans, get out a scale and put the pans on it. Zero it out so that it doesn’t take the weight of the pans into consideration. Then pour in the batter, set a pan aside, pour in the same amount of batter, and so on, until all your pans are evenly filled up.
  4. Once the batter is in the pans, it is ready to go in the oven. Bake it for 30-35 minutes, or until a toothpick inserted in the center comes out clean. Once the cakes are done baking, set them aside to cool for 20 minutes. Once they’re cool, flip them upside down (very gently since they’ll fall apart easily) and take off the parchment paper that’s on the bottom.

Ingredients for Frosting:

  • 8 ounces (240 grams) cream cheese, at room temperature
  • 1 stick (115 grams, 4 ounces or 1/2 cup) unsalted butter, at room temperature
  • 5 cups (600 grams) confectioners’ sugar, sifted
  • 2/3 cup (170 grams) smooth peanut butter, preferably a commercial brand (because oil doesn’t separate out), usually we add more peanut-butter, but it depends on your taste
  • If the frosting is too thick, you can add in some heavy cream or milk.

How to make Frosting/Assembling/frosting the cake:

  1. To make the frosting, mix the cream cheese and butter until you have a light and fluffy mixture. (Don’t worry about tasting the cream cheese, once you have the peanut-butter in there, you won’t taste it.)
  2. Then, add the confectioners sugar one cup at a time.
  3. Once the sugar is all mixed in, add the peanut-butter and mix it until its all well mixed!
  4. Your cake is now ready to frost! Note: With frosting, it is much easier to do a crumb coat, which is – frosting your cake with a thin layer of frosting, then putting it in the freezer for like 15 minutes. I didn’t do that this time because I was in a rush this morning to get it to Giovanna in the early afternoon, but most times I do a crumb coat. If you do the crumb coat, let it sit in the freezer for 15 minutes, then pull it out and put a good amount of frosting on the cake. You should frost it by putting frosting on the top of the bottom layer, then putting the next cake layer on and frosting on that layer, and so on. Then you can frost the sides and smooth everything out.
  5. Your cake is now done (if you want it to be)! Sky High does a chocolate-peanut-butter frosting drip/glaze on their cake, but I usually just top my cake with some mini Reese’s-peanut-butter cups, or doing designs with the extra peanut-butter frosting.
  6. Before serving the cake, you should let it sit in the fridge for an hour or so to have it nice and chilled.

Hope’s Specialty Pizza

January 3, 2021 || By: Hope F

Ever since visiting my Uncle Jerry and making pizza a few years ago, I have been OBSESSED! I am a self proclaimed pizza connoisseur now – I have to admit that I got into a pizza phase, having probably 4 pizzas a week or so. This picture may not be the most amazing, but the flavor is FOR SURE. With it’s bacon (I’m kind of a bacon freak), jalapeños (another ingredient that Uncle Jerry turned me on to), shallots, spinach, red onions, and multiple seasonings, this pizza is perfect for any time of the year. A warning though – beware of becoming addicted to this staple food…especially if you put some cowboy candy (an earlier post of mine) on your slice!

Recipe: Prep Time – 10/15 minutes, Cook Time – 9/14 minutes (depending on the pizza dough you get, you should follow the cooking instructions on the packaging)

Ingredients:

  • Pizza Dough (I sometimes make a fresh pizza dough, but other times I just buy a nice pizza dough)
  • Pizza Sauce – 6 ish spoonfuls (I used 2 and 1/2 on half of my pizza)
  • A drizzle of Olive Oil
  • 2 cups of Mozzarella Cheese
  • A pinch of Yellow/White Cheese
  • A sprinkle of Salt and Pepper
  • 2 Teaspoons of Oregano
  • 2 Teaspoons of Basil
  • 1/2 cup finely chopped Jalapeños
  • 1/2 cup finely chopped Red Onion
  • 1/3 cup finely chopped Shallots
  • 1 cup Spinach
  • 7 pieces of well-done Bacon

How to make:

  1. Heat up your oven to 425° and get a cookie tray or pizza pan out and sprinkle some flour on it. Now, roll out your dough to your desired width (here I did half of a pizza, but the ingredients and instructions are for a full pizza).
  1. Put your sauce and olive oil on, and spread them around evenly.
  2. Next put all of your spices on.
  1. After the spices, put a nice layer of spinach on. Really spread it around and get it all over, because it shrinks down, barely has any flavor, and is super healthy for you.
  2. Now, put on the two cheeses.
  1. Once the cheeses are on, sprinkle on the jalapeños, red onion, shallots, and bacon. You can just sprinkle them, or you can place them precisely (I did this because I like a little bit of everything in each bite).
  1. Now your pizza is ready to go into the oven and become a tasty deliciousness. I cooked mine for around 8-14 minutes, but it really depends on your oven temperature and on the altitude.

Pumpkin Peanut Butter Dog Treats

December 29, 2020 || By: Hope F

Do you have a little furry companion that you love and want to treat for the new year? This is the perfect thing to do for them! These treats are healthy, tasty, and don’t take too long to make. They are great for dogs and even for people – although they are sugar free! This recipe is adapted from AllRecipes.

Recipe: Prep Time – 15 min, Cook Time – 40 min to 1 hour

Ingredients:

  • 3 cups Whole Wheat Flour 
  • 2 Eggs  
  • 1 15oz. can of Pumpkin (NOT pumpkin pie filling!!)
  • 3 tablespoons Peanut Butter 
  • ½ teaspoon Salt (optional)
  • ½ teaspoon Ground Cinnamon

How to make:

  1. Preheat your oven to 350°.
  2. Mix all the ingredients in a bowl. The dough should be dry and stiff when working on it. Then roll the dough out to 1/4 inch thickness, and cut it into 1/2 inch pieces. (I used mini and 3″ dog bone cookie cutters)
  3. Bake in the oven until hard (or desired firmness), around 40 minutes – although for me it took around an hour.

Daisy, Pepper, and Kona approved!

Peppermint Crinkle Cookies

December 26, 2020 || By: Hope F

A twist on a classic Christmas cookie, these cookies are sprinkled with candy cane crunch and have peppermint extract in the mix. Crunchy or chewy, you won’t be able to put them down, especially when enjoying with a cup of hot cocoa!

Recipe: Prep Time – 15 min, Cook Time – 12 min

Ingredients:

  • 1/2 cup Vegetable Oil
  • 5 ounces Unsweetened Chocolate, chopped and melted
  • 2 cups Granulated Sugar
  • 4 Large Eggs
  • 2 teaspoons Vanilla Extract
  • 2 teaspoons Peppermint Extract
  • 2 cups Flour
  • 2 teaspoons Baking Powder
  • 1/2 teaspoon Kosher Salt
  • 1 cup Confectioner’s Sugar

How to make:

  1. Mix together the oil, chocolate, and sugar, with a hand-mixer, in a large mixing bowl until light and fluffy.
  2. Add the eggs, vanilla, and peppermint and mix until combined.
  3. Mix in the flour, baking powder, and salt, and mix until just combined.
  4. Cover the bowl of dough saran wrap and chill for at least 2 hours (you could also just chill it overnight).
  5. Preheat the oven to 350° and place parchment paper on two cookie pans.
  6. Put some granulated sugar in a small bowl, put some confectioner’s sugar in another small bowl, and crush up a candy cane into small pieces and put those into a small bowl.
  7. Now, scoop dough into small balls and roll it in the granulated sugar, then in the confectioners sugar, and then place on the cookie pan.
  8. Once you have scooped the dough balls, rolled them in the sugars, and placed them on the pans, you will want to press some candy cane pieces onto them. The candy cane pieces won’t want to stick to the cookie since there is sugar on it, but if you just press it onto the top, it will stick and cook into the cookie.
  9. Then bake the cookies for around 12 minutes (it may depend on your oven temperature and the climate).
  10. Cool the cookies for around 7 minutes, and then eat them with ice cream or however you like!
  11. Last step, enjoy the cookies!

Notes:

  • Make sure to refrigerate the batter, otherwise your cookies will spread and be flat (like in the picture above!). If you like flat cookies, then that’s great too, but either way, you need the dough a little chilled to be able to scoop it into balls 🙂
  • The cookies can be stored in the freezer for up to a week.